

Believe it or not, this effect was achieved over a dark ground with just one coat of Real Milk Paint’s Goldenrod, wiped with a damp cloth before it dried (“wear” spots rubbed harder). The chest was sealed with Soft Wax in Clear.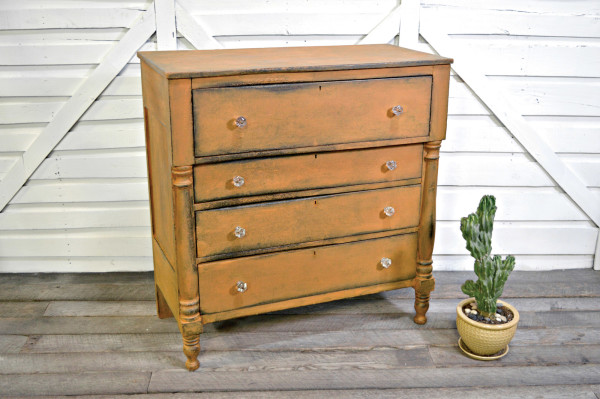
It’s true that fine furniture makers, conservators, and decorative artists spend years practicing the art of distressing and antiquing finishes for cabinets and furniture. Those of us not needing to match museum pieces can, however, get good results with simple techniques using products old and new. Soft, chalky milk paint is still available, but so is a paint-on product that gives an instant crackle finish when applied between coats of latex paint—no chemistry set involved.
Less may be better when it comes to distressing. Study old cabinets and antique furniture to understand what finishes-expert David T. Smith calls “logical wear.” Paint wears away where the piece would have been regularly touched or rubbed against, such as all around the feet, areas around knobs and pulls, and on drawer and door edges.
“Distressing” may involve purposefully nicking, scratching, and dinging surfaces, but for paint finishes it simply means giving the surface an already-weathered look. Your method may require paint stripper, sandpaper, or new paint applied and then removed, in part, either when it is wet or when it has dried. Glazes may be used overall or in crevices to add the look of aged patina.
An island cobbled together from salvaged five-panel doors and turned posts was unified with green paint, then distressed to simulate wear on a single piece. Bruce Martin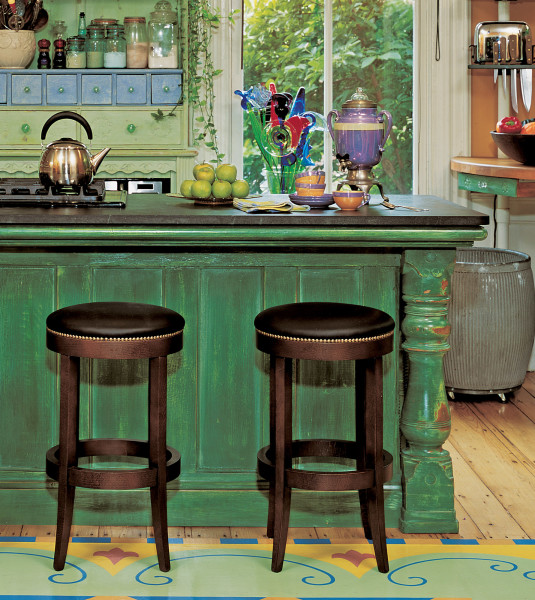
A level up from those techniques gets into the area of “antiquing,” making the piece seem even older by simulating insect or water damage and by using faux finishes or causing crackling of the finish.
Distressing always calls for cleaning a piece, then sanding it—both to ensure paint adhesion and to simulate wear. An unfinished piece will require little sanding; one finished in urethane will need a thorough sanding. With the sandpaper, also soften any hard angles and sharp edges. Wipe the piece down with a tack cloth just before painting.
Here’s an overview of a “wiping on” technique, using a semi-transparent glaze: Use a tack cloth or damp rag on all the surfaces of the piece and let it dry. If you’re working on a cabinet in place, apply painter’s tape to mask the area. With a sanding block wrapped in 80-grit sand-paper, sand any raised edges and corners of each door or opening in the piece, sanding until the wood (or previous paint layer) is exposed. Wearing rubber gloves, add a small amount of an antiquing glaze onto a lintfree cotton rag. Choose a side and start on one section of it, applying the glaze in a circular motion. Be careful not to use too much glaze, and work in one small area at a time. Move to the next section of the same side of the piece, blending between areas. Once the whole side has been glazed, use a clean rag to lightly smooth the circular application marks, going side to side or with the grain.
Chris Harter’s museum-quality pieces feature milk paint with a hand-rubbed finish. Gridley + Graves for Timeless Kitchen Cabinetry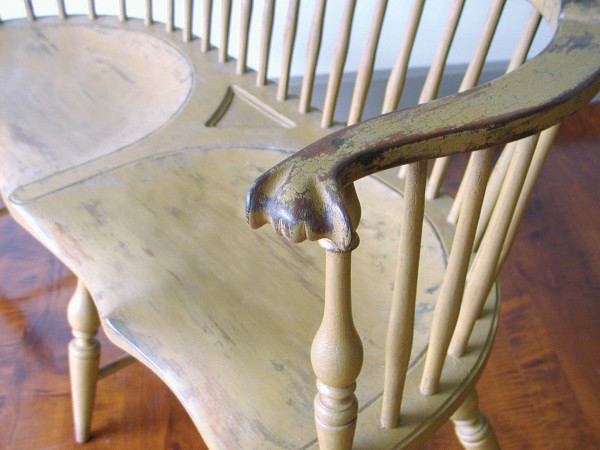
Now, with a small artist’s paintbrush, add more glaze to the “distressed” parts such as edges and doors. As you go along, remove any glaze that creeps onto non-
distressed surfaces, using a finger wrapped in a clean cloth. Continue glazing on the next side of the piece, checking your work for consistency from side to side. When all sides of the piece are glazed, let it dry for a day or more before adding a protective finish. You can use a spray-on sealer, making sure that it’s clear and non-yellowing. Note that varnish and polyurethane may visibly yellow over white paint.
Other techniques are based on taking off rather than wiping on. Corners and wear edges simply may be sanded to simulate wear. Or a second coat of paint may be wiped off in places while still wet, exposing the base coat underneath. Or a piece may be painted over and allowed to dry, then scraped or sanded in small areas to expose the base color or wood.
Kevin Ritter of Timeless Kitchen Cabinetry uses hand-mixed milk paint, burnished after drying.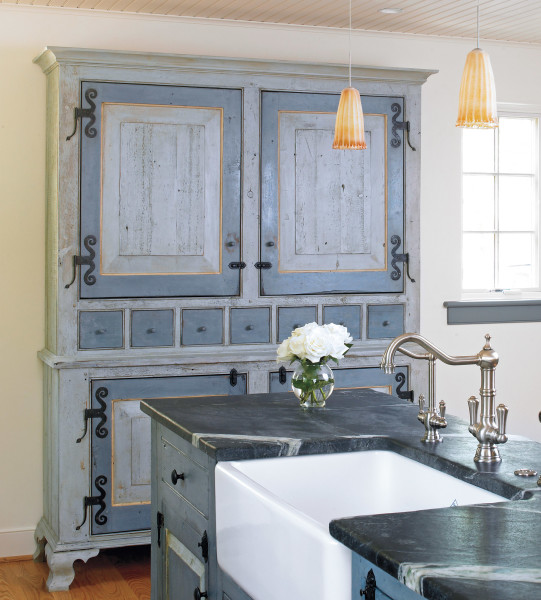
If you want it to look like wear has exposed a previous, older color, paint first with the base color you want to show through the top color once it’s distressed. If instead you want bare wood to come through, use only one paint color (but it may take two coats).
Another way to create the exposed-undercoat look is by using a resist. After the first coat is dry, rub the “wear” edges and areas with a wax candle or petroleum jelly. These areas will resist the next coat of paint, making it easy to wipe it off. Paint with your second, topcoat paint color and let it dry. Remove paint in the coated “worn areas” with fine steel wool. With sandpaper, you can add further “damage” to the piece in wear areas.
If you used just one color of paint, when it’s dry, rub it with steel wool in places or all over to wear away some paint, then sandpaper to further distress wear areas.
Today it’s easy to create a cabinet or piece of furniture that looks aged. Many suppliers sell specialty products and distressing kits, and offer instructional articles and videos on their websites.
Using mismatched colors with faux finishes, the owner created a bank of cupboards built to look as if they had been salvaged. Paul Rocheleau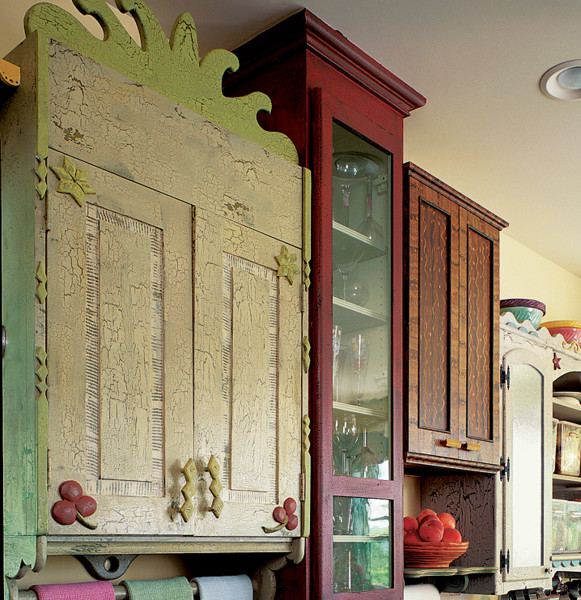
Related Resources
Distressing Products
Annie Sloan Chalk Paint
Matte-finish paints, tools, waxes, stencils & more; tutorial videos
Faux Effects
Professional-level products include paints, glazes, colorants, crackle products, texture finishes, stencils, tools
Modern Masters
Colorants, glazing cream, tintable glaze, crackle (for latex paint), non-yellowing flat varnish
The Real Milk Paint Co.
For both DIYers and pros: powdered milk paint and tung-oil finishes, easy-to use crackle paint, Chippy Paste (for controlled paint chipping); strippers, waxes, tools; written tutorials and videos on website
The Real Milk Paint Co. Courtesy of The Real Milk Paint Co.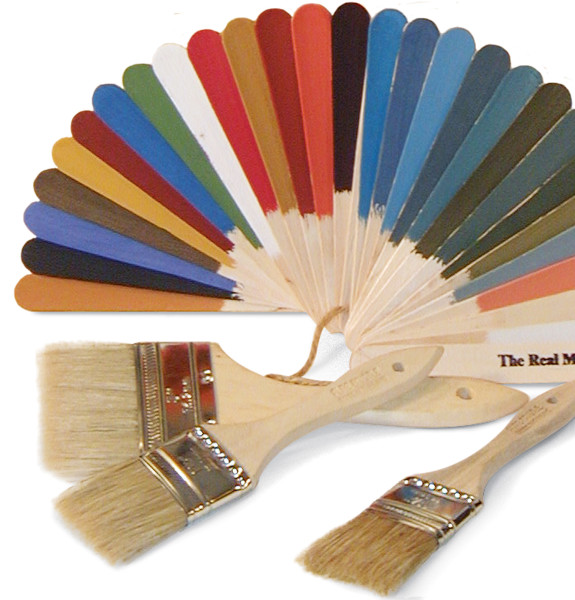
Cabinets & Furniture
Chris Harter, The Country Furniture Shop
Windsor chairs and other early furniture with distressed and authentic finishes
Timeless Kitchen Cabinetry
Kitchen cabinets inspired by antique painted furniture; worn finishes a specialty
Workshops of David T. Smith
Custom kitchens with a specialty in authentic, antiqued, and grained finishes


