

Nancy Hiller made a cabinet to illustrate her technique. It shows several different pickled/stripped effects.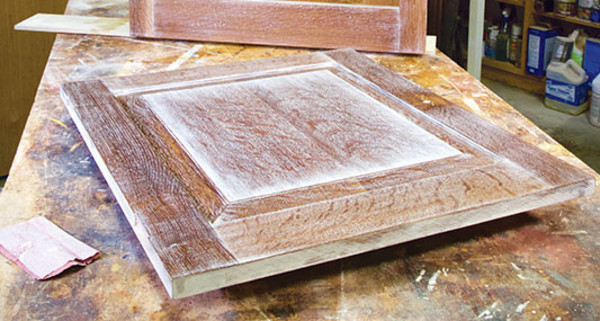
Most people think of milk paint as a historically authentic finish for Colonial and Shaker-style furniture. I’ve found a way to use it to create a pickled look. While you can use this technique on any wood species, it works especially well for oak, which has relatively high tannic acid content. The reaction between the tannin and the milk paint creates a greyish cast that’s perfect for Scandinavian-style furniture, and trim, and floors. (Floors should be sealed with several thin coats of polymerized tung oil such as Waterlox, or a compatible, non-yellowing polyurethane.)
Unlike some processes and commercial products for liming or pickling, this one is low-tech, non-toxic, and versatile. I discovered the technique by accident while trying to make an oak bookcase look as though it had been painted white, then stripped. No sooner had I applied a generous coat of white milk paint to the first side of the bookcase than I saw the paint turn grey. Thanks to high-school chemistry classes, I understood right away what was happening: the chemical reaction between the alkaline lime in the milk paint and the oak’s tannic acid was making the new wood look aged.
When the milk paint was dry, I sanded it, leaving a fine residue of white in the pores and an ashen cast to the wood. To preserve the cool tone, I used food-grade mineral oil as a light-duty sealer—not an especially protective coating, but fine for the bookcase I was making. Depending on object and use, you may choose another compatible finish, such as paste wax.
Materials & Supplies
Bristle chip brush and foam brush, sized appropriately for project
Vacuum cleaner or compressed air
Glass jar or plastic container with tight lid
Paint stirring stick
Snow White or Light Cream milk paint (powdered) in necessary quantity
120-grit sandpaper for milk paint; 220-grit for optional scuff-sanding of a protective topcoat
Brush or lint-free rags to apply protective topcoats
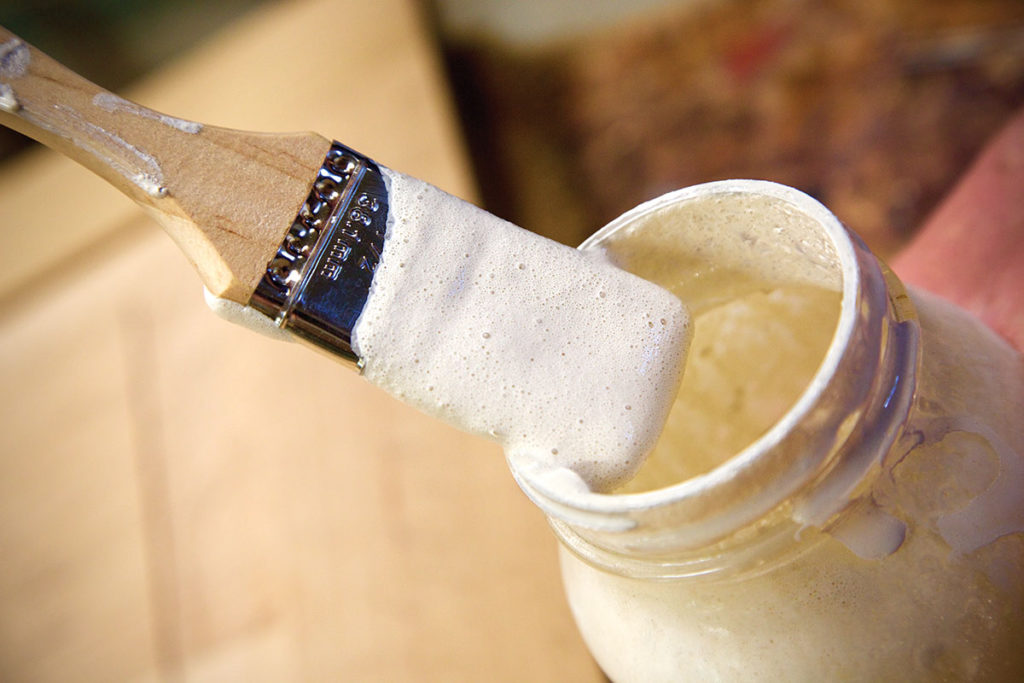
1. MIX
Begin with bare wood. After sanding, remove dust with a vacuum cleaner or compressed air. Mix enough Snow White or Light Cream milk paint to cover your piece in one coat; follow the manufacturer’s guidelines for mixing and coverage rates. In general, use 1 pint of dry milk paint powder to 1 pint of warm water, mixing in a glass or plastic (not metal) container with a well-fitted lid. Shake vigorously, then stir any remaining powder at the bottom into the mix. Shake again, allow the mixture to slake for ten minutes, and stir one last time.
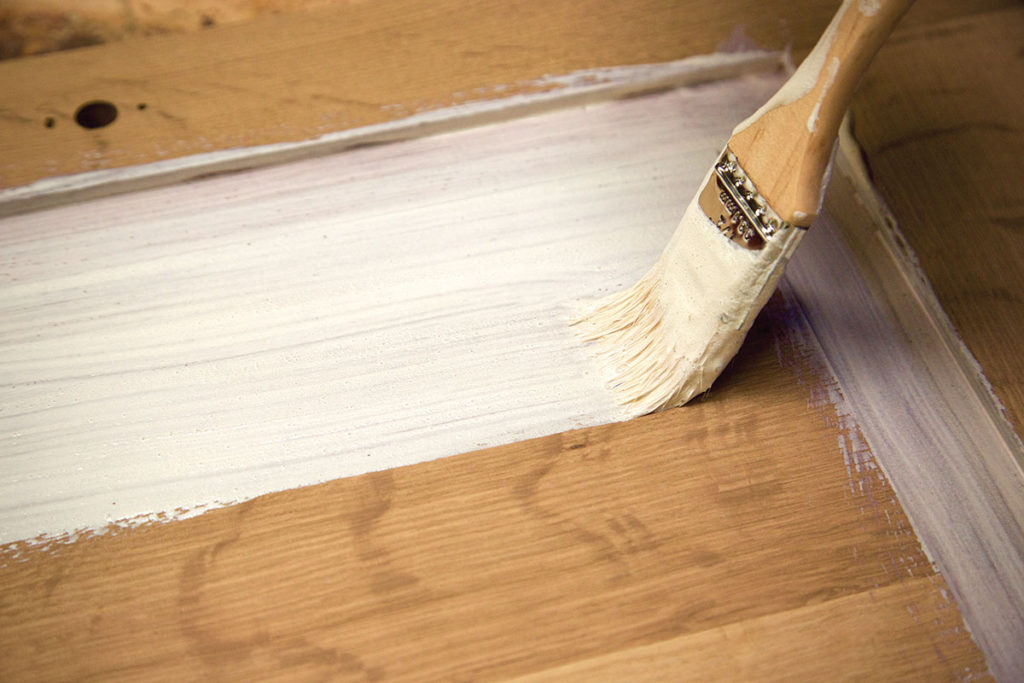
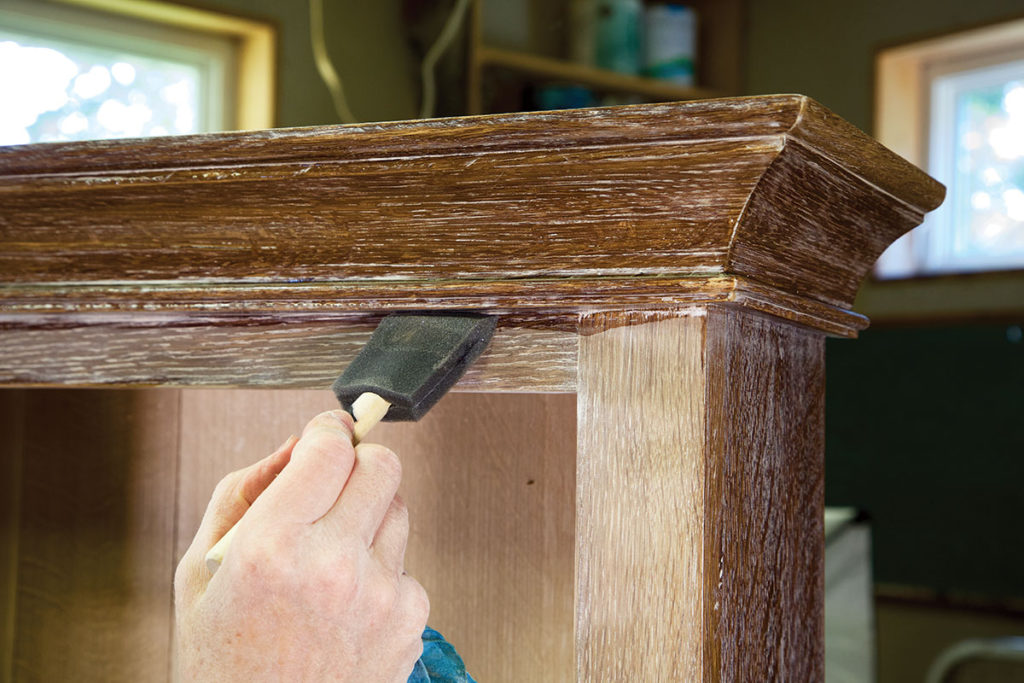
2. APPLY
Use a bristle brush. Inexpensive paint chip brushes, widely available at hardware stores, are fine as well. Apply a generous coat of paint in the same direction as the grain, working quickly. If your piece is made of oak, you will see the wood begin to turn grey at the edges of the paint strokes. Allow the paint to dry completely. Depending on relative humidity, the viscosity of the paint mix, and the type of wood you’re using, this may take from one hour to a full day.
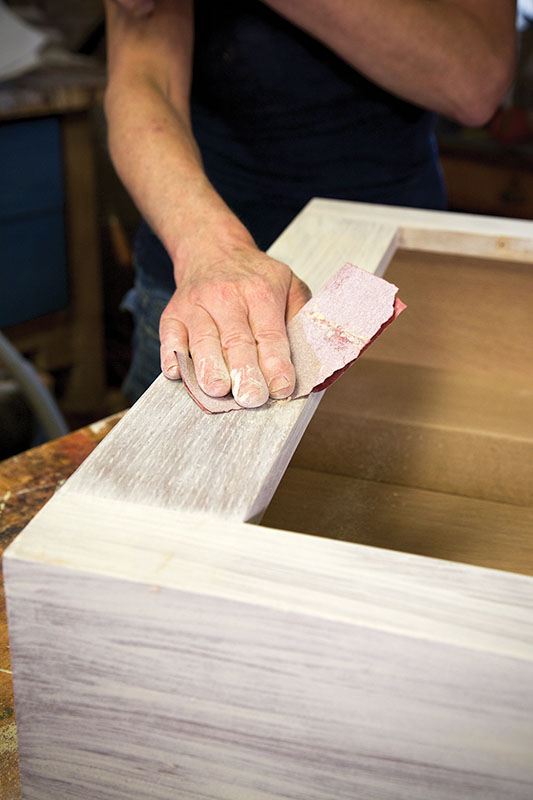

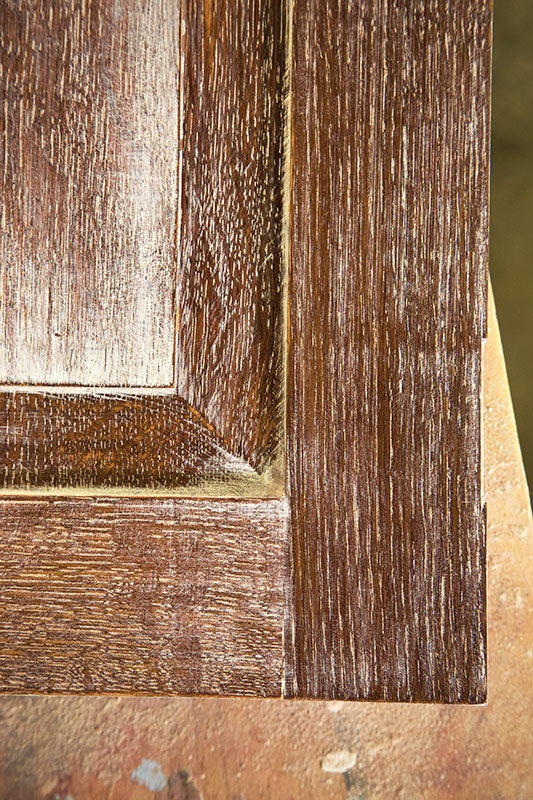
3. SAND
Using 120-grit paper, begin sanding in the same direction as the grain. Work evenly across the piece to ensure that you stay in control of the sanding pattern and avoid a patchy appearance. Keep sanding until you achieve the look you want. To emulate an antique that has been stripped of paint, leave a little more milk paint in areas that are hard to reach, such as inside corners, but sand more from areas that get a lot of wear, such as sharp edges or around drawer pulls.
4. PROTECT
If the piece won’t be subjected to much wear, you can skip the protective finish. Remove all dust from the piece, then apply one or more coats of oil. For a light-duty seal that’s completely “green,” you may use food-grade mineral oil, sold as a laxative at groceries and pharmacies. (Incidentally, food-grade mineral oil is a good sealer for salad bowls and cutting boards.) Alternatively, use beeswax. If being maximally green is not a concern, use a solvent-based paste wax such as Johnson’s, Briwax, or Old Masters.
No More Vinegar
The word “pickling” comes from an old-time process involving vinegar reacting with zinc to create a grey patina in wood pores. Today the word is used interchangeably with liming, whitewashing, or bleaching—all methods to lighten wood and bring out its grain pattern. Bleaching is not generally recommended, especially for floors, as it weakens the wood fibers. Minwax sells a White Wash Pickling Stain; Briwax’s Liming Wax is worked into pores with steel wool.


