

Here’s a straightforward salvage project.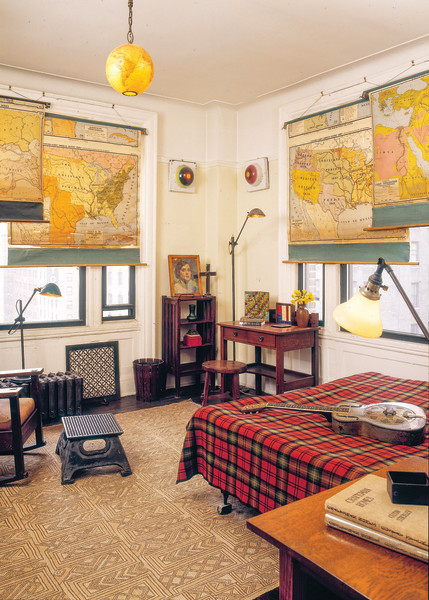
The homeowner has a spacious apartment in a handsome, prewar building in midtown Manhattan. He admits he’d not gotten around to putting up curtains in the bedroom, and his girlfriend was complaining about the lack of privacy. Looking for something a little unconventional, he remembered his childhood classrooms with those colorful, pull-down maps that fi red the imagination. Using old maps (or cool new ones) to make window shades is uncomplicated. Mostly, you need a big table or another fl at work surface.
Easy step by step
1. Prep the shade
Take a plain white vinyl window shade and roll it out on a flat worktable. Remove the wood dowel or lattice at the bottom and save it to replace later. Sand the shade lightly with 400-grit sandpaper so the glue will grip. Wipe with a tack rag or soft cloth to be sure the surface is smooth and clean. Prime the vinyl with a gesso canvas primer to give it heft and limit its absorbency. Sand the primed shade lightly, wipe with the soft cloth.
2. Glue it up
Lay the map on the unrolled shade, lining it up evenly, and trim to fit from the top of the roller to the bottom, including a hem to enclose the bottom dowel. Remove it and roll an even coat of Mod Podge on the vinyl shade. (Mod Podge is a water-based decoupaging product: glue, sealer, and surface finish all in one.) Replace the map and press to adhere, using a squeegee to smooth from center outward. Once adhered, repeat the process with another layer of Mod Podge over the top of the map to seal it. Let dry 20 minutes.
Using a staple gun or hot-glue gun, reattach the wood lattice or dowel at the bottom and turn up shade to make a pocket. The wood stabilizes the shade and prevents it from rolling up too far.
3. Ready to hang
Trim any excess vinyl from the bottom hem with an X-acto knife. Roll the shade up fully to install it, but then unroll it again and let it hang for a week to let the Mod Podge set completely.
Lay the map on the unrolled shade, lining it up evenly, and trim to fi t from the top of the roller to the bottom, including a hem to enclose the bottom dowel.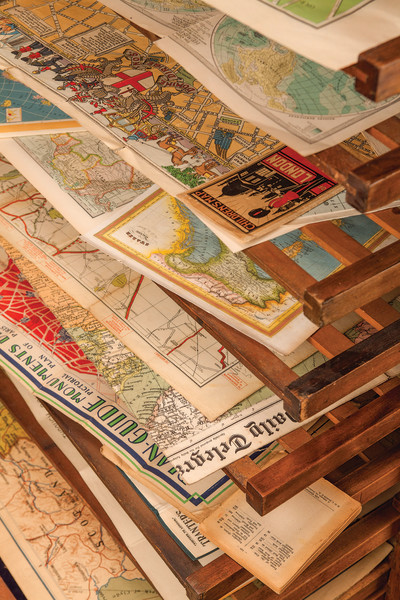
Keep Roller Shades Working
Simple roller shades are practical and add vintage charm, but may loosen and need adjustment. Some pointers from Select Blinds [selectblinds.com]:
A roller shade uses a hollow tube (typically aluminum) with a coiled spring inside. When you pull down on the shade, tension increases on the spring. When you stop pulling, a ratchet and pin on one end of the roller hold the spring tension. On the opposite end, a free turning pin mounts into the bracket. Occasionally the spring will uncoil and the shade won’t work properly. To adjust:
• TIGHTEN THE SPRING TENSION
Pull the shade down about halfway. Remove it from the brackets. Roll up the shade by hand, being careful to roll it evenly on the tube. Replace the roller shade in the brackets. Repeat until the tension is good.
• LOOSEN THE SPRING TENSION
Roll up the shade and remove it from the brackets. Unroll the shade halfway, by hand. Replace the roller shade in the brackets. Repeat as necessary.
• ADJUST A FULLY UNCOILED SPRING
Remove the shade from the brackets and unroll it halfway. Use pliers to turn the pin on the spring side until you feel tension, then back off so the pawl (a latch that allows movement in only one direction) hooks onto the ratchet. Loosen or tighten tension as necessary, using instructions above.
• RELEASE A SPRING LOCKED IN THE COIL
Remove the shade. Use pliers to grip the pin and twist it clockwise to free the pawl. Release it quickly to unwind the coil. Loosen or tighten tension as above.


