

It’s important to ensure that the cabinets are level and plumb in all directions. To guarantee that this is the case, Mark checks (and double-checks) surfaces using a torpedo, a 2′ level, and a 4′ level.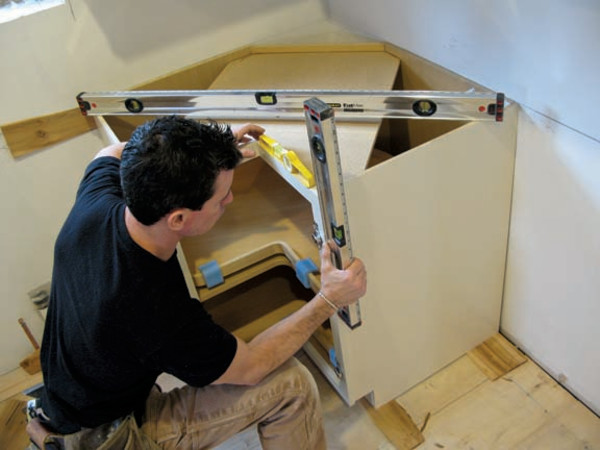
In theory, setting kitchen cabinets should be easy: Strike a couple of level lines, fasten cabinets to the wall, and presto! You have a new kitchen. Setting cabinets is a tempting DIY project because the installation principles are basic, but the reality—especially in the old-house world of crooked floors and uneven wall surfaces—is more complicated. Installing new kitchen cabinets that look like they were built with your old house requires technique and planning. Whether you’re doing it yourself or managing a contractor, my tricks-of-the-trade suggestions, from strategies for working alone to compensating for that out-of-plumb wall, can help turn your kitchen project into a plumb, level, and square reality.
Mark level line.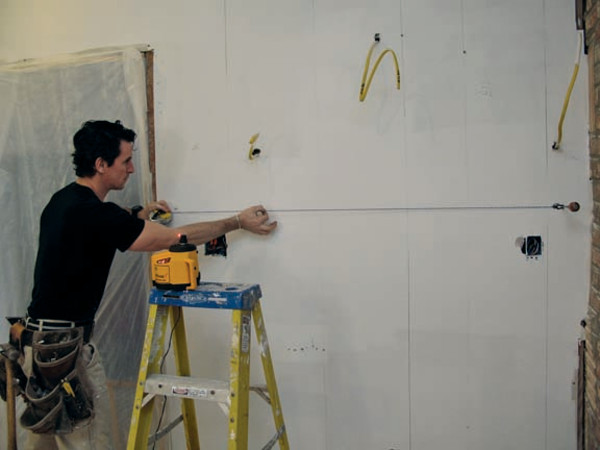
Step One: Measure Carefully
For a room with its flooring and wall cladding intact, the first thing I do is mark a control point or level line on every wall getting cabinets (see above). This line is an arbitrary control point from which all other measurements are taken. In my kitchen, I struck it all the way around the room.
Placing my laser level atop my 4′ stepladder gives me a line in a good location—about 51″ above the floor, a location just 3″ under the typical upper cabinets’ bottom rail (which usually sits at 54″). I aim a laser dot at each corner of the room, snap blue chalk lines between them, then double-check the lines with a spirit level.
Now that I have a level line, I can accurately measure to see if the floor is level (which is never the case in old houses). I walk around the room with my tape and measure from my level line down to the floor every few feet in order to find the floor’s high point.
Measure control point from floor.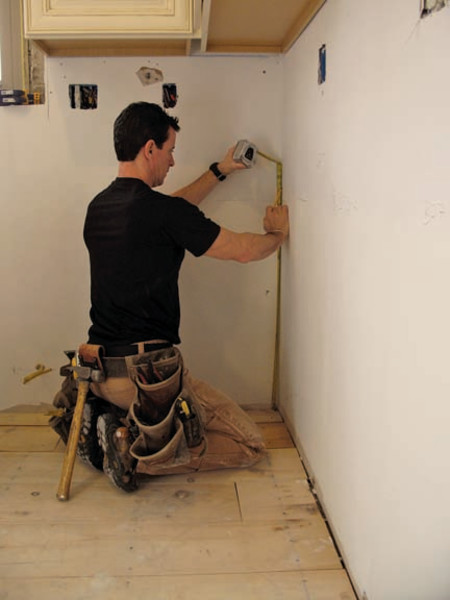
When I’m done, the smallest measurement between my level line and the floor is the floor’s high point, which is the control point for the next phase of layout. After I’ve found the high point, I use it to figure out where the base cabinets will sit. From the floor’s high point, I measure up 34½” and mark it on the wall [B]. In my case, that was 16½” down from the level line struck earlier. I then measure down from my level line 16½” in each corner of the room, connecting the dots by snapping chalk lines in between. This is the line on which the top rails of the base units will be fastened.
Next, I measure for the upper cabinets’ location. Again from the floor’s high point, I measure up 54″, then strike another level line around the room (this measurement will sit above the initial level line). This second line represents the bottoms of the upper cabinets, which sit on the layout line.
Install the ledger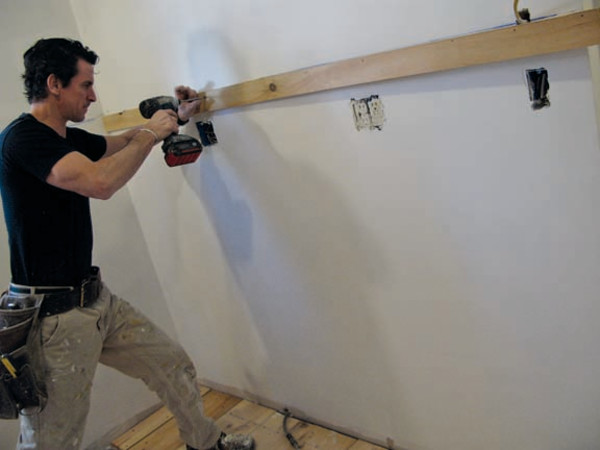
Step Two: Install the Upper Cabinets
I find it easiest to install the upper cabinets first—no base cabinets in the way. First, I screw a straight ledger board to my layout line (above). Next, I decide where to start, which usually means working my way out of an inside corner (where a cabinet touches two walls).
Install upper cabinets.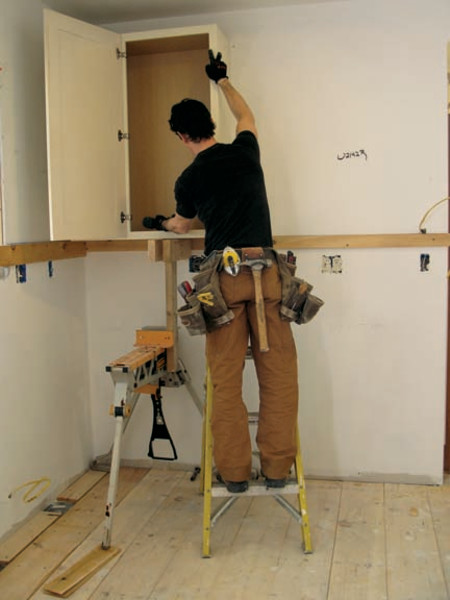
I hoist the first cabinet to the ledger and fasten it. If I have blocking between the studs, I just sink screws in the cabinet carcass’s four corners. If not, I mark stud locations inside the cabinet.
It’s important to get this first cabinet as perfect as possible, because it will become the control point for all the other cabinets. If it’s even a tiny bit off, that small error is projected through the rest of the cabinets, and three or four cabinets later, a small error becomes a big mistake.
So, with the cabinet secured on the wall, I check that it’s level and hanging plumb (straight up and down)(see below). It only takes a small wall surface imperfection to throw a cabinet out of plumb. If the wall is out of plumb (often the case in old houses), I shim behind the cabinet with full-size cedar shims until the cabinet sits perfectly plumb.
Check upper cabinets for plumb.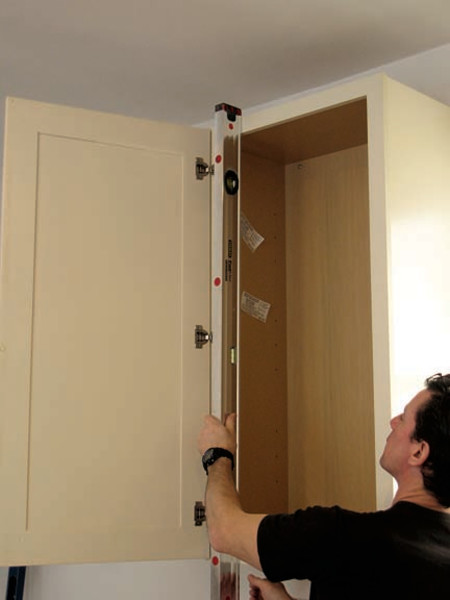
The second cabinet is registered off of the first one. I lift it into place, then fasten it to the wall, taking care not overdrive the screws. The next step is to flush up and fasten the face frames together. Different carpenters have different approaches for doing this, including removing all the doors and clamping the face frames with specials clamps. I typically clamp the carcasses’ top and bottom rails just behind the face frames.
Next, I pre-drill the face frame edges, slightly countersinking the hole. Then I sink a trim-drive screw to hold the face frames fast; now the two cabinets are one. (Note: If you have help to hoist and hang, you can attach an entire run of cabinets on the floor and hang them as one single unit.) Finally, I double-check plumb and level again (it doesn’t take much to throw you off), and repeat the process until the uppers are done.
Measure for base cabinets.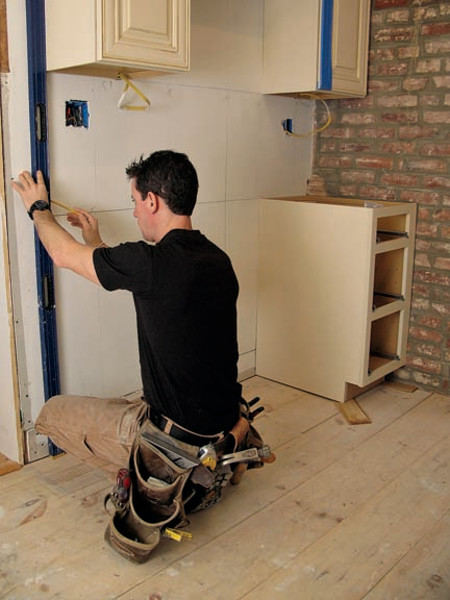
Step Three: Install the Base Cabinets
The bases are installed in essentially the same way, except that instead of resting them on a ledger, you register them to your level line on the wall and shim beneath and behind them as needed. Checking them for plumb and level in multiple directions—and often—is crucial. Also, register end units for plumb down from the uppers—especially those that stand alone, like units on either side of a stove. If the top and bottom cabinets are offset from each other, you’ll notice later on.
This is the time to double-check spacing for appliances, too. It’s easy for a cabinet to project off the wall slightly out of square, and the result will be that the stove or dishwasher no longer fits. The point, of course, is for your new kitchen to fit as well as your home’s original—installed with the same integrity and care and in plumb, level, and square.
Mark Clement is working on his century-old American Foursquare in Ambler, Pennsylvania, and is the author of The Carpenter’s Notebook.


