

When Jill Chase and I added a verandah to our 1920s home, the porch deck was low enough over the ground to not require a railing. The steps to the side yard, however, were a different matter. A new porch railing would have to be built in order to meet building-code requirements. Here’s a step-by-step guide to how we did it.
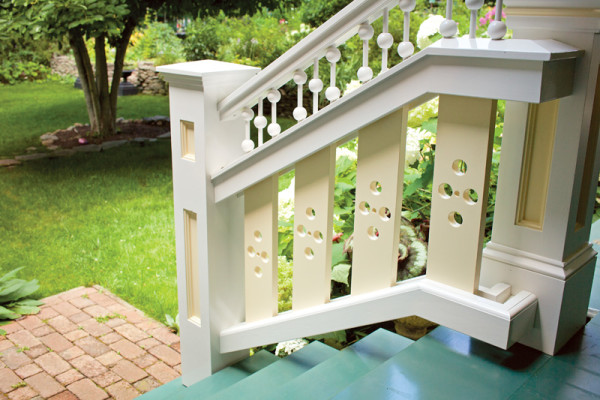
The newly-built porch railing on the steps to the side yard.
Gross & Daley
1. Designing the Stair Railing
My first design attempt for the stair railing specified off-the-shelf materials. With simple spindles and plain rails, the design met building-code requirements but was too tall and angular for our taste (we’re both designers).
To include decorative details that had inspired us, my next design incorporated two elements: a ball-and-spindle run between top and middle rails, and slats between middle and bottom rails. Creating two sections gave the balustrade proportions that look right architecturally and historically, even though the finished railing is much taller than one typical of period porches.
The porch railing’s design features a period-appropriate pattern with a ball-and-spindle top and slats between the middle and bottom rails.
Bill Ticineto
2. Construction
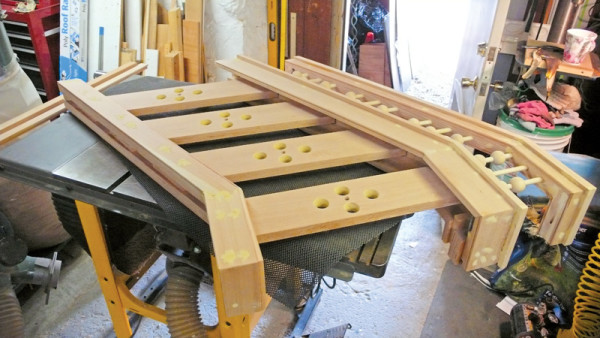
It also meant creating three rails instead of two. Doing all the work myself, I envisioned each as a housing to protect the decorative spindles and slats beneath. I made the wide, tapered caps from two blocks of 2×4 CVG Douglas fir on a bandsaw, then joined the top cap to a housing constructed of the same wood. Where the caps changed angles, both pieces were joined with biscuits at several points, then glued and screwed together.
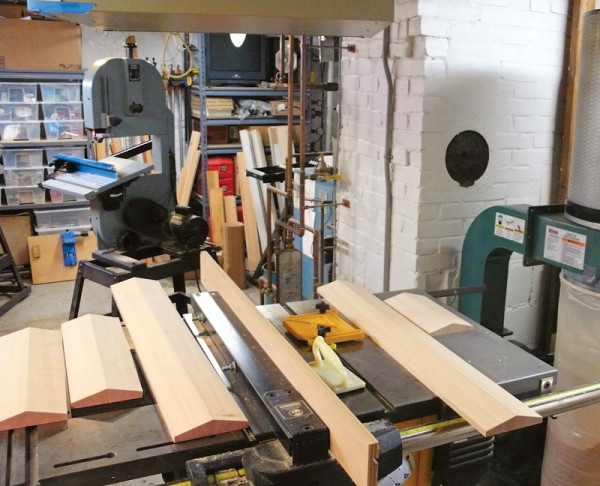
The porch railing’s wide tapered caps were made on a bandsaw out of Douglas fir.
Andrew Bydlon
3. Drilling
The ball-and-spindle (or dowel) trim came as stock parts, in poplar. I gave the wood extra primer and paint, since it’s not as sturdy as Douglas fir.
To get the spindle elements to interlock with the top and middle rails, I stacked the part of the rail housing where they would attach on a jig set at the correct angle, then drilled upper and lower holes simultaneously. The decorative slats—with a cutout pattern repeated elsewhere in the house—are slotted into housings in the middle and bottom rails.
The rail housing is stacked on a jig set at the proper angle; upper and lower holes are drilled simultaneously to get the spindle elements to interlock with the top and middle rails.
Bill Ticineto
4. Assembly
Once all of the components were cut and drilled, I primed and painted every surface, using a shellac-based primer and finishing with alkyd enamel porch paint.
The handrail is screwed and bolted together; it can be removed for maintenance, as can the rain-shedding cedar post caps, which are attached with hidden Velcro. Even the decorative part of the paneled newel post (a separate construction project) slides, like a vertical sleeve, over the plain cedar structural posts installed by our builder during initial porch construction.


