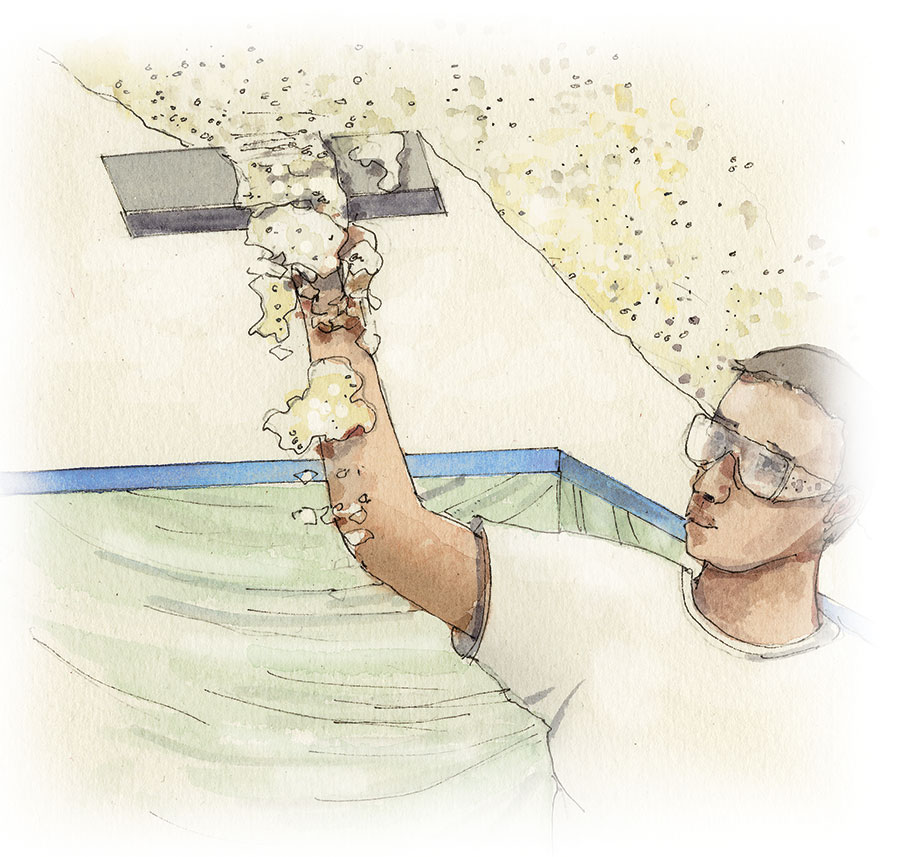
First, be aware that the texture finish may contain asbestos. (Later, vermiculite and Styrofoam beads were used.) Any overpainting may contain lead. Always test for the presence of these toxins before scraping away. Wear a mask and goggles when you’re creating dust and particulates. Be careful when using hot water or steam.
Your popcorn texture may have been original—applied to fresh drywall; or added later to the painted surface. It might be thick, or not. Test each method to see what works best in your situation. If these methods fail, you’ll have to remove the ceiling and replace it with drywall or plaster.
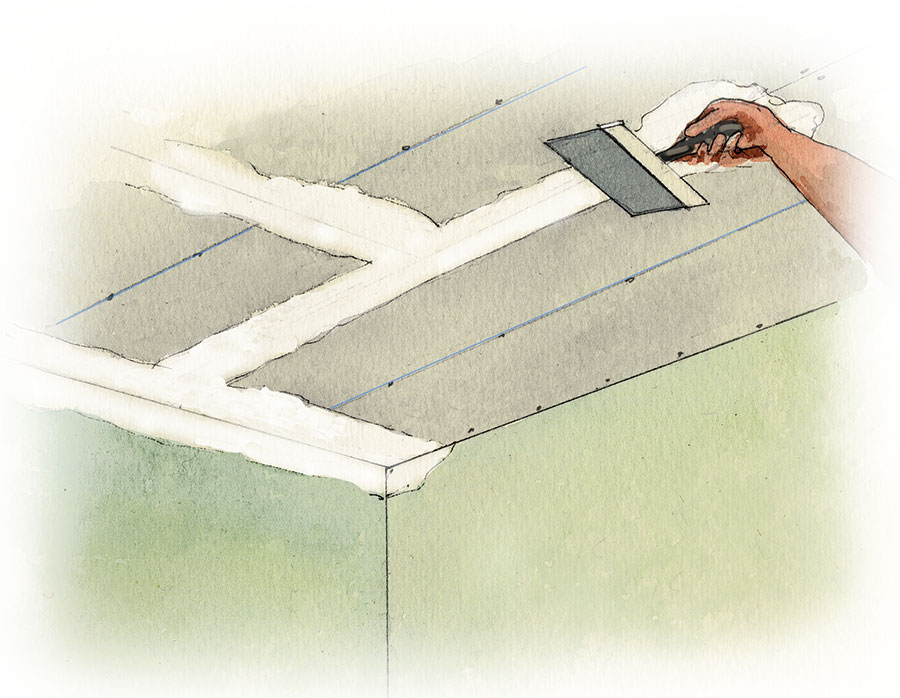
Method 1: Dry scrape and sand, then skim coat.
Skim coating is an option if the popcorn ceiling was painted over, because water won’t penetrate. Work from a scaffold or use a long-handled scraper; try a stiff putty knife and 80-grit sandpaper on a sanding block to remove the little hills and any loose bits. Now skim-coat the surface with joint compound to fill in valleys and smooth it over.
A possible downside: The popcorn may already have a weak bond to the drywall; adding joint compound, primer, and paint may be enough to make the texture coat start to peel. [One internet post suggested thinning the joint compound with water and using a short-nap roller to apply it, for less added weight. Another poster flatly stated, “Dry scraping doesn’t work, it’s slow and leaves gouges.”]
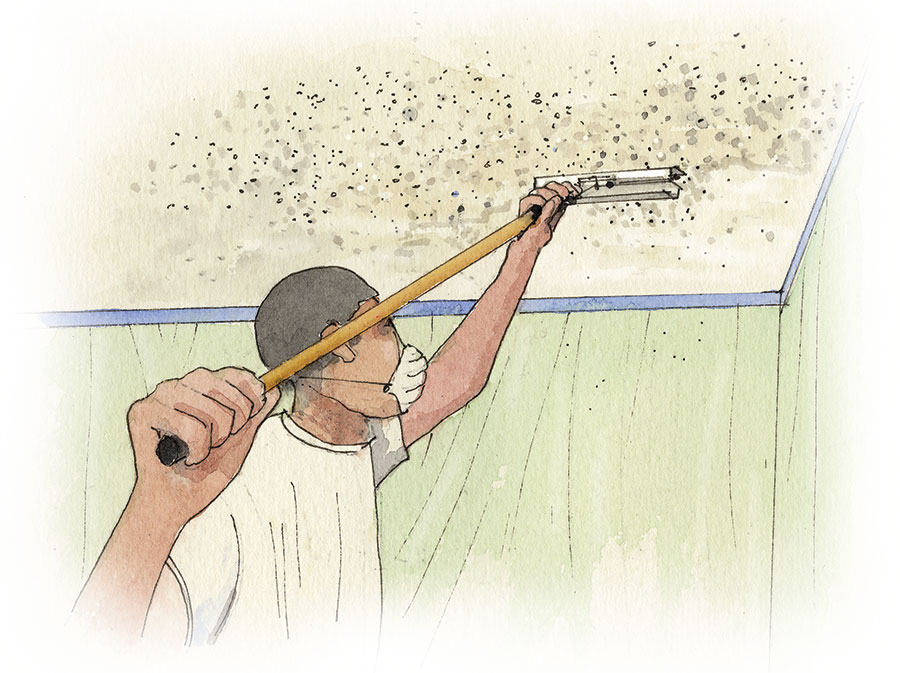
Method 2: Wet, wait, and scrape.
This messy but thorough approach removes all the texture coating without (if you’re lucky) damaging the substrate surface. Wetting the surface also mitigates the amount of dust created. (Test for asbestos and wear a mask anyway.) If the texture coat has been overpainted since it was installed, it will be very hard to remove as the water won’t penetrate. You could try using a wallpaper-remover tool to poke holes in the paint, then wet the ceiling, wait, and wet it again before scraping.
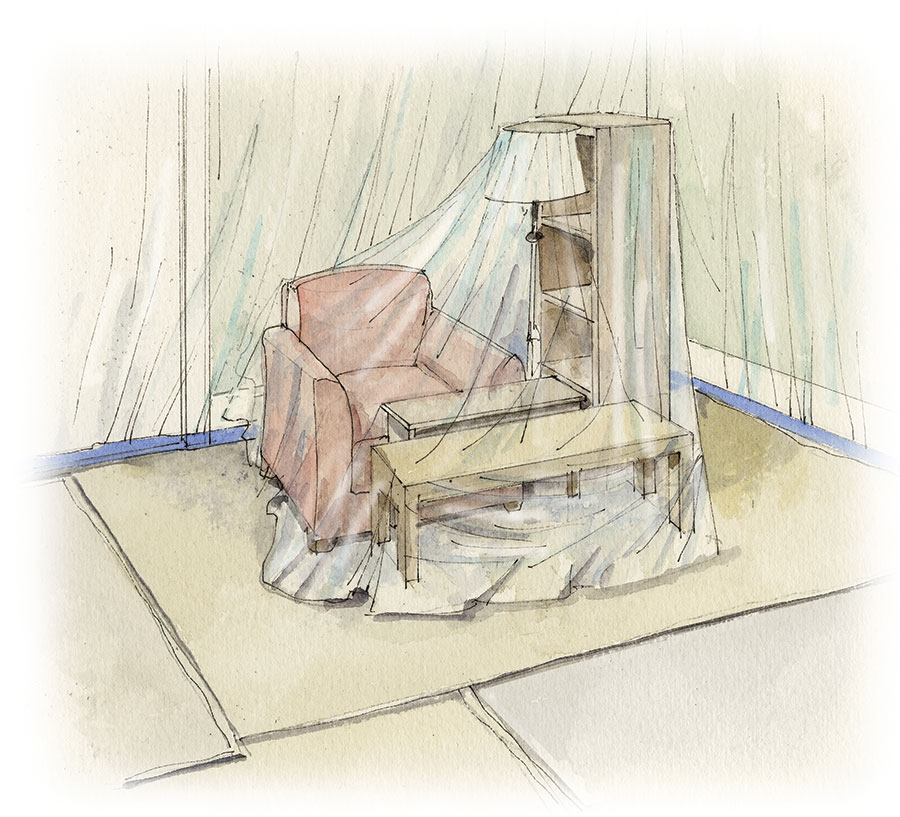
But first: Cover every floor, wall, protrusion, and remaining furniture with plastic sheeting and tape. Put plastic on the floors first so that wall runoff won’t flow to the flooring. Shut power to and pull down ceiling fixtures, wrapping them in plastic. Always shut off electrical power during wetting and don’t let the scraper blade hit any wires.
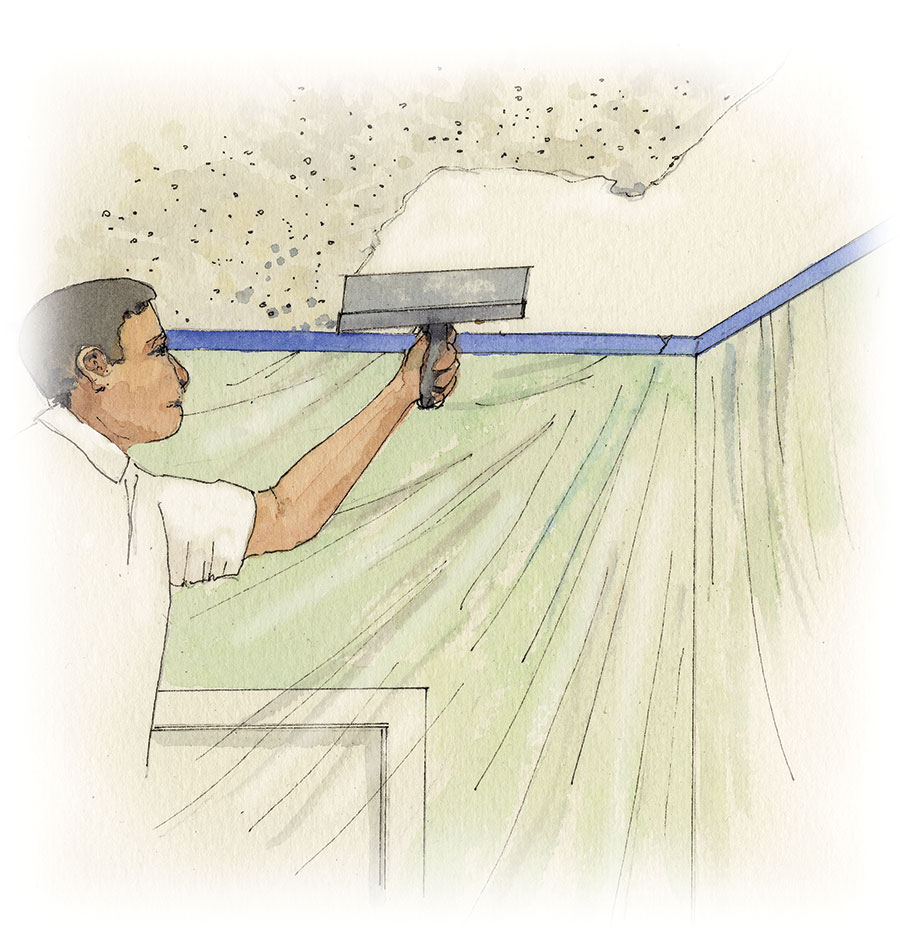
Use a pump sprayer and wand to evenly spray the ceiling in sections. (Pros might use an airless sprayer with water.) Wait. Repeat wetting in areas that look dry, but don’t over wet as that will damage the surface of the drywall. [An internet tip, untested: Put a bit of fabric softener or Dawn dishwashing liquid in the water.] Now use a wide scraper to “shave” dry areas in long passes at a low angle; try a 9″–12″ floor scraper. Use a putty knife to go around fixtures and get into corners. If you hit a stubborn area, consider adding more water, but realize you may be at a drywall seam: be careful not to gouge or remove the tape. Use the plastic on the floor to contain the scrapings; start at one corner and fold it up carefully.
[YouTube entertainment alert: Some videos show the texture finish coming off cleanly in one pass, like peeling an orange. Maybe it does, sometimes. Another video shows a homeowner blissfully spraying water at the ceiling with the ceiling fixture, uncovered and on, lighting the way! No.]

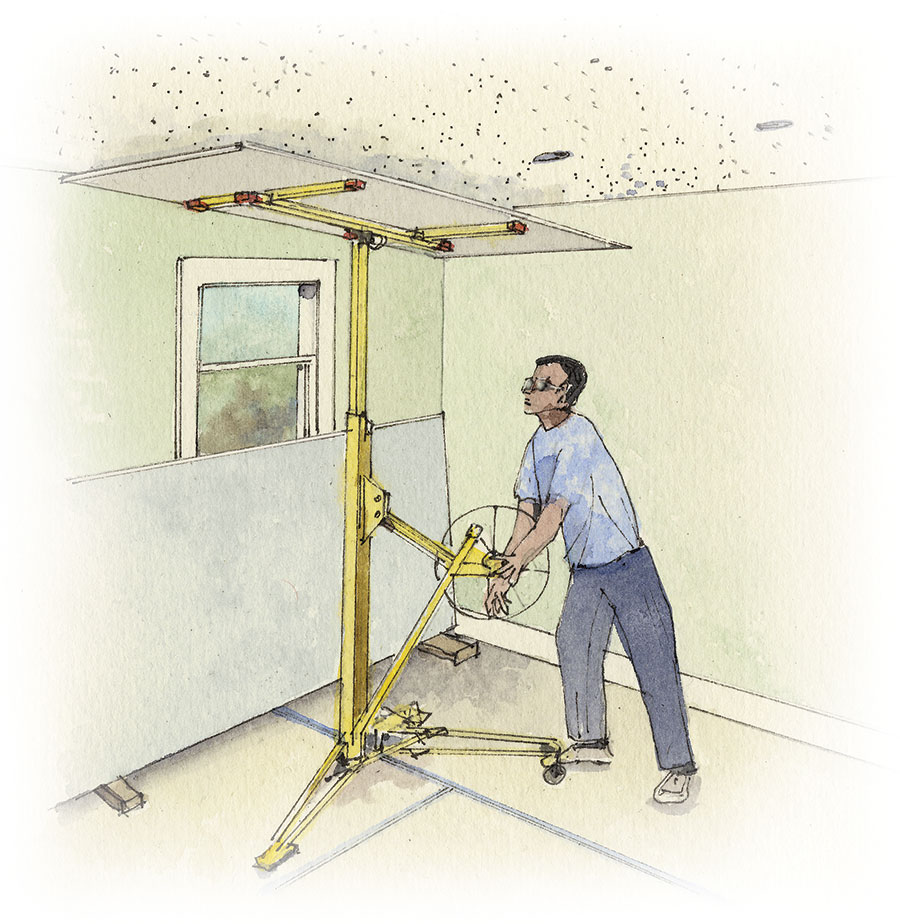
METHOD 3: Cover it up with drywall.
Thoroughly wash and dry the ceiling and give it a rough sanding. You’ll want two people and a drywall lift to install ¼” or 3/8” drywall right over the existing ceiling. A summary of the typical method: Find studs, snap chalk lines on ceilings and tops of walls, attach 8′ drywall panels (e.g., Sheetrock) to the ceiling with drywall screws driven into ceiling joints every 8″ along panel edges and every 12″ through the field of the panel. Stagger joints row to row.
Use joint tape and joint compound to finish the ceiling in the usual way.