

Wallpapering can’t be that complicated, I thought, as I contemplated a DIY job in my little powder room. When strips began peeling off the wall and paste was drying in my hair, I knew I was over my head. Then I met with the Seattle-based wallpaper hanger Jeffrey Tritt (trittj@msn.com) to write this article aimed at novices. He reassures me that wallpapering is doable if you break it down and are have the right equipment and tools before you start. Tritt helped me sum up the process in 10 steps.
1. Measure carefully before ordering.(Google “wallpaper calculator” or go right to omnicalculator.com) You need the room’s length, width, and height; also, the number of doors and windows and their measurements.
2. Review the wallpaper’s specifications on pattern repeat and length, and width of each roll, to determine how many rolls you will need. An online wallpaper calculator does this automatically for you. Follow recommendations for waste from drop matching. Then, round up at least 10%, or more if you want to store away matching paper for future repairs.
3. Do the prep work properly. This is critical for adherence and a smooth finish. Make sure the walls are very clean and dry; washing with TSP or an eco-friendly substitute removes dirt and grease, adhesive, and paint splatters.
Wall surfaces should be free of hooks, nails, and screws; patch and fill holes with spackling, then sandpaper to smooth. Remove any mold or mildew using 1 cup bleach to 1 gallon hot water. After they dry, walls should be painted with a combination primer–sealer to prevent moisture buildup and give an even surface for adherence. That also makes it easier to remove the paper in the future.
4. Read the directions that came with your wallpaper. Each manufacturer has individual recommendations, including which paste to use and how long to let the paste sit before hanging. Sometimes they suggest “dry hanging,” pasting only the wall surface and not the paper.
5. To start papering: Measure the height of the first wall (preferably not the focal point of the room).
Add 3″ to 4″ inches to that measure, then unroll a roll onto your pasting table and mark it on the back where it should be cut. Fold the paper over on itself and cut the strip. Perhaps using a plumb app on your phone, draw a straight vertical line on the wall, with a pencil, to align the roll. But as you paper, keep the line uncovered to use with the next roll.
6. Using a ½”-nap paint roller, apply paste to the wall and to the back of the paper (if that method applies). To give the paste a chance to activate, gently fold in both ends of the strip, being careful not to crease the paper, to meet in the middle—this is called booking. (For pre-pasted paper: Loosely roll up a strip, adhesive-side out, and put it in a container of cold or lukewarm water, per manufacturer instructions.)
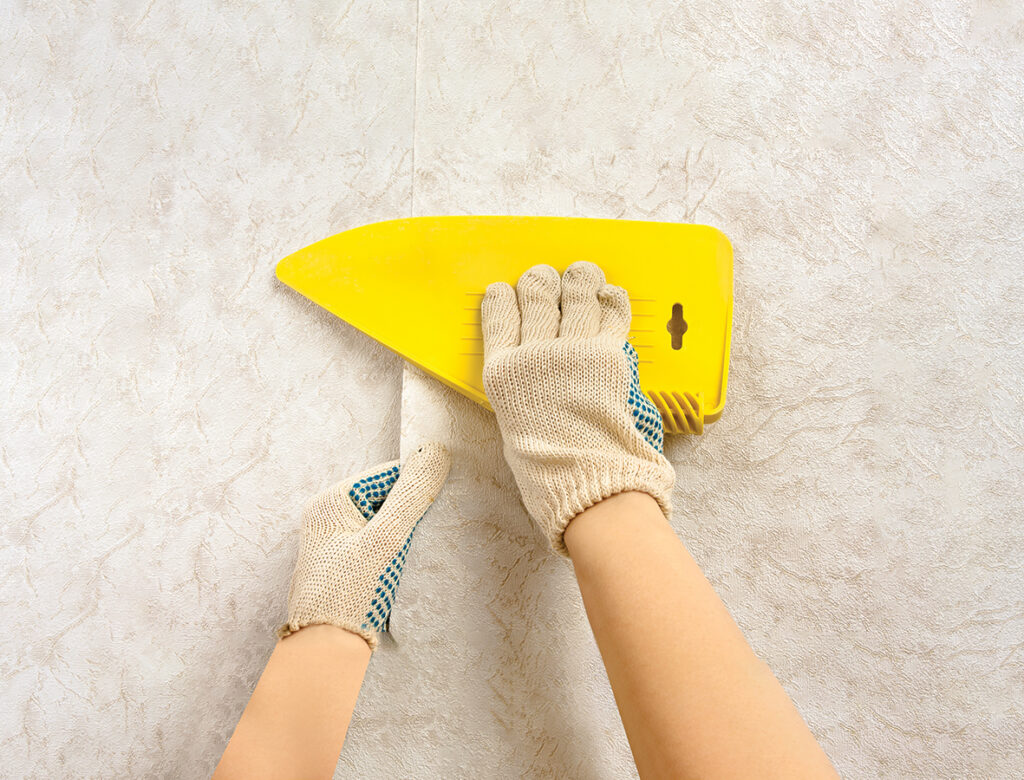
Starting at the top of the wall, apply the paper, allowing 2″ of overlap on the crown or ceiling. Smooth it with a plastic wallpaper smoother, working from the middle of the paper to the edges (but don’t press too hard, to avoid creases or squeezing out the paste). Press the paper into the junctions of the wall at the floor and ceiling mouldings and make a line to mark where the extra will be cut away.
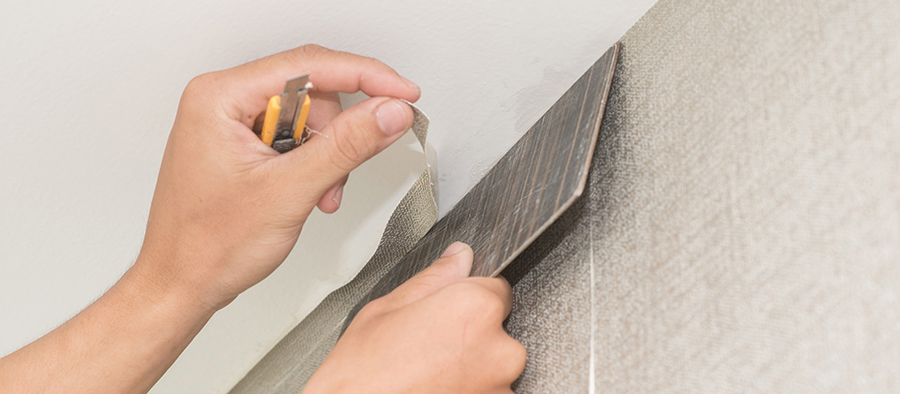
7. Trim the top and bottom excess along the indented line, using a trimming knife alongside a 6″ taping knife (or a straightedge) to cut along.
8. Using a barely damp natural sponge, gently wipe excess paste off each strip after it has been hung, then dry it lightly with a soft cloth, being careful to not wash across the seams. Any paste that is allowed to dry on the surface of the paper will be hard to remove and can change color and sheen.
9. Hang subsequent strips, making sure the pattern matches. Unroll each strip dry and mark where it will need to be cut top and bottom, remembering to leave a few inches at the bottom for adjustments. Carefully align the edges of the two strips without overlapping and gently smooth the roll onto the wall, working from the top and edges down. A good efficiency tip: Cut and book-fold several strips at a time, setting them where they will hang in front of the wall.
10. Corners can be tricky as they are often not plumb. For an inside corner, cut the strip so there is a ½” overhang from the corner to the next wall. Glue and hang the strip so the overhang turns the corner. Trim it down to 1/8″ using a utility knife and straightedge. Cover that small overlap with the next strip. Treat an outside corner similarly. The overlap should be ¼”. When hanging the next strip, cover the overlap, but place the strip slightly in from the corner’s edge to minimize the chance of damage from people brushing against the corner.
What You’ll Need
FOR STRIPPING PAPER
• Paper Tiger (perforates old paper)
• wallpaper remover gel
• knives and scrapers
• wallpaper steamer (optional)
• TSP or equivalent
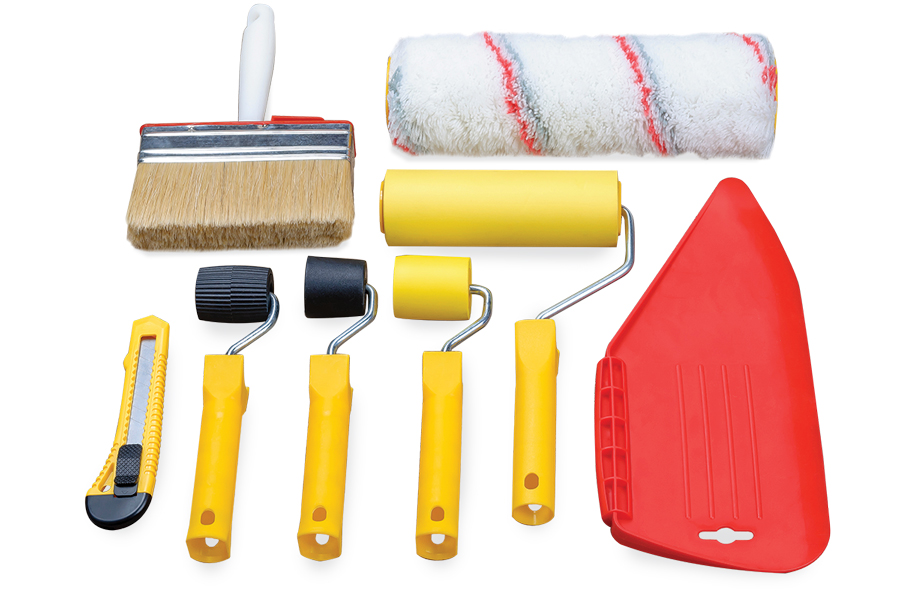
FOR WALLPAPERING
• TSP or equivalent (to clean/degloss)
• tape measure/ruler
• pencil
• spackling compound
• primer/sealer or glue size
• pasting table (plywood or a hollow-core door on sawhorses, or check premade versions at amazon.com)
• scissors or sharp cutting tool
• wallpaper paste
• ½” nap paint roller
• 6-inch taping knife
• straightedge
• wallpaper trimming knife (scissors may be used at difficult corners)
• plastic smoother or wallpaper
• smoothing brush
• clean non-linting cloths
• natural sponges
Three Common Errors
Mistakes happen but are often manageable. Try to start papering as far away as possible from the entrance to the room, so seams and early mishaps are less obvious.
- Don’t worry if you cut a strip too short. Attach the cut strip as usual. Then add a splice, matching the pattern but overlapping a decent amount. Use an X-acto to cut away through both layers (perhaps following the pattern to avoid a straight line), then peel away the overlap, leaving a butted seam. Smooth.
- Immediately peel back a strip if you see bubbles under the paper, reapplying and gently smoothing it down with a wallpaper brush or a plastic smoother, working towards the edge.
- When paper is curling up at a seam, gently lift it and apply a little more paste underneath, then smooth with a soft cloth and wipe away any excess glue.
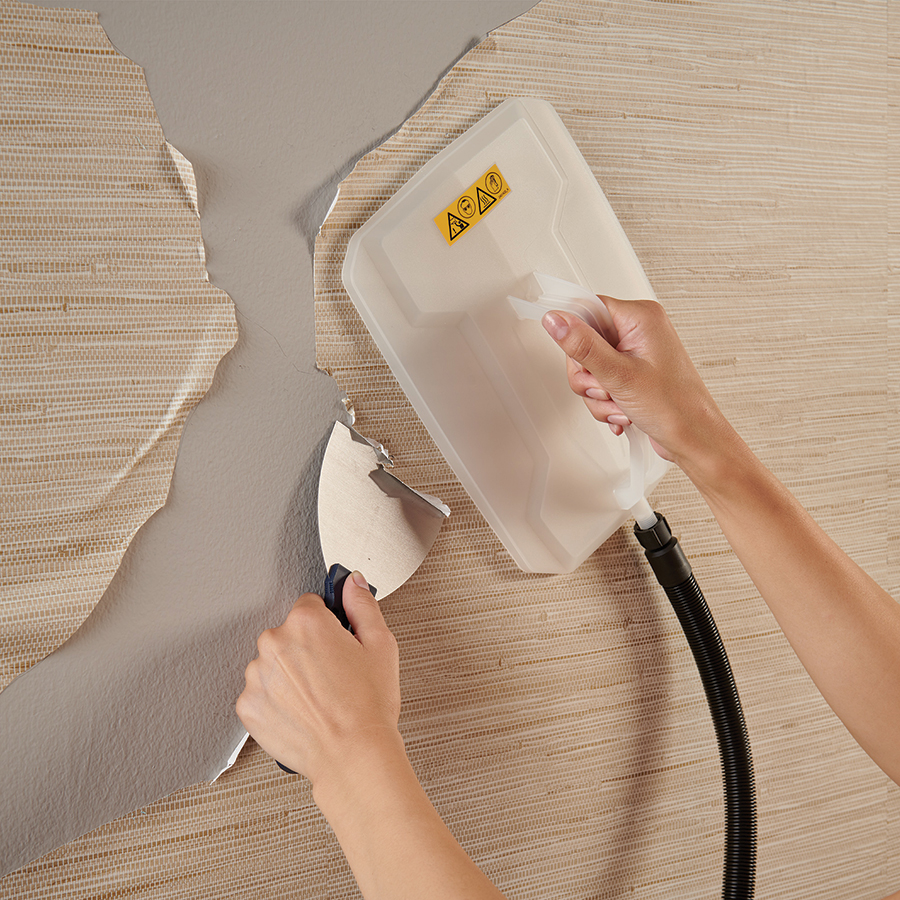
Removing Old Wallpaper
It’s not rocket science, but sometimes it’s very messy and tedious. You need the right tools, which may vary depending on the paper, the adhesive, and the substrate. Experiment with several techniques: scoring, steaming, sponging with hot water, using scrapers, using proprietary strippers. A sequence for starters: Slowly pull paper off at loose seams. Scrape as much as you can from the wall, using a taping or putty knife or a window scraper—but be careful not to damage the plaster, because gouges and nicks will mean more tedious work. Spray remaining paper with hot water to loosen it, let it soak in, and scrape again. If hot water isn’t working, use a Paper Tiger to perforate the paper, allowing water (or steam from a rented steamer) to penetrate. Remove remaining paste with a gel wallpaper stripper. Finally, wash the walls with warm water and TSP for a clean and smooth surface to assure adherence of new paint or paper.
The Five Types of Wallpaper Paste
If you use the wrong type of paste or adhesive for your type of wallpaper, you may get pattern
bleeding or poor adherence. These are five common types of adhesive, but always follow the paper
manufacturer’s recommendation.
1. cold water paste
It comes as a powder to be mixed with water before application. This type takes practice: too runny and the paper won’t stick, too thick and lumps happen. Suitable for most papers, it takes the longest to dry, allowing more time for corrections.
2. All-purpose paste
Available either as a powder or ready-mixed, this type contains a fungicide, which helps avoid mold in bathrooms or kitchens.
3. Heavy-duty / extra strength paste
Usually vinyl-based, this type works best with heavier, high-end papers, as it dries quickly before the paper can loosen. It can be harder to remove, however.
4. Paste-the-wall adhesive
Some papers specify applying paste to the wall only. Be sure to read the instructions for your paper beforehand.
5. Ready-to-use paste
Premixed pastes are easier to use but more expensive. If the area to be papered isn’t very large, this might be a good choice.
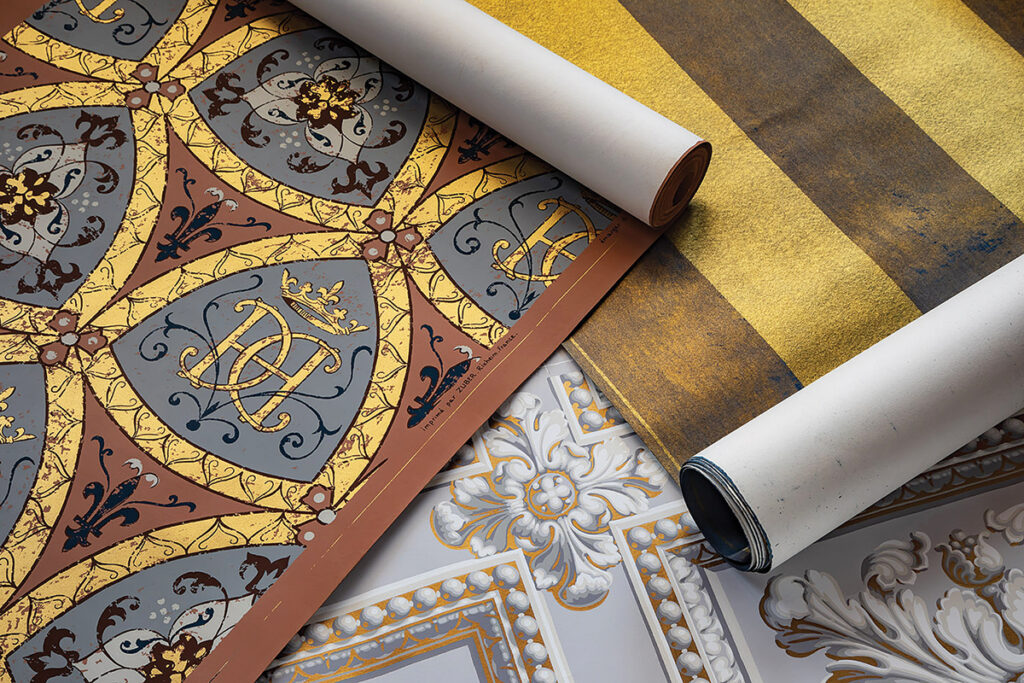
Where to Get Specialty Paper
Many papers found in the large collections sold through home-improvement stores are easy to to use—but most are mass-market rather than historical. Specialty papers run from murals to block-printed to hand-silkscreened—and even digitally printed, to allow rescaling. Seasoned wallpaper hangers Jim Francis and John Nalewaja of Scenic Wallpaper (scenicwallpaper.com) specialize in the installation of custom, hand-printed and hand-blocked papers. Because these are often untrimmed (the border may be on the same strip with the dado, say), may have unusual inks or finishes, and because they are expensive, it’s best to hire a pro. The following companies make beautiful papers with specific application instructions.
> Adelphi Paper Hangings adelphipaperhangings.com
Reproductions from original documents, block-printed by hand as they were in the 18th–19th centuries.
> Bradbury & Bradbury bradbury.com
Famous for their hand-silkscreened Victorian and Arts & Crafts art wallpapers, the company also offers carefully selected vintage designs from the 1920s through 1970, including machine-printed papers.
> DeGournay degournay.com
Painted papers in a wide range of styles traditional to modern.
> Fromental fromental.co.uk
Exquisite hand-painted and hand-embroidered papers.
> Gracie graciestudio.com
Elegant hand-painted Chinoiserie and scenic papers.
> Morris & Co. morrisandco.sandersondesigngroup.com
Original patterns in both document and modern colorways, block- and machine-printed, from the premier designer of the British Aesthetic and Arts & Crafts periods. Sanderson has other historical collections as well.
> Trustworth Studios trustworth.com
Digitally printed and custom papers of all periods, with a specialty in the patterns of British Arts & Crafts
designer C.F.A. Voysey.
> Zuber zuber.fr
Hand-blocked, historic panoramic and scenic papers, friezes, etc. since 1797.
Additional Resources:
Wagner wagnerspraytech.com
New ‘725 Wallpaper Steamer’ for removal without chemicals, incl. two steam plate sizes
Plaster Magic plastermagic.com
Adhesive and repair products for cracked plaster


