

You’ll find you’re a better painter when you use high-quality brushes fit for the job at hand. It’s not hard to care for them and they’ll last.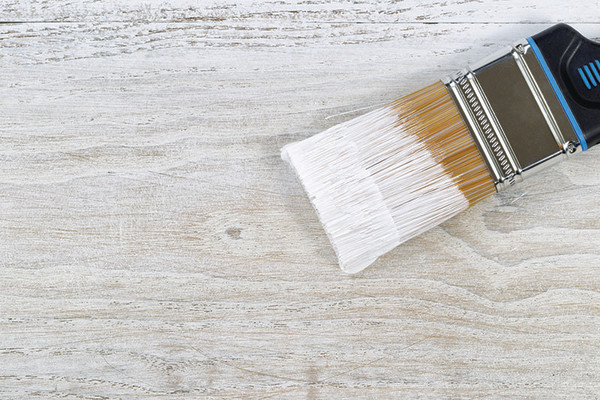
As with other tools, a top-quality paintbrush is a true delight, especially if you’ve been using inferior or throwaway brushes. You can’t do a neat, efficient job without good brushes. They’re expensive, however, and need some TLC. A good brush will last for years if you use it, clean it, and store it properly.
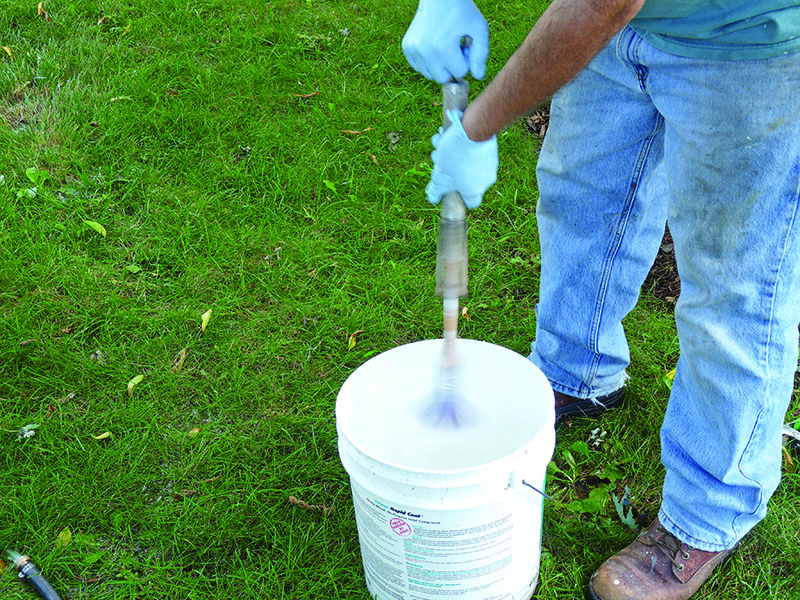
Consider whether the paint you’re using is fast- or slow-setting, and be aware that the weather affects drying time. Most wall and trim paints set up slowly and thus may be cleaned from a brush at the end of the day. Primers often set up quickly and become hard to remove. Many manufacturers and painters recommend dampening the bristles before you begin work. This may help in cleaning the brush later, but be careful: you don’t want to get water into the heel of the brush where it will drip and make a mess. If you dampen the bristles, best to spin or kick out excess water before you dip into paint.
Instructions here pertain to high-quality synthetic brushes and water-borne (latex) paints.
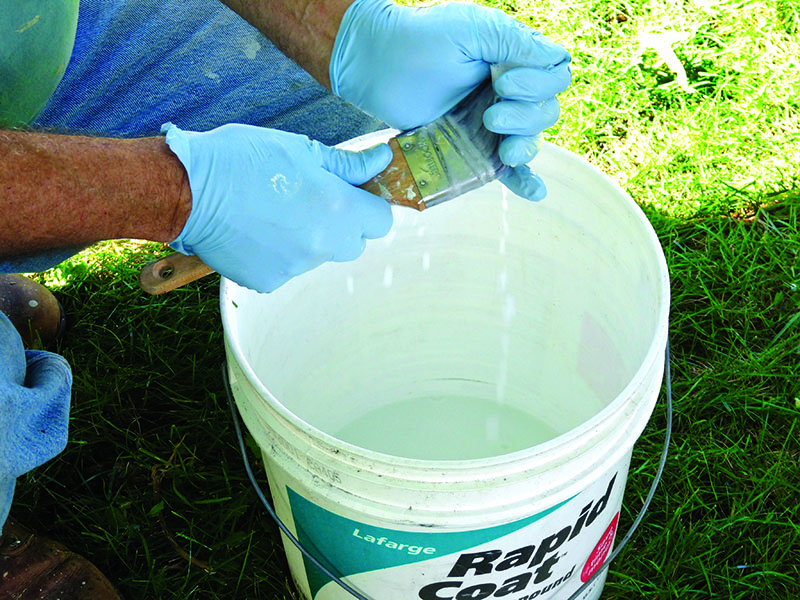
STEP 1
When a brush has been used for several hours, the dry paint on the outside of the bristles must be brushed away. Manufacturers recommend a paintbrush comb but, after nearly fifty years of painting, I prefer a wirebrush, as do most painters. Over a bucket of water, lay the paintbrush on the rim, dip the wirebrush in the water and gently remove the dry paint by brushing from the ferrule toward the bristle ends until all the dry paint is removed.
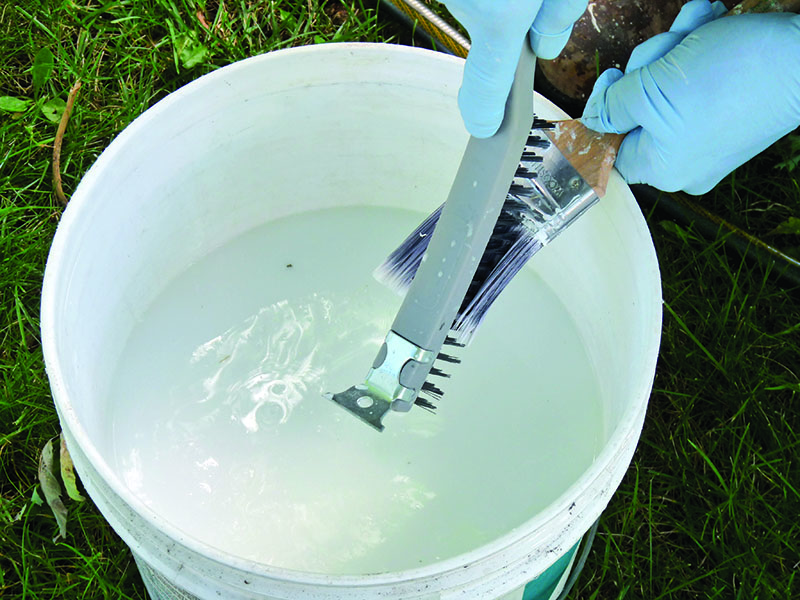
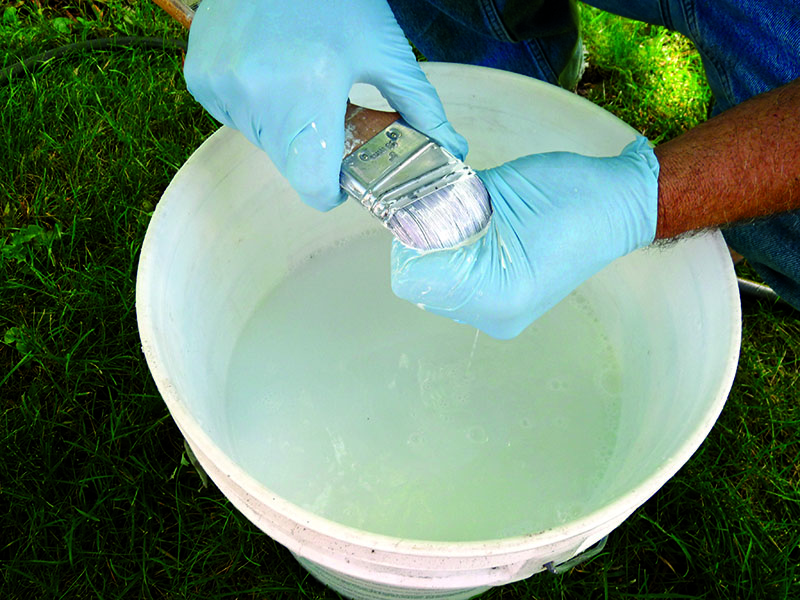
STEP 2
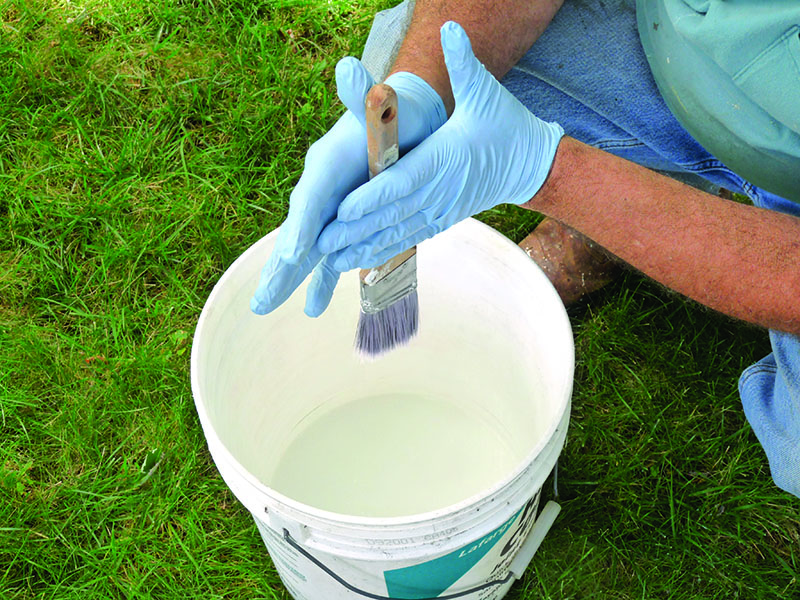
Under warm running water, hold the brush by the handle and gently bend the bristles in all directions until the paint is washed away. When the run-off looks like skim milk, add a drop of dishwashing detergent and work it into the bristles. Continue until the squeezed water looks clean enough to drink. Some latex paints contain a small amount of oil or solvent that hampers final cleaning. If the brush feels oily or sticky, rinse it in mineral spirits.
STEP 3
Remove excess water so the brush is ready for use tomorrow. To use a brush spinner, insert the brush handle into the prongs, hold the brush inside an empty bucket, and quickly plunge the handle; one spin and it’s done. The palm spin is easy if the brush has a long, slim handle, harder if the handle is fat. Place the handle between your palms over a bucket and rub hands to and fro to spin the brush. Perform the age-old toe kick by lightly tapping the ferrule of the brush on your uplifted shoe (never over a hard surface).
STEP 4
Store the brush in its original cover to keep it like new. The bristles won’t splay out and its taper will be maintained. A brown paper bag folded around the bristles makes a good substitute for the cover. Be sure to store brushes flat, or hang them through the handle hole from a wire over the workbench.
Save it For Later
If the job is ongoing, you don’t need to clean your brush every day. As long as it’s not clogged with dried paint, wrap it tightly in plastic wrap or aluminum foil and store it in the refrigerator overnight; it’ll be good-to-go the next day. If the weather is hot and the paint is drying quickly on the bristles—say, while you stop for lunch—put a damp cloth or paper towel around the bristles and then wrap the brush in plastic or foil until you return. Never leave a brush resting on bristles in paint for long.
Wrap your brush for later use.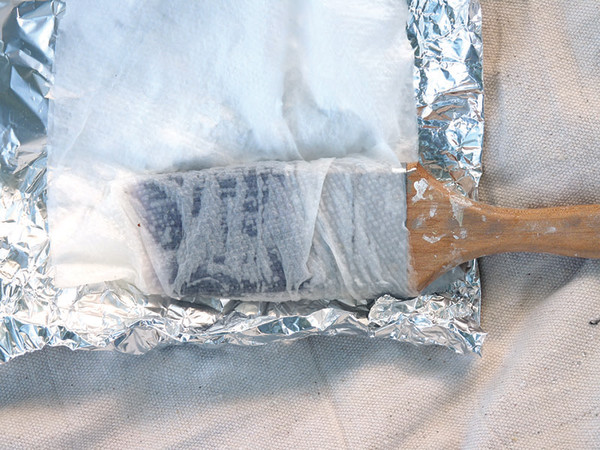
Notes on Oil Paint
Most DIY painters and even professionals today are using latex paints, given their improved performance under regulations limiting VOCs. When a job calls for an oil-based or alkyd paint or varnish, be sure to use a natural-bristle or nylon brush (not polyester). The cleaning solvent will be paint thinner; follow good practice for ventilation and to avoid fire.
The Pro Tip
“Paintbrushes are not all-purpose; choose one for the task at hand. A brush with a lot of bristle flex holds a lot of paint and creates a smooth finish, but will get floppy with extended use. Brushes with firm or extra-firm bristle flex hold less paint, but are good for cutting straight lines.” —Steve Jordan


