

The author used a simple repair technique to fix the rotting soffit on his 100-year-old barn.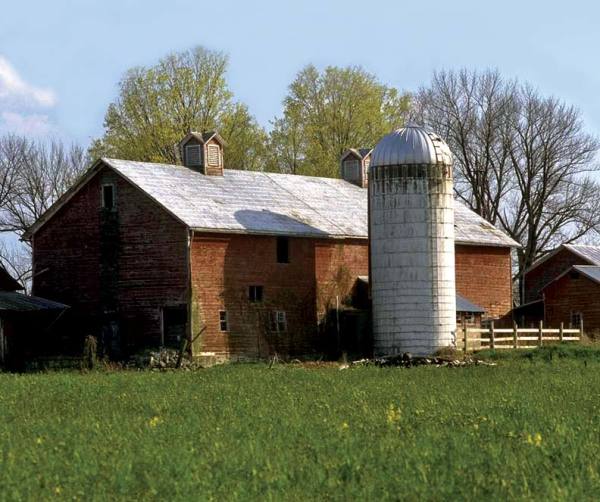
From a distance, it was clear: My century-old barn needed a complete paint job. But after closer examination and a little poking around, I realized the situation was more critical than cosmetic—there were some serious woodwork repairs to be made. More specifically, the soffits and cornices were showing signs of decay. I always approach this kind of work with an organized, step-by-step method that has proven effective over the decades I’ve spent preserving such fine, old structures. No matter if you’re fixing a barn or a historic home, here’s how to mend your soffit ends and cornices to ensure your structure will stand the test of time.
1. Determine the type and extent of the deterioration
A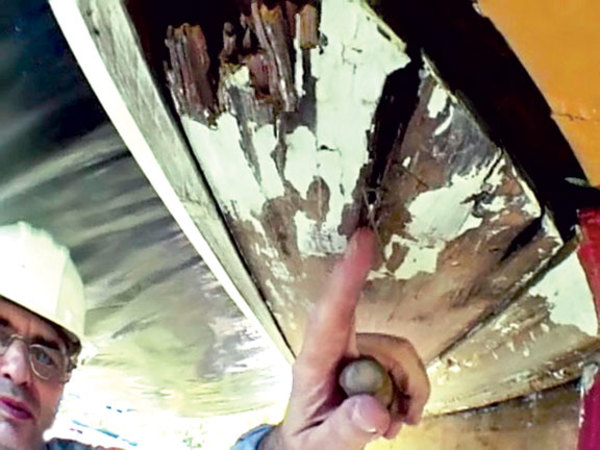
The first and most obvious step is to look for rotten wood. Structural movement of the building may shift the cornice woodwork, opening up joints. This breaks the paint film, letting water soak into the end-grain causing checks, splits, and decay.
The decay is easiest to spot where the wood is completely missing, but be sure to look for other telltale signs. Paint peeling down to bare wood [A] indicates there has been a high concentration of moisture in the wood, perhaps enough to support the growth of fungus. Poke into the wood with a sharp awl or ice pick to discover soft, decayed wood at the surface. Also, tap the surface of the wood with the handle, and listen for the sharp ring of sound wood or the dry hollow thud that indicates a thin (1/16″ to 1/8″) layer of sound wood right at the surface, but rotten wood is underneath.
Once you find deterioration, determine how far it extends. Often decay and splits are worst at the ends of the boards, with conditions improving further in. Splits usually continue at least a few inches deeper than are first apparent. There also may be deterioration along edges and in the middle of a board, so careful assessment is needed throughout. When you find a decay pocket or a split, look at similar locations where you may discover more of the same.
B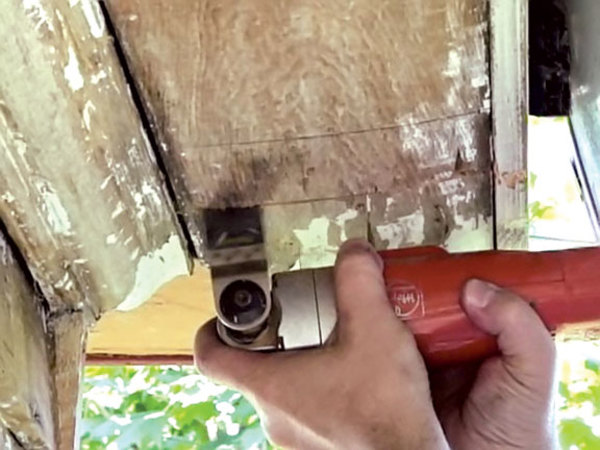
2. Plan the repairs
There are four basic types of repair techniques: wood Dutchman (a patch), lap-joint splice, wood-epoxy repair, and complete replacement.
On my barn project, I knew I’d have some extensive repairs. Every corner of the cornice had decay and splits in the end of at least one soffit board, but thankfully, the rest of the soffits, running about 160 lineal feet, were in good condition. Since less than 1 percent of the length of the soffit boards needed work, it was worthwhile to make spot repairs, instead of considering complete replacement. I used a mix of Dutchman, lap-splicing, and wood-epoxy methods for fixes. Here, I’ll show you how I repaired the end of a soffit board with the traditional lap-joint splice repair method, which removes the deteriorated board end and splices on new wood.
C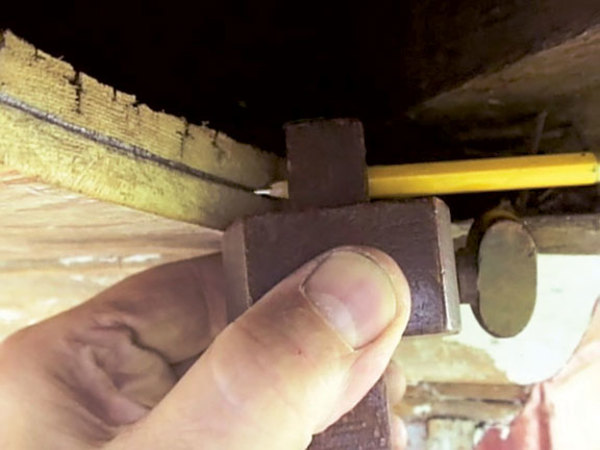
First, with a pencil and a combination square, I mark the soffit boards where I need to cut. Then I cut off the deteriorated end of the board [B] and examine the pieces closely to determine if there is more deterioration to remove, in which case, I mark a new joint a few inches along, cut it off, and repeat the process until I hit structurally sound wood.
3. Design and lay out the joint
Now that I know the conditions of the board in detail, I can design an effective joint. Here, I’ll use a 3″-long half-lap joint. I lay out the joint with a pencil, combination square and marking gauge (as in Step 2). I mark the shoulder of the lap 3″ back from the end of the board, using the square to make it 90 degrees to the edge of the board. Then, I set the marking gauge for half the thickness of the board and mark the cheek of the joint [C] on the end of the board.
D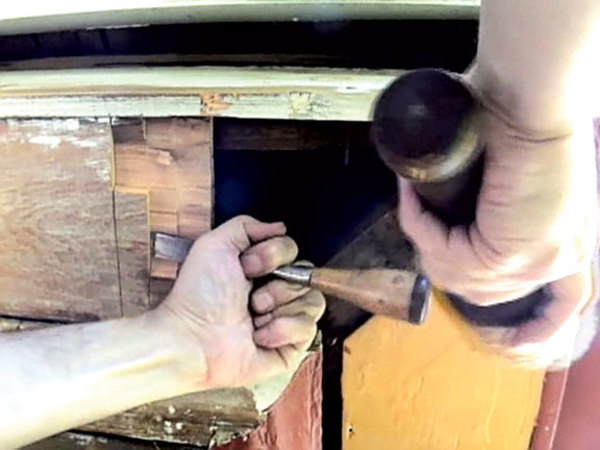
4. Cut and shape the joint
Next, I cut the shoulder. The depth of this cut extends only halfway through the board. I like to use a Fein multi-tool fitted with a saw blade, which goes a bit slow, but gives me more control for these tricky cuts. Working with a mallet and sharp chisel, I split away the waste [D] and pare down the surface of the cheek until it is nice and flat.
5. Create the replacement part
E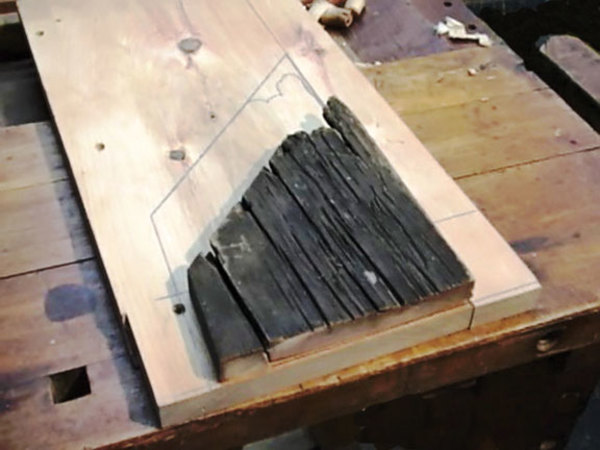
In the shop, I make the replacement part using the old board end as a pattern. The original soffits are made of heartwood Eastern white pine, so I select a board of the same.
At the end of the boards, I match the annual growth ring pattern so the new board will expand and shrink with changes in moisture content, as the old one did. This will help the joint be more stable and last longer. I trace around the old board [E] to set the shape of the new part, allowing an additional 3″ in length for the lap joint and avoiding defects like knots. Then I shape the part, cutting to the layout marks and overlap depth with a handsaw, hand plane, chisel, and mallet.
6. Assemble the repair
Back up on the scaffold, I check the part in place, trim it to fit, and drill shank holes in the new part for screws to hold the joint together. Then I glue it into place with an epoxy adhesive. (Any flexible weatherproof adhesive will work.) After spreading the adhesive, I set the part in place and drive in the screws [F] to hold it tight until the adhesive cures.
F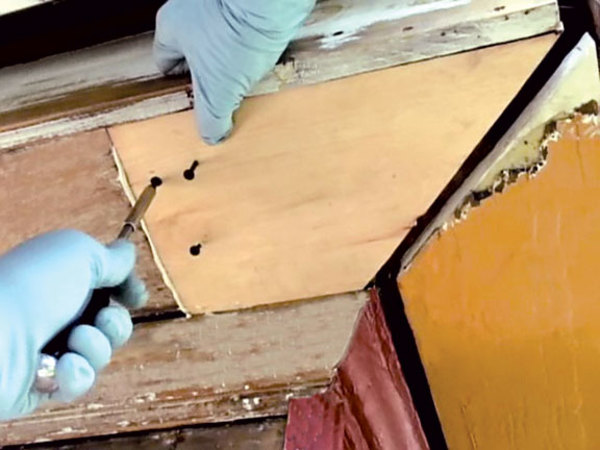
7. Sand and finish
A light sanding completes the wood lap-joint splice repair, and it’s ready to be painted.
John Leekeis still working on his barn in Portland, Maine; his wife hopes he’ll finish it one of these years. More details of this repair, the rest of the barn project, and other carpentry solutions can be found on his web site.


