

After years spent weathering the elements, the caulk around this old door was beginning to fail.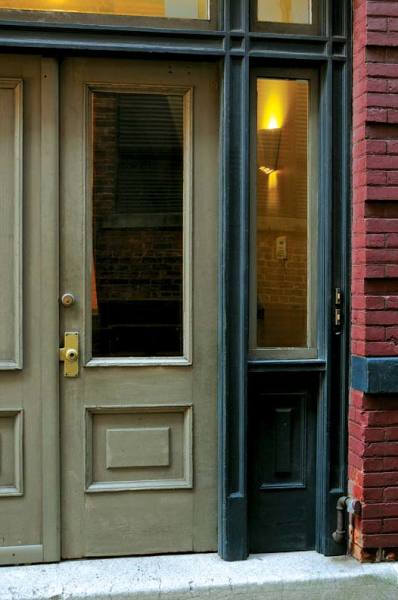
Caulking an exterior door helps keep out the weather—both air infiltration that leads to chills and higher energy bills, and water that can lead to moisture damage. Caulking is a straightforward DIY repair, one that needs to be periodically updated through the years. If the caulk around your exterior doors is crumbling away or exhibits breaks or gaps, it could use refreshing.
Step 1
First, collect your tools: exterior caulk, a caulk gun, 5-in-1 tool, box-cutter knife, some type of mini pry bar (we used a beekeeper’s hive tool, which has a nice sharp edge), backer rod (foam cording), and a metal ruler. It also helps to have cleanup supplies at the ready: rags and water or paint thinner, depending upon your type of caulk (always follow manufacturer recommendations). We suggest using a caulk that is flexible, water-resistant, and paintable.
Step 2
Start by removing all traces of the old caulk and any backer materials. Use the pry bar to slice away the old caulk, the 5-in-1 tool to start digging out the backers, and your fingers to pull each away in lengths. You’ll want the area to be as free of debris as possible before installing the new materials.
Step 3
Next, evaluate your opening: Any gaps larger than 1⁄4″ need to be stuffed with a foam backer rod to improve the seal—caulk alone can’t bridge the distance (and your new caulk will soon open up over these larger gaps if you skip this step). Compress the foam backer rod and carefully stuff it into the space, using the 5-in-1 tool to push it to an approximately uniform distance behind the opening. (Most manufacturers recommend a 1⁄4″ depth.) Double-check this measurement with your ruler
Step 4
Then it’s time to apply the caulk. Be careful to cut the caulk tube at a 45-degree angle (using the box cutter), and run a test bead on a piece of cardboard before beginning. If your test bead is too narrow to adequately cover the gap, you’ll need to cut the tube’s opening a hair larger. Caulk slowly, and with a steady hand, aiming to create a solid bead down the length of the casing. If your gap was smaller than 1⁄4″, the final touch is to run your finger down the bead to give it a slightly concave surface. However, caulk beads applied over a backer rod can pull away from the casing after this is done, so are better left alone.


