

There’s a word for the singular gift time bestows on so many materials: patina. And there’s a reality I’ve found as my wife and I move forward with the restoration of our home: Sometimes nature needs a hand to speed things up. That helping hand is the art of patination.
We expect to see patinas adorning historic homes simply because we’re dealing with old buildings on which the colors have naturally changed with age. The irony is that in the case of Victorian residences, the original owners would be horrified to see that their once shiny doorknobs, sconces, and window fittings are now a dull brown, and they’d immediately call for a maid armed with wax and brick dust, two of the period’s popular polishing tools.
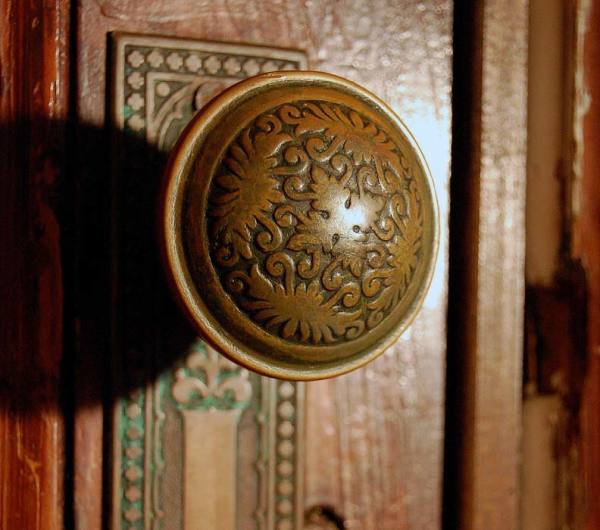
But Arts & Crafts-era designers didn’t want gleaming hardware; they wanted more natural, earthy tones. In some cases, notes Manhattan-based jeweler, artist, and restorer Audrey Werner, they created designs with intricate details that were only visible when patinas were first applied and then removed in the high spots. Much of the expertise and techniques of the Arts & Crafts era survive. And that’s good news for restorers, because there’s been a lot of metal polishing done in the years since the height of the period, not to mention the fact that new metal, whether it’s a switch plate or the copper sheen of a recently installed roof, could use a little “age.”
A variety of solutions were and still are used to create patinas—everything from urine and wood shavings to sophisticated and incredibly toxic lead-based compounds. But most patina experts agree that nothing beats the natural colors created by the oxidation of common metals.
Whether a feature is being restored or repaired, there are two distinct worlds of patination—interior and exterior. Though similar rules hold true for both applications, interior patination is more complex and subtle than that for exteriors, since the pieces frequently have intricate designs. Also, many of the delicate colors that can be achieved simply couldn’t survive in an outdoor environment.
Anyone familiar with basic restoration techniques can probably tackle patination, if he or she follows a few basic steps. I’ve broken those steps down for both interior and exterior applications below.
For Interiors:
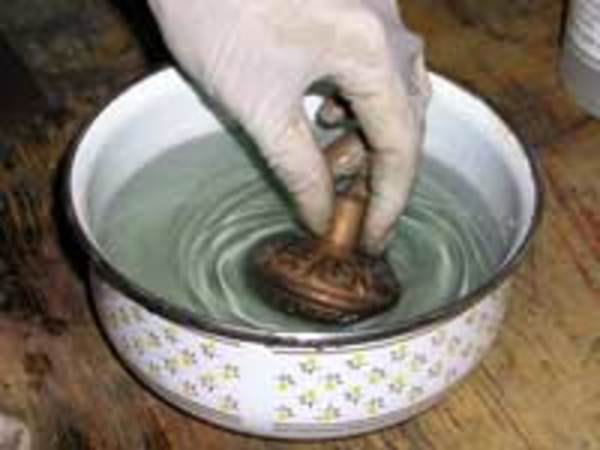
1. Start dipping.
A series of short immersions in your patina solution will work better than long dunks. Some patinators say it’s also a good idea to warm the items first, since metals seem to absorb chemicals better when heated. After each immersion, an item should be checked to see if its color is approaching the preferred depth; more immersions will create darker shades.
2. Rinse.
It’s crucial to rinse an item off in distilled water once it has reached the desired shade. This will freeze patination exactly where you want.
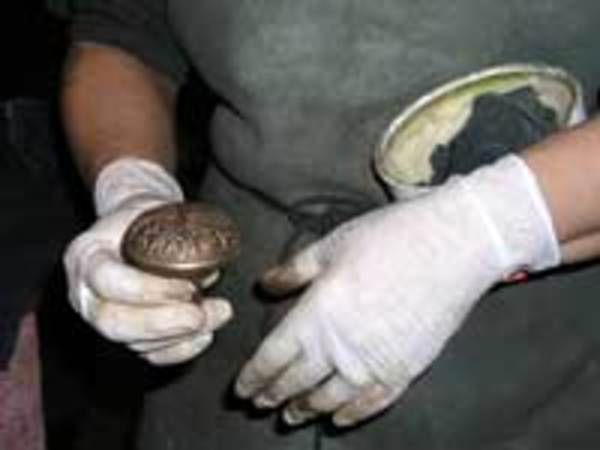
3. Remove highlights, if needed.
Often the best patina effects occur when coatings are removed from high spots and allowed to remain on low-lying areas. This makes subtle details far more apparent, and adds to the drama and depth of a piece.
4. Protect it.
Most patinators dislike lacquers, which can chip and peel over time. Instead, use a paste wax similar to that applied to floors to protect your patina, then buff. This will give finished pieces a traditional tone while helping blunt the impact of further, natural oxidation.
For Exteriors:
1. Chose a patination mix that is designed to withstand outdoor environments.
Not many chemicals can, so make sure the ones you choose specifically have this capability.
2. Clean and prepare the surface.
Wash the metal with mild detergent (again, Joy is the soap of choice). Brand-new metal often has a coating of oil, and this must be removed. Polished surfaces should be lightly scuffed to give the chemicals a chance to work.
3. Test the patination chemicals.
Either use scrap metal or test the mixture in an inconspicuous area. Once the test has been done and you’re satisfied with the results, see how many square feet a gallon of solution will cover, then order the total amount you’ll need.
4. Apply the solution.
Since dipping is not possible for an entire roof or even trim, apply the patination chemicals with a rag, brush, or foam applicator. The chemicals themselves will generate the protective coating, so wax or lacquer is not needed.


