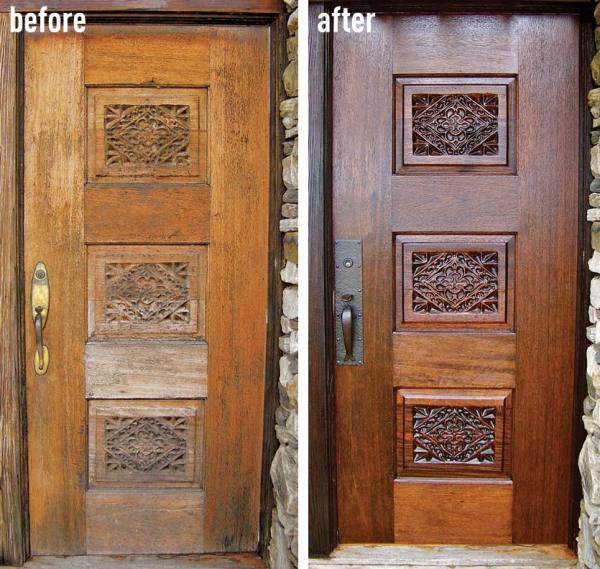
Every exterior wooden door will need refinishing sooner or later, and mine was no exception: Exposure to the afternoon sun had left the varnish peeling. The previous owners may not have selected a quality exterior finish for the door, or perhaps they didn’t prepare the wood properly. But when you combine proper preparation with a finish designed to withstand the rays of the sun, it should last for several years, not just months.
Before You Start
Stain and varnish always penetrate better on a horizontal surface, so to get the best results, take the door off of its hinges. (You’ll need a partner, as solid wood is heavy.) To cover the door opening, make a temporary barrier—a sheet of ½” exterior plywood, cut to the same dimensions as the door—and screw it into the jamb. Position the door on a workbench or a pair of sawhorses, with a dropcloth underneath. (Stain and varnish can leave lasting marks on floors.) Don the protective gear, and make sure the area is well-ventilated.
Tools & Supplies
- Scraper
- Two natural-bristle paintbrushes (one for stain, and one for varnish—it’s OK to clean and reuse finish brushes for staining, but a fresh, new brush affords the best varnish)
- Synthetic scrub pad
- Mineral spirits
- A reputable stripping agent (I avoid no-rinse or water-rinse removers, as I find them less effective)
- Stain to match your wood
- Exterior spar urethane varnish
- Heavy-duty rubber gloves
- Safety glasses
- Long-sleeved shirt
Step 1
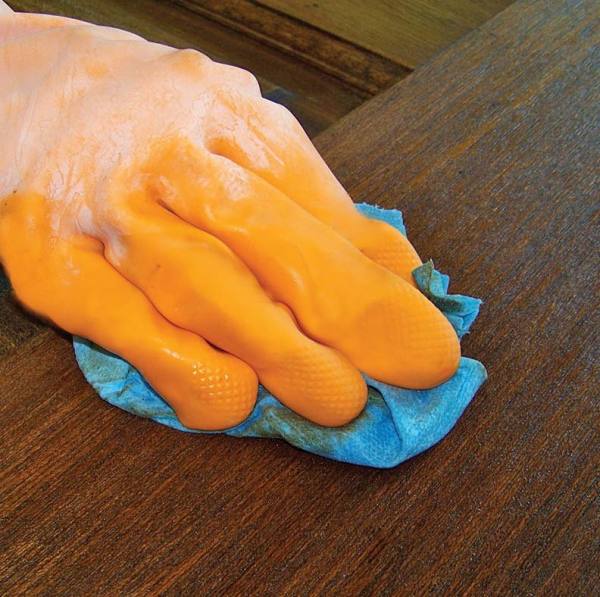
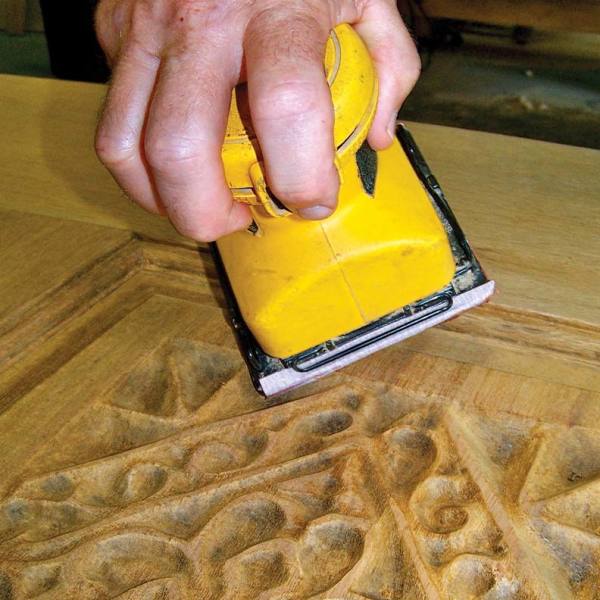
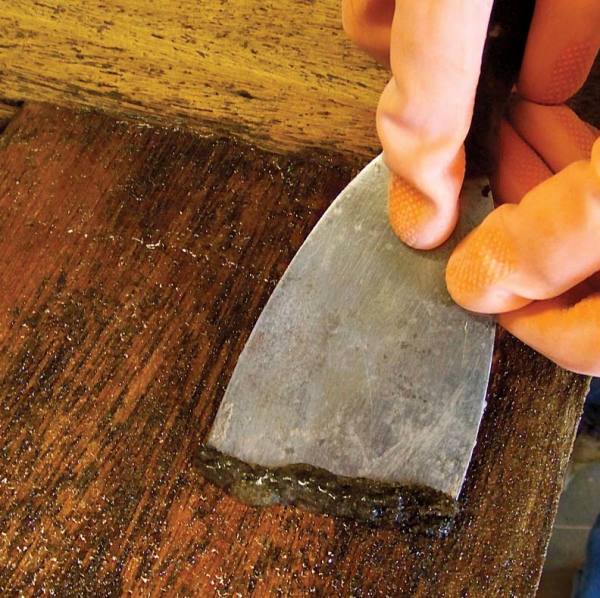
Apply a thick coat of remover and let it sit according to the manufacturer’s directions. As the remover softens the old finish, it will begin to bubble. Use a wide scraper to carefully remove most of the finish (above, left), then rub with a coarse scrub pad dipped in mineral spirits. Make a third pass with a rag dipped in mineral spirits to remove the last of the wax and open up the wood’s pores. Wait a day, then lightly sand the door with 180-grit sandpaper on an orbital sander (above, right) and remove the wood dust with a utility vacuum.
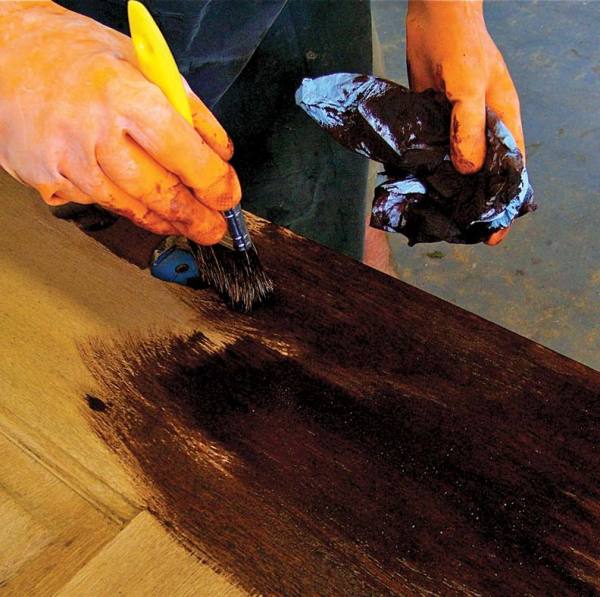
Step 2
Use the paintbrush to apply stain liberally, working on one panel or wide board at a time. Brush on the stain, wait about three minutes for it to be fully absorbed, then wipe off any excess with a clean rag. Stain is designed to dry in the wood; if extra is left on the surface, it becomes a sticky mess. Repeat until you have covered the entire door. If you’re doing both sides, let the first dry overnight before flipping it over. Even so, be sure to protect the first side with a soft, clean blanket when you flip it.
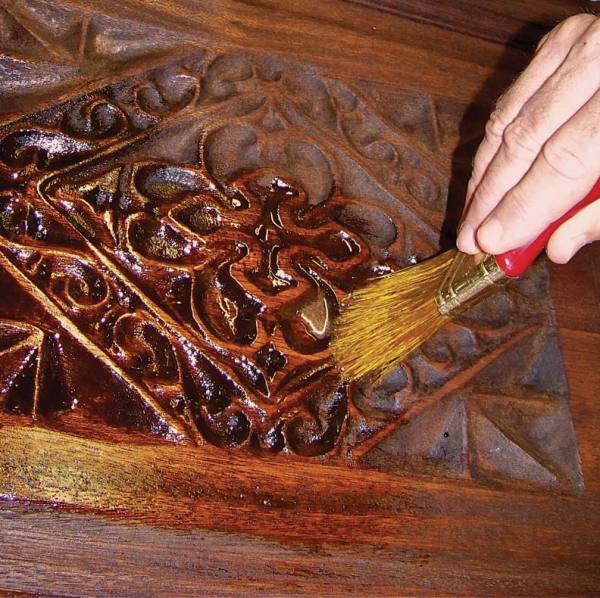
Step 3
Let the door dry overnight to ensure the stain is locked into the pores of the wood. (Skipping this step will give you a cloudy result.) Next, apply your exterior spar urethane varnish with a natural-bristle brush to get a smooth, even coat. Start with the center panels and work your way toward the outer edges. If you have recessed areas (like my carved panels), use a foam brush to absorb excess varnish. Less is more—three thin coats of varnish offer better protection than one thick one.
Step 4
After each coat of finish has dried, lightly sand by hand with 220-grit sandpaper. This removes any dust that landed on the sticky surface and creates tiny grooves for the next coat to adhere to. The sandpaper should create a fine white dust; if it creates tiny balls of finish, the varnish needs more time to harden. Remove the dust with a tack rag, a cloth dampened with mineral spirits, or a shop vacuum. As a final step, you can apply a fourth coat of urethane along the bottom edge to prevent moisture from invading the door from the bottom.