Story and photos by Lynn Elliot
The author’s brass 1920s chandelier flickers no more after an adroit rewiring project.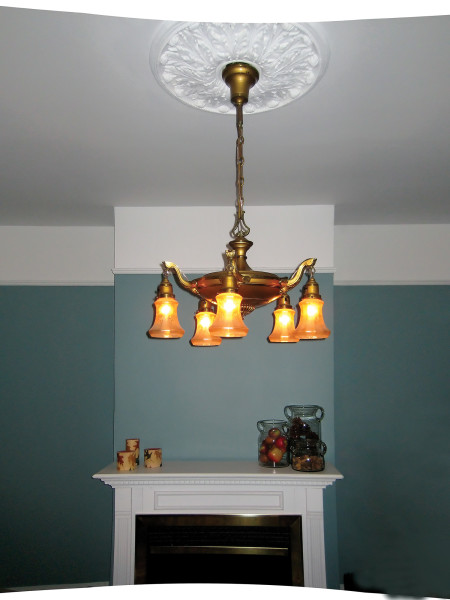
As I watched one of the bulbs in my living room’s antique ceiling fixture flicker on and off yet again, I ticked off a mental checklist of potential repairs. My husband, Todd, and I had already examined the bulb and the light switch for faults, and found none. It was time, we realized, to rewire and change the sockets of our brass lighting fixture, one of many that was beginning to fail in our circa-1900 house.
The lighting fixtures in our Colonial Revival-style home in Staten Island, New York, were installed when the house was converted from gas to electricity in 1920. A few of the fixtures had been rewired some 30 years ago, but most still had the original wiring. In addition, almost all of the sockets were original—and most of them were starting to fail.
Because we had some experience with electrical work—we had run wiring, installed light switches, and hung fixtures during our years of home restoration—my husband and I decided to rewire the fixtures ourselves.
(A)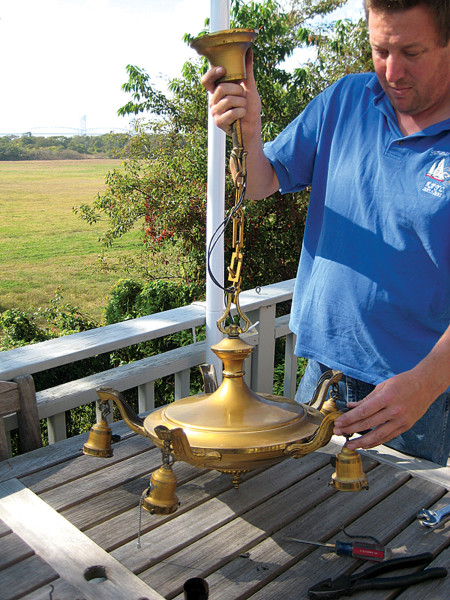
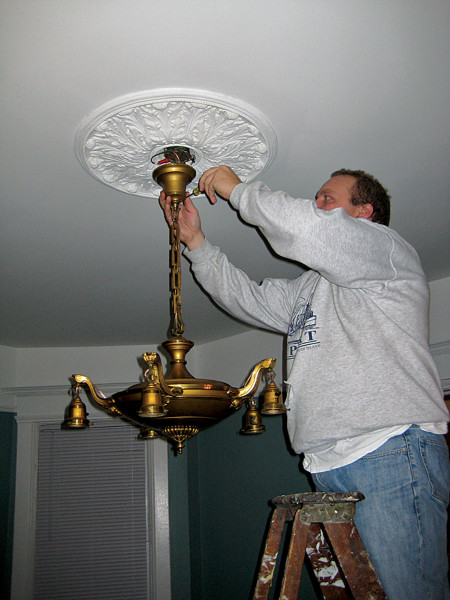
Step 1:
Turn off the power to the fixture at the service panel, and remove any shades. Unscrew the retaining nut or mounting screws on the ceiling canopy [A]. Many fixtures have canopies held in place by a retaining nut; our bell-shaped canopy was attached by three mounting screws that pressed against, but didn’t screw into, a brass shaft. Once the nut or screws are lose, slide the canopy down the chain.
(B)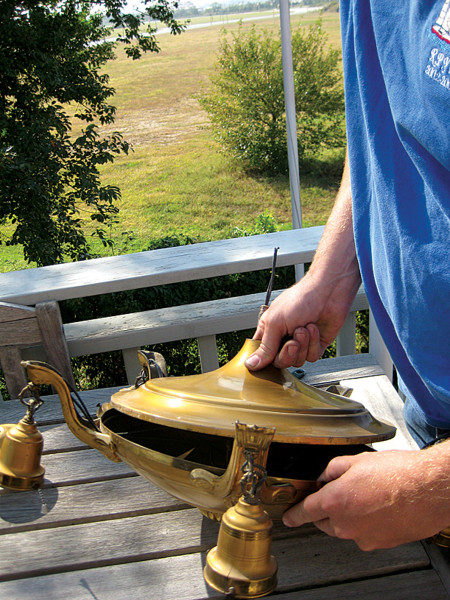
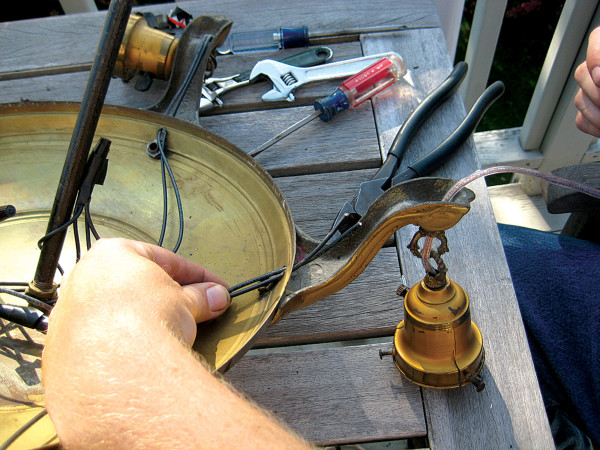
Step 2:
Be certain the power is no longer flowing; test the fixture’s wires with a circuit tester [B]. If it glows, return to the service panel to find the correct circuit breaker to turn off. Once you’re sure the electricity is off, remove the wire connectors and unwrap any electrical tape to disconnect the fixture’s wires from the ceiling. Support the fixture as you do this; never let a fixture hang by electrical wires.
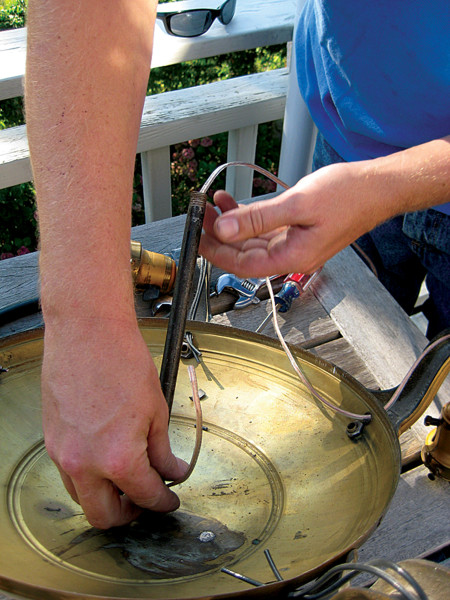
Step 3:
Unscrew the chandelier from the threaded nipple and take down the ceiling fixture. (If the chandelier is particularly heavy or delicate, you may need a helper.) Modern fixtures are attached to the ceiling by an electrical box, with the threaded nipple run through a mounting strap. Our fixture was installed onto a now-defunct gas pipe by a nipple that was threaded on two sides.
(C)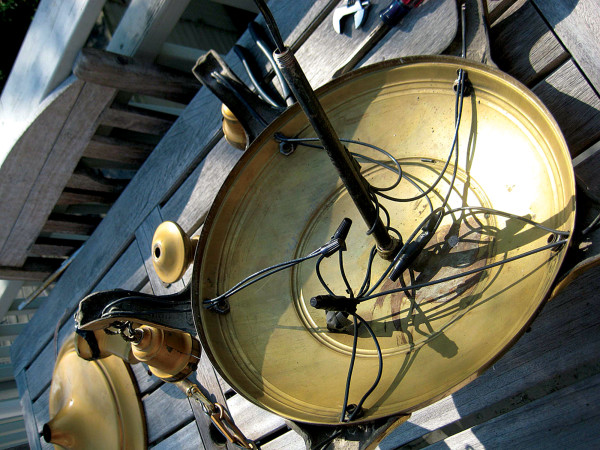
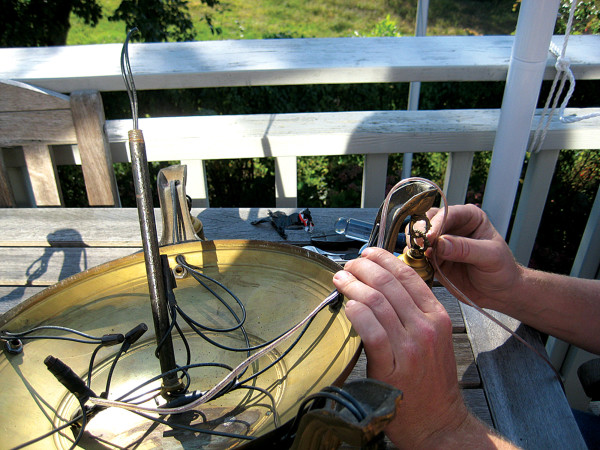
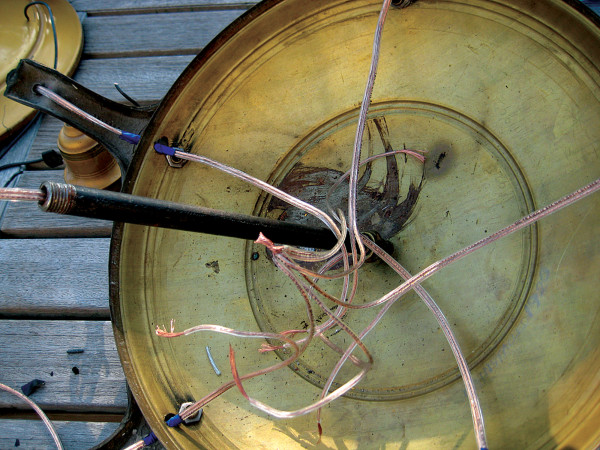
Step 4:
Next, you’ll want to access the wires in the fixture and disconnect them from the fixture. To expose the wires for our ceiling fixture, we had to unscrew the cap and chain at the top, then separate the top pan of the fixture’s main body by gently loosening it with a screwdriver [C]. Some fixtures only have a cap that needs unscrewing; others have wiring that’s easily exposed once a dome shade is removed.
Step 5:
Remove the socket and its wires. Once the wires have been removed, some socket housings may be connected mainly by the wires, and can detach (ours did). The socket in our fixture was brass with a cardboard lining and a turnkey screwed into place, but some sockets may have retaining rings to hold them in place. (If the rings are damaged, they’ll need to be replaced.)
Depending on the age of your fixture, finding a replacement socket may be a process of trial and error. A socket with a plastic outer shell didn’t fit in our socket housing, but a brass socket with a brass outer shell was a perfect match.
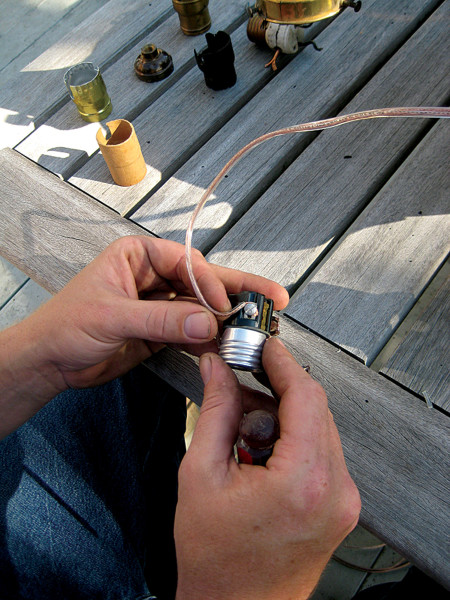
(D) (E) (G) Step 6: Connect new wire to the replacement socket, considering your fixture’s needs. We used regular lamp cord that could handle 500 watts of power. Our chandelier has five arms, so each socket would be able to handle a 100-watt bulb, more than sufficient for our needs. To connect the wires to the socket, examine the lamp cord, looking for the wire that feels rough or has a raised stripe or a mark (ours had a black dotted line); this is the neutral wire. Connect the neutral wire to the silver screw on the replacement socket [D]. The hot wire should feel smooth or be devoid of markings; it gets attached to the brass screw on the socket. Wind the wire around the socket’s screws in a clockwise direction, then tighten the screws. Return the socket to its housing [E], then thread the remaining wire through the arm of fixture [F], leaving some excess wire in the center of the fixture’s main body [G]. (We also wrapped electrical tape around the wires where they entered the main body.) Repeat Steps 5 and 6 with all the arms on the fixture. (H) (I) Step 7: Connect all the socket wires to the main wire [H]. First, strip the ends of the wires with a wire stripper, then gather all the neutral socket wires and the main wire together, and twist their ends in a clockwise motion. Next, twist a wire connector atop them [I], making sure no strands stick out (this can cause a short). Give the wire connector a tug to make sure it stays put—if not, you’ll need to try again. Repeat the process with the hot wires. (J) Step 8: Thread the main wire through the top of the fixture, then put the fixture back together [J]. To meet code in our area that prevents fixtures from hanging by wires, we had to run the new wire beside the chain rather than threading it through. Check your local codes and reinstall your fixture accordingly. Once all wires have been properly reconnected, you can flip the switch and enjoy flicker-free lighting.