

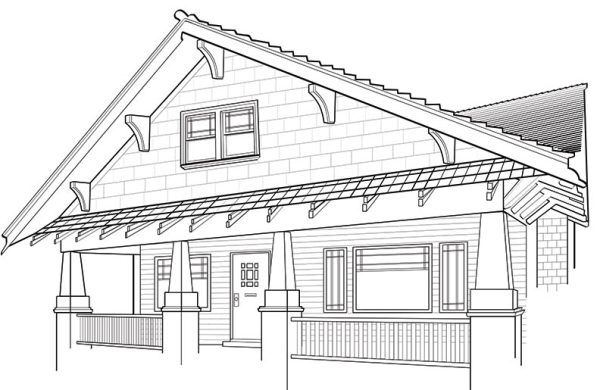
The bracing beauty of brackets can perk up a bungalow roofline, adding to the curb appeal of your home. Brackets are available in wood (and resin and plastic) that can be finished to match exteriors either before or after installation, and they often come with marked drill points or pre-drilled holes. However, some may require an L-shaped brace made of 2x4s anchored to the wall, over which the bracket is slipped—these will have a channel on the back for this purpose.
Step 1
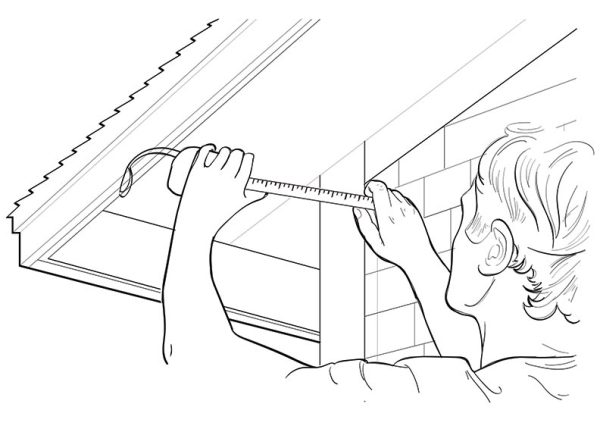
Before ordering brackets, measure your eaves from the edge of the roof to the wall to determine the length of the top part of the bracket. Next, determine how many brackets you will need. Craftsman houses, like the one shown, tend to have either three or five brackets placed along the gable, with one of them at the peak, while Italianate houses have brackets in pairs set a few inches apart, and spaced 12″ to 18″ from the next pair. Check the length down the wall to make sure the brackets won’t overlap any doors or windows they may be near.
Step 2
If the bracket has them, drill any pre-marked holes. Then, hold the bracket against the wall and mark all of the corners. Next, mark the screw holes on the wall, and drill holes that are slightly smaller than your screws. Align the holes on the bracket with the holes on the wall, and check to see that the bracket is level and plumb. Secure it with stainless steel screws.
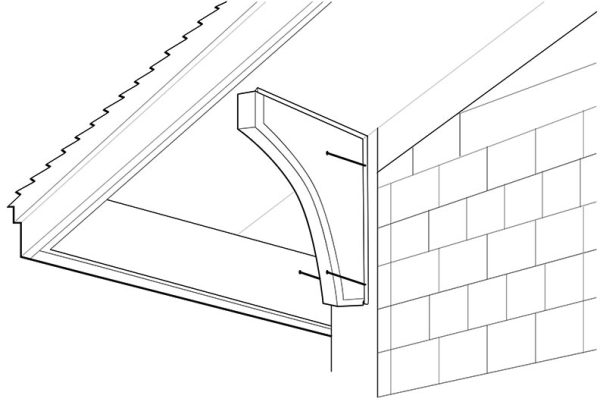
For the type of bracket with a brace, mark the position of the brace, making sure to position it level, plumb, and with enough room around it for the bracket to sit snugly. Secure it with screws. Slide the bracket over the brace, and attach the bracket with screws.
Step 3
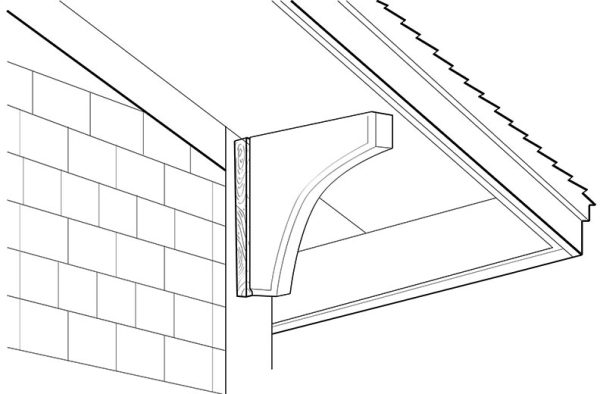
For all types of brackets, countersink screws that will show, and cover the holes with a filler that matches your bracket’s material. (If the bracket was pre-finished, sand the dry filler and touch up the paint.) Finally, run a thin bead of clear or white silicone caulk around the edges of the bracket and, if needed, smooth with a damp sponge. This will keep the weather out and ensure a long-lasting installation.


