Glass-fronted cabinets often appeared in old butler’s pantries, where they displayed contents for easy retrieval. Adding glass to doors made with panel-and-frame construction is a straightforward project that can highlight collections, lighten up the room, and add a new focal point in period style.
Step 1
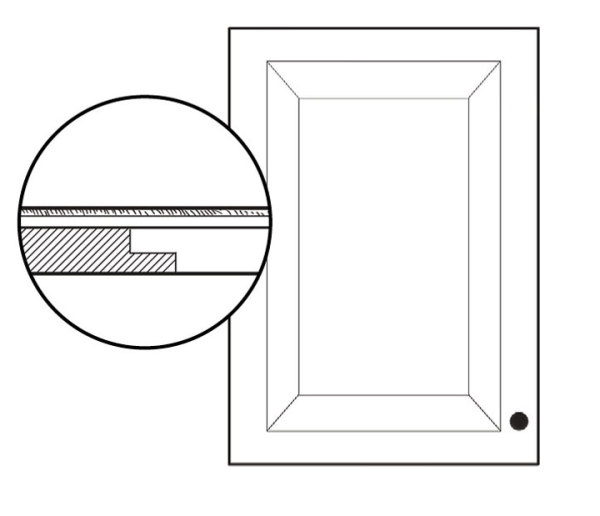
Remove the cabinet door and its hardware, and lay it face down. Use a router to remove the backing that holds the door panel in place. To judge the depth of the backing material, check the ends to find the inset piece (pictured) and measure the backing’s depth. Set the router to the appropriate depth (¼” is a good default if you can’t find the inset) and mark a rectangle ¼” from the inside panel edge visible on the cabinet’s front.
Step 2
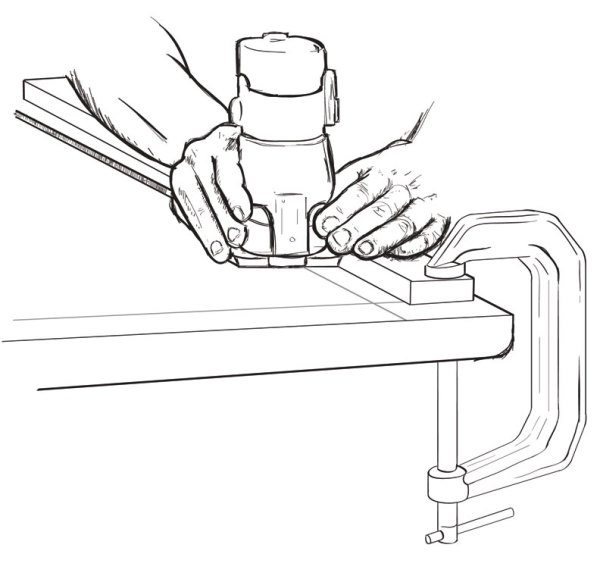
Use a guide—like wood clamped to the frame—to keep the router from wandering as you cut along your mark. For easier cuts, move the router in a clockwise direction. Practice on scrap wood first, then take your time on the cuts, matching them up in the corners. When finished, you should be able to pop the panel out. (You may need to bang on the front.) Sand any rough edges.
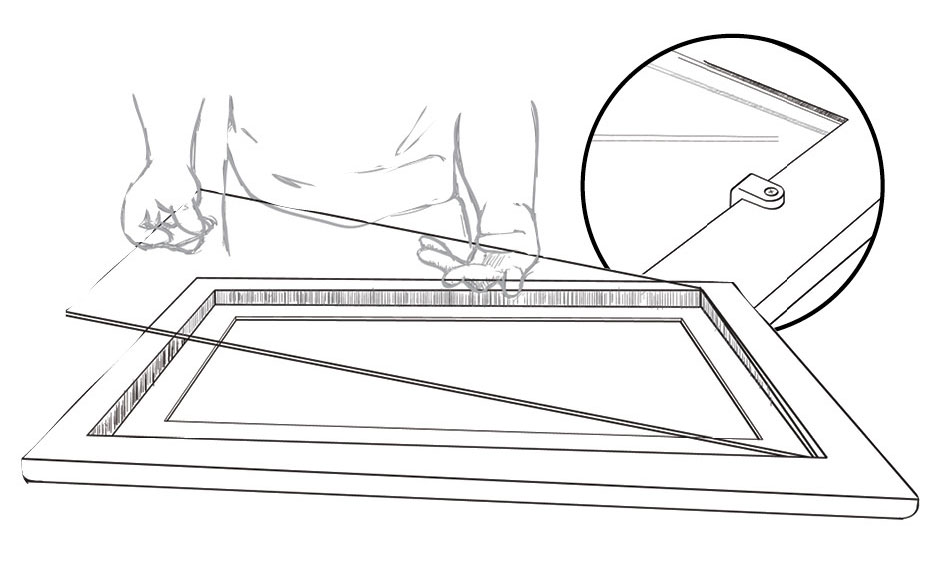
Step 3
The framing that held the panel in place on the door’s front now forms a rabbet. Place a bead of clear silicone caulk around its edge and carefully insert the glass panel; hold it in place for about 30 seconds. When the silicone has dried (per manufacturer instructions), carefully add two glass panel retainer clips, spaced no farther than 12″ apart, on each side of the pane (inset). Replace the hardware and reinstall the door.