

As an Amazon Associate, we earn from qualifying purchases made through affiliate links.
Steps cover repainting of previously painted wood such as clapboards and trim. You can, of course, do some work yourself and hire pros for the rest. Consider tackling one side of the house per year.
Do any carpentry repairs beforehand, including replacement or consolidation of damaged elements. Be sure you have adequately prepared surfaces to support a ladder. Trim shrubbery that’s too close to the siding. Cover plantings with fabric (not heat-trapping plastic) tarps and remove them at night. Using painter’s tape and plastic, mask lamps, mailboxes, meters, etc. as well as windows. Use drop cloths on the ground to contain detergent and scrapings.
Step 1. Rob Leanna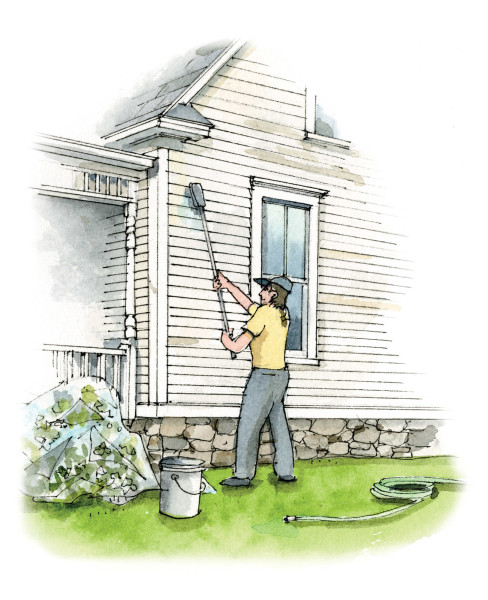
1. SCRUB AND RINSE
The use of a power washer is effective—when done well by someone with experience. The method has the potential to damage the surface, break windows, and drive water into the wall, when done by a novice. It’s possible to prep the surface using just scrub brushes, detergent, and a garden hose. Be thorough, as new paint won’t adhere well to dirt, mildew, or failing paint. Using a hose, a pump sprayer, and a scrub brush is slower but safer, and just as effective.
Wet down the walls, then wash with a mix of 1 gal. water to 1 cup chlorine bleach to 1 cup TSP or equivalent. (JOMAX House Cleaner already has a mildewcide in the formula.) Some people swear by using detergent bottom up and rinsing top down, but in any event, always rinse well before the cleaning solution dries and causes streaks. In good weather, the walls will dry in a day or two.
Step 2. Rob Leanna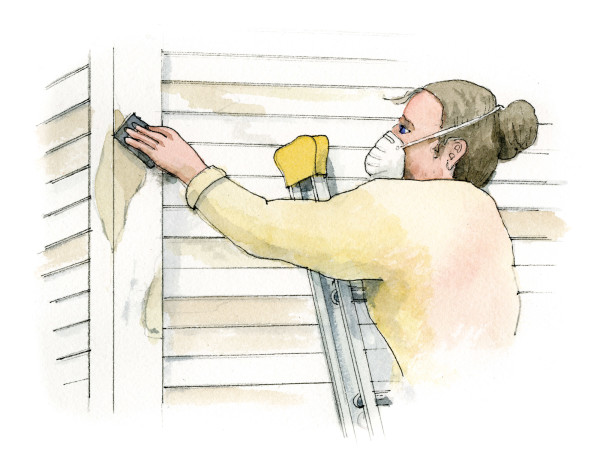
2. SAND AND STRIP
Look for bubbled, chipped, and alligatored paint. [Address the underlying reason for the failure.] Spot-remove paint down to a sound layer. Small random-orbit or pad sanders make a big job go faster. Use medium-grit sandpaper to feather the edges between paint and spots of bare wood. Wear a dust mask for all of this work.
For areas needing stripping, try the Paintshaver Pro, an angle grinder with a dust collector that connects to a HEPA vac. Or apply heat safely with the Speedheater Standard 1100 Kit, which uses infrared rays. Follow by sanding siding smooth with an orbital sander. With power sanders, wear a respirator, gloves, and eyewear.
Paintshaver Pro. Rob Leanna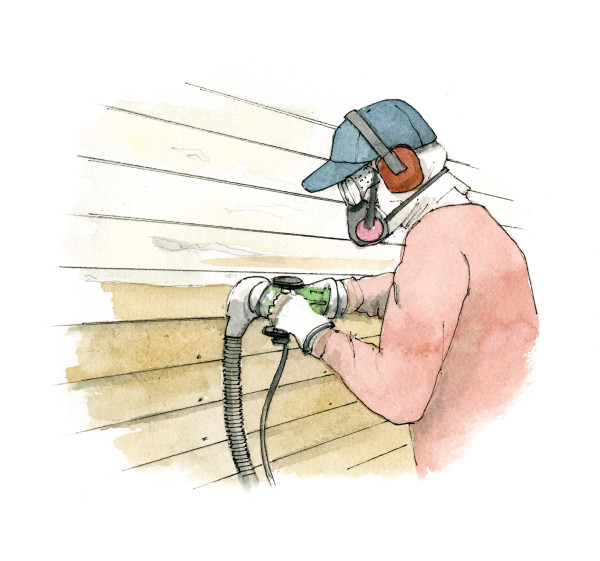
Houses built before 1978 probably have lead paint. Stripping all to bare wood is not usually necessary, but if you do need lead abatement, better to call a pro. DIYers should know local rules about containment and disposal, and wear a NIOSH-approved respirator while working. See epa.gov/lead
3. PREP AND PRIME
Consolidation and epoxy filling, like carpentry repairs, are beyond our scope here. You can fill small, shallow holes and divots with a fast-drying, flexible, exterior filler. Bare, very dry, sun-damaged wood can be prepped with the old OHJ formula: a 50/50 mix of boiled linseed oil and turpentine, brushed on to saturate the wood in several successive coats. This will fill the pores of the wood, repelling water and providing a good surface for the primer.
Step 3. Rob Leanna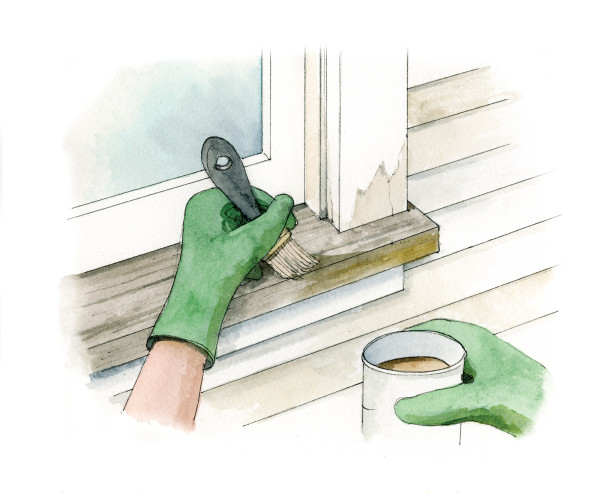
Use a compatible primer on all bare wood, fillers, and areas of chalky paint. Acrylic (water-borne) is usually sufficient, but cannot be used on cedar or redwood; for these woods, use an oil-based primer.
If the paint surface is clean and well adhered, you generally can skip priming. If you are drastically changing the color or the shade of the finish paint, consider having the primer tinted, but not to exactly the same color, as you’ll want to be able to spot missed areas during finish painting.
Caulk after priming. Fill gaps between the body siding and trim, as well as between dissimilar materials such as wood siding and brick. Don’t caulk between siding courses.
A note on scaffolding Its set-up, use, and take-down all come with risk. Most DIYers should not attempt a job requiring scaffolding above a second storey. Keep in mind topography (slopes, soil conditions), wind loads, and personal ability. That said, for many jobs, scaffolding is considered safer than a ladder because it is stable and you won’t be tempted to over-reach. For information, see manufacturers’ websites and osha.gov
Step 4. Rob Leanna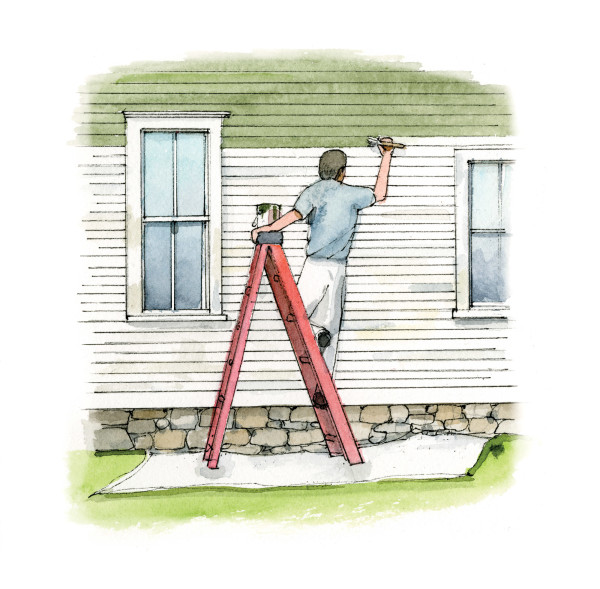
4. PAINT IN GOOD WEATHER
DIYers working on previously painted old wood do best with brush application. Paint large areas first and details last. Where two colors meet, allow time for the first color to dry before returning. Work on the shady side. Don’t paint in high humidity, extremes of temperature, or when rain is expected. “Lay on” the paint using a brush or roller, being generous without creating runs. In a few strokes, cover an area that will remain wet as you go back to “lay off” or smooth the paint. Use a good paintbrush to spread the applied paint evenly, finishing with long strokes. Generally it’s best to apply two thin coats. Do three or four courses at a time, side to side, before moving down to the next. Paint trim last.
Tools & Materials
- tarps & drop cloths
- ladder
- detergent (mildewcide if needed)
- extension scrubber
- hose or pressure washer
- painter’s tape
- paint scrapers
- medium-grit sanding block
- orbital sander
- stripping tool
- exterior caulk & gun
- paintbrushes
- primers and paints


