

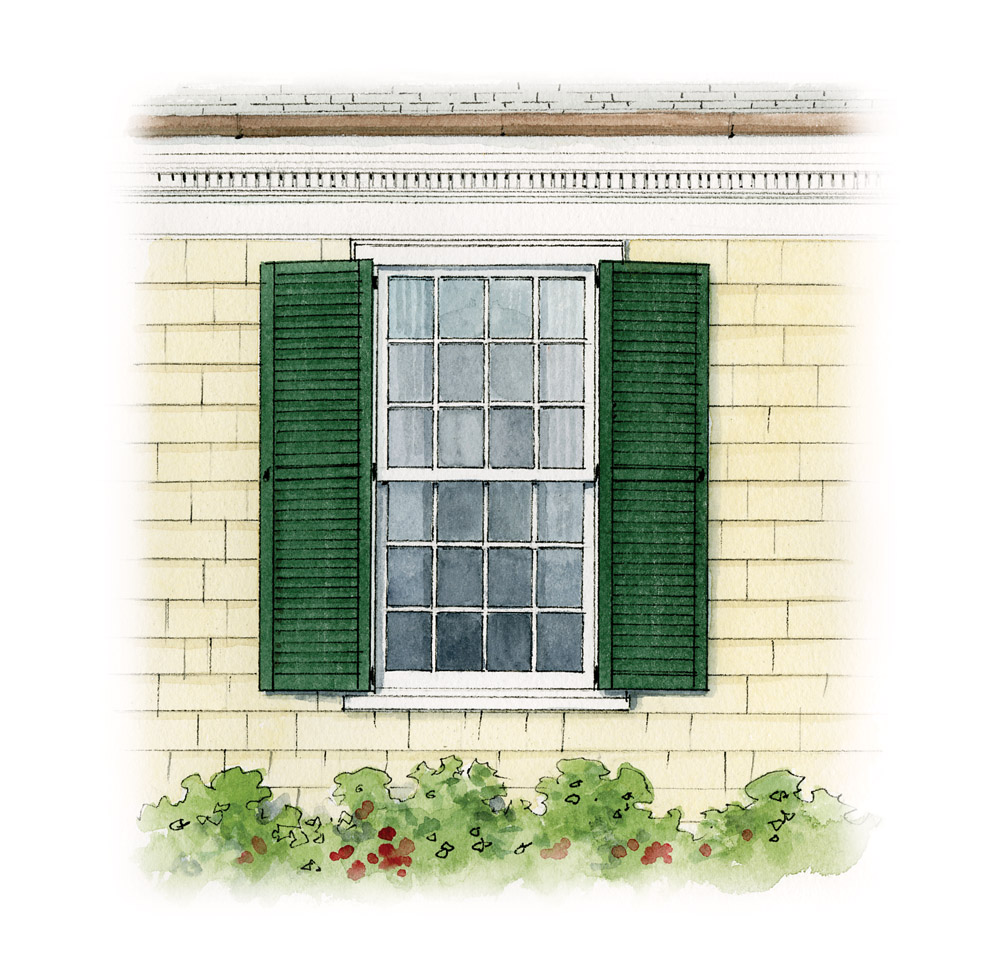
Whether functional or merely decorative, exterior shutters may suffer from peeling paint, joint problems, and decay because they are exposed to the elements. Movable parts such as louvers may break. Do inspect exterior shutters every year and address problems before they progress to the point where the shutters need to be replaced.
Before you begin repairs, prep a work area large enough to lay the shutter down—for example, use two saw horses covered with a plywood tabletop. Then remove the shutter from the window. Have available two clamps at least 12″ wider than the width of the shutter.
Rob Leanna
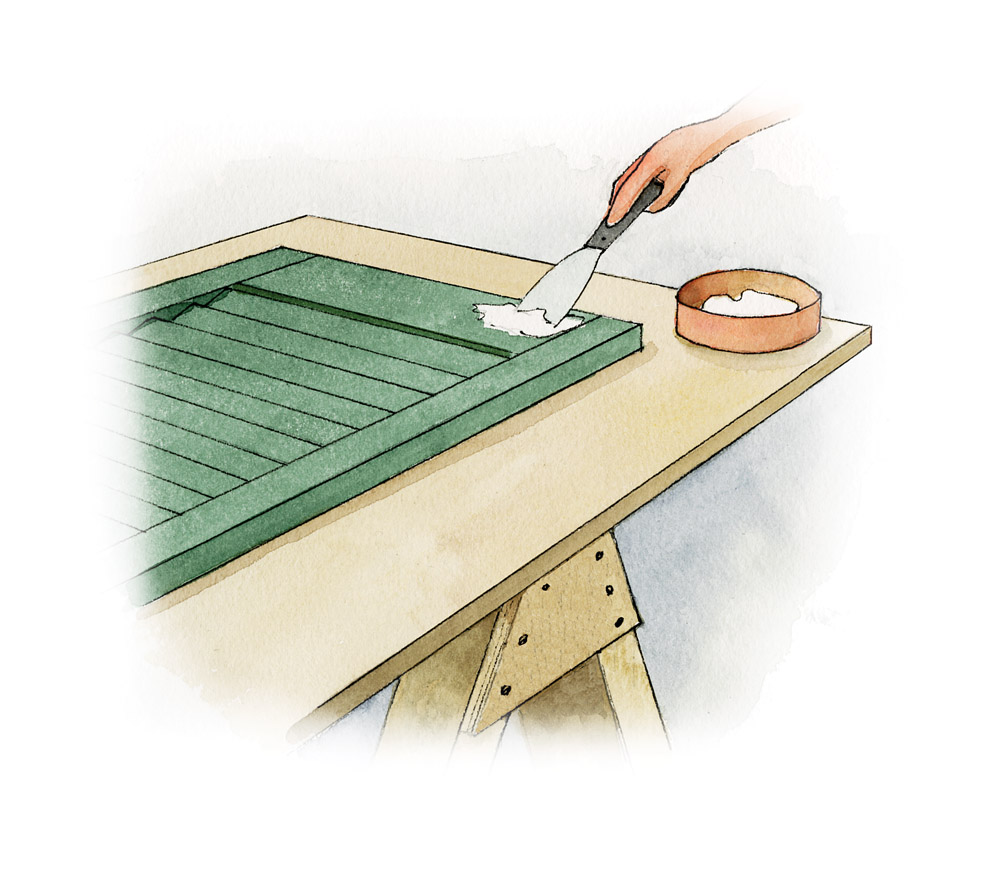
PATCH ROT
Chisel out rot and impact damage with an appropriate tool. Mix a small amount of two-part wood epoxy or even wood filler. Using a putty knife, fill in the hole. Smooth the filler flush with the shutter, and let dry. Sand with a fine-grit sanding block or paper. Prime the area, let dry, and then paint the entire shutter.
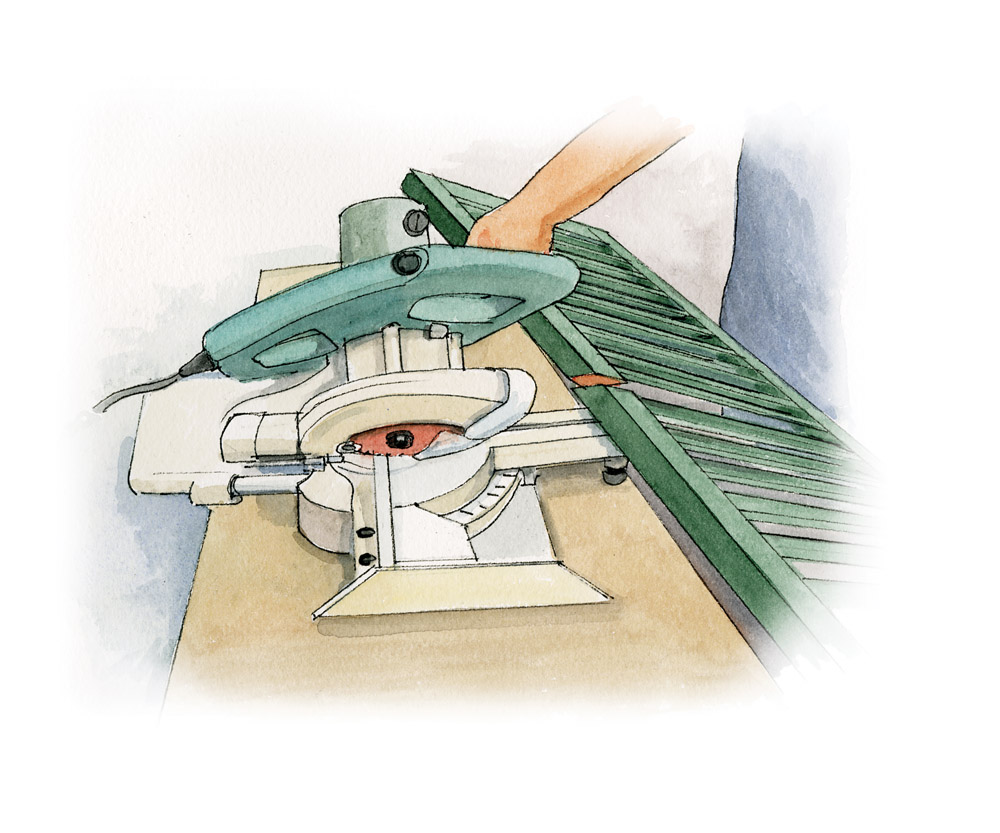
REPLACE DAMAGED AREAS
Remove any screws and tap off the loose part of a stile or rail using a hammer, protecting the shutter with a wood block or shim. For a stile with only partial damage, cut a scarf joint in the fresh wood above the damaged area and remove only the section to be repaired. For middle rails, drill out screw plugs with a 3/16” drill bit. Remove screws on both sides to take out the rail. Make a new piece out of rot-resistant cedar. Measure, and cut the new piece on a table saw. Rout any grooving or round edges to match the original. (If needed, cut the scarf joint.)
Rob Leanna
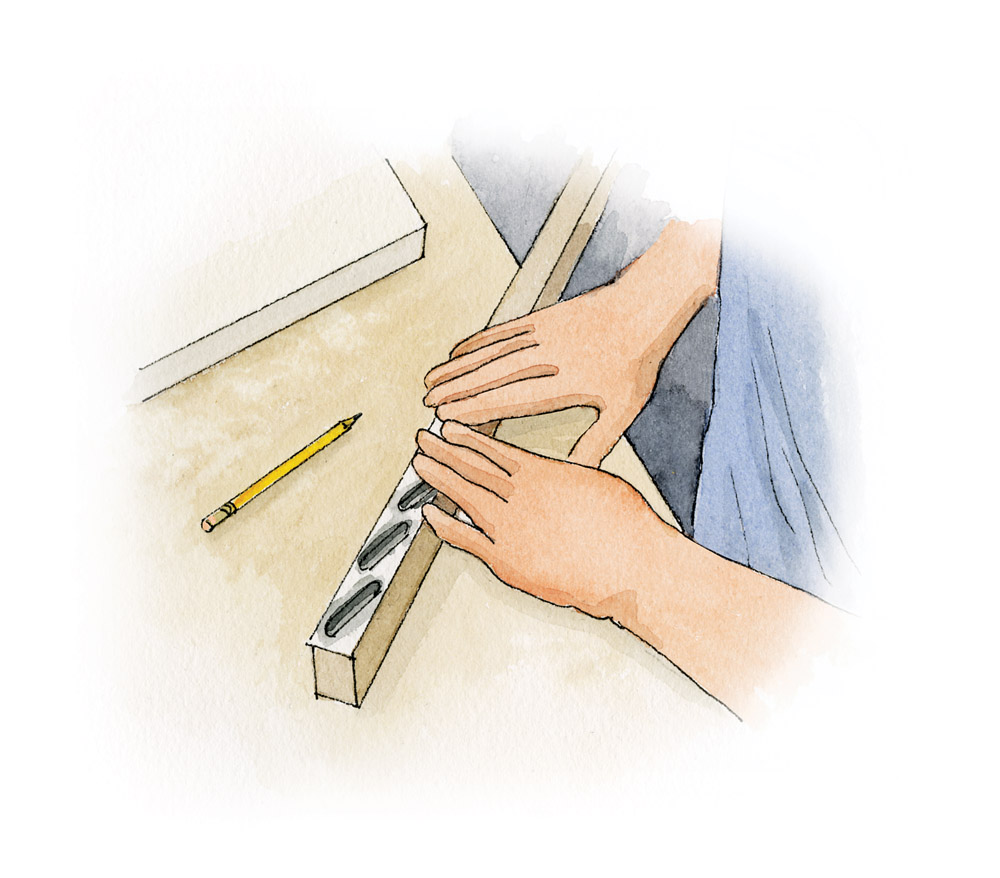
For stiles, measure and mark the slots for louvers along the length of the new piece. To make measuring and marking easier, photocopy or scan the slots of the original stile to make a paper template. (You can cut a thin ½” piece of the slot end off to make it less unwieldy for the copier.) Trim the paper pattern and glue it onto the new piece before creating grooves for the slots. Use a spiral bit to create the slots. Fasten the new piece into place by predrilling and countersinking screws. Check that the louvers are correctly inserted into their slots as you work. For a scarf joint, seal the ends with wood glue and let dry. As the replaced middle rail will not have dowels, use the original screw hole to fasten it into place and create a second one nearby to compensate for the missing dowel. Fill the holes with wood plugs or wood putty. Use a wood clamp to hold the shutter together as you work. Prep the new piece for paint by sanding with a fine-grit sanding block. Prime the new piece and then top-coat the entire shutter.
Rob Leanna
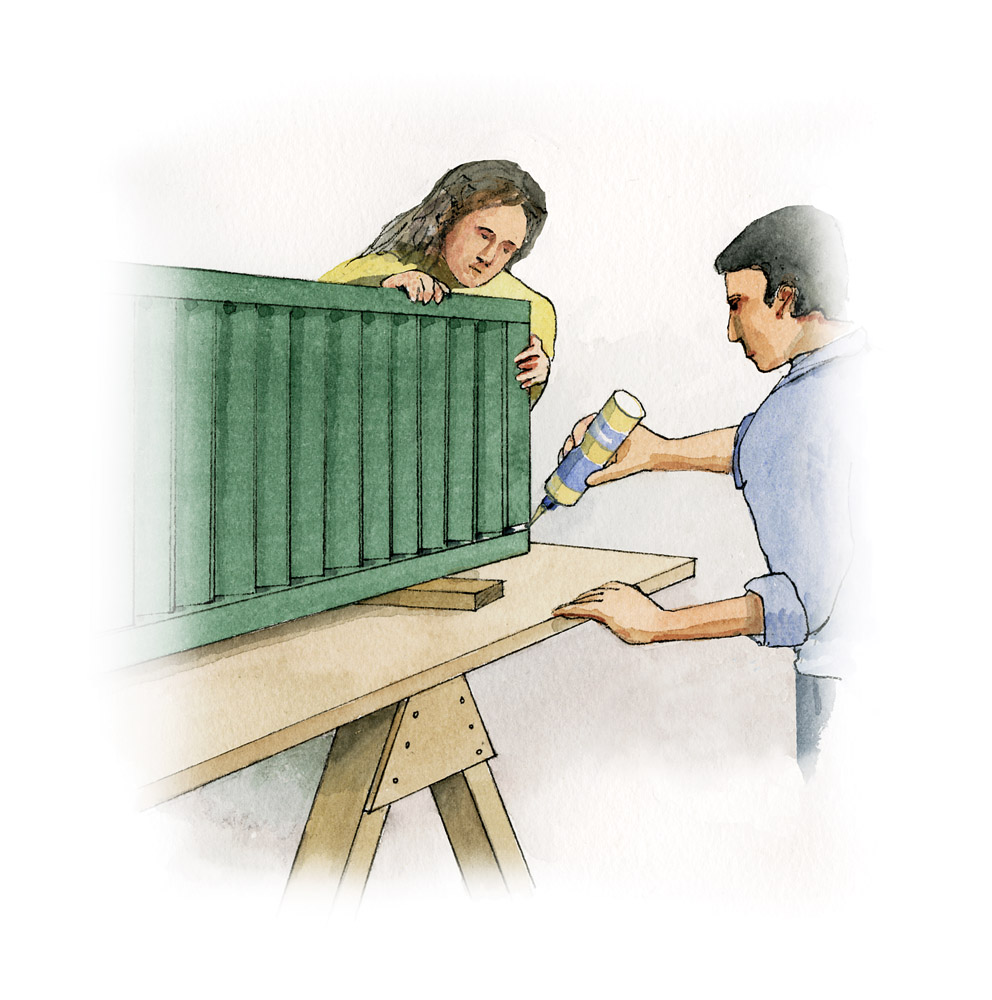
REPAIR LOOSE JOINTS
Joints deteriorate as water finds its way in. To fix, dampen the joint (water activates the glue) and apply polyurethane glue to it. (Glue only the joint, never the slots for the louvers.) Clamp the shutter frame together, checking as you slowly tighten it that louvers are properly in the slots. Wipe excess glue off with a damp rag; let dry. Drill a pilot hole through the stile into the rail. Secure the frame with a new screw. Cover with wood putty or a wood plug. Prime; let dry. Paint the entire shutter.
Rob Leanna
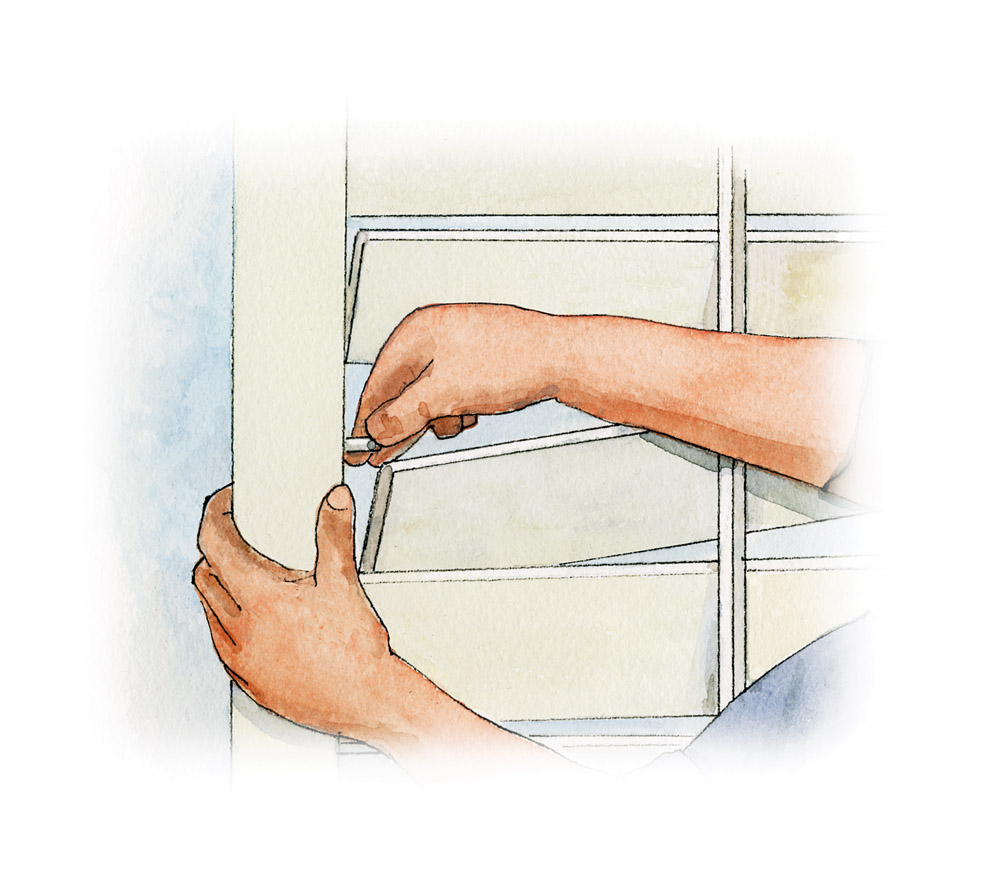
FIX A MOVABLE LOUVER
For damaged pins on louvered shutters, buy a replacement pin kit. The kit will contain a stationary pin, a spring-loaded pin, and staples. With a utility knife, cut the old pin by sliding the knife between the slat and the frame. Pry out the remains of the pins from the slat and the frame. Tap the stationary pin into one end of the slat. Insert the spring-loaded pin into the stile (not the louver) on the other side. Tilt the end with the stationary pin into the open slot on the frame. The pin will insert into the slot. Then press the spring-loaded pin down with your finger so that the slat can slide along frame and into the slot. The spring will release into the opening on the slat, securing it. In the center of the slat, tap a ⅜” x ½” staple along the edge. Connect the staple to the vertical rod via the small hook on the rod.
Rob Leanna
Refinishing Wood Shutters
Dust off loose dirt with a soft brush. Gently wash the shutter with a rag and soapy water; if it’s excessively dirty, use trisodium phosphate (TSP) diluted with water per instructions. Wear protective gloves, clothing, and eyewear when using TSP. Rinse cleaned shutters with a hose. Let dry completely.
Scrape off loose paint, then sand. To completely remove the old finish, use a chemical stripper. Apply it to the shutter and let it work for 10 minutes. Use a plastic scraper to remove the loosened paint. Repeat as needed. Work in a ventilated area and wear appropriate protective gear. After sanding, wipe the shutter with a damp cloth or tack rag. Let dry.
Rob Leanna
Before painting, be sure louvers are downward (angled toward you). Prime the entire surface with a latex primer. The paintbrush width will depend on the louver width; usually a 1″-wide brush works. Paint the edges first and let dry. Then, starting at the top louver, brush downward, working from outer edge into the middle. Repeat from the other side. In the middle, overlap the wet edge. Continue down the louvered section. Once louvers are finished, prime the frame with a 2″ paintbrush. Check for drips as you work and smooth them out. Let dry. Flip the shutter over, prime the other side, and allow that coat to dry. Repeat the whole process with a latex finish coat. Once dry, rehang the shutters by sliding the hinges onto the top and bottom pintles.


