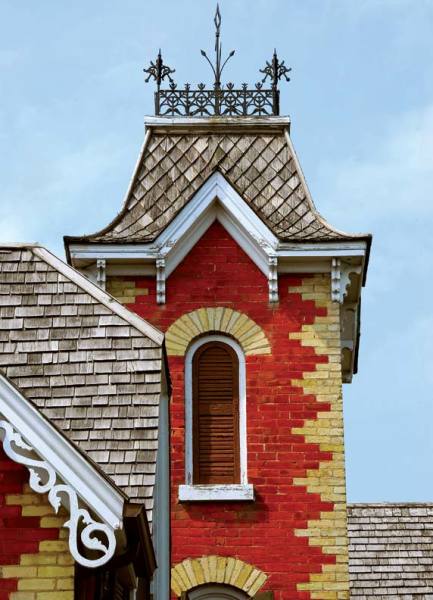
It’s easy to replace wooden shingles—like the ones on this roof—individually. (Photo: Elenathewise/Fotolia.com)
Your roof is one of your home’s most important assets. Visually, it adds historic character and curb appeal, and structurally, it’s the primary line of defense your house has against the weather.
While most major roofing work and replacements should be left to experienced professionals with the proper safety equipment, there are a number of repairs homeowners can readily make on a variety of traditional roofing materials. Replacing wooden shingles piecemeal—as they break—is one of them.
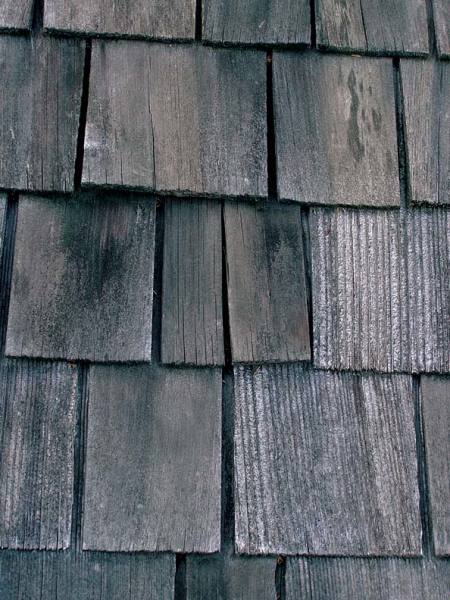
Wooden shingles generally follow a predictable deterioration curve before they require replacement: As they age, they become brittle and develop splits. Relatively new shingles can develop splits, too, as a result of poor installation, low quality, growth defects in the wood, or an accidental encounter with a wind-borne tree limb. When only a few shingles are damaged across a roof, it’s relatively easy to remove them and patch in sound replacements.
5 Steps to Shingle Replacement
The broken shingle (center) has split in half, creating a potential pathway for water to enter the house.
1. To repair broken shingles, first gather several tools:galvanized or stainless steel shingle nails, a hammer, a small block of wood, a drill, and a shingle “ripper”—a long, flat piece of metal with hooks forged into the flattened end, which is used to remove the broken shingle. You’ll also need high-quality wooden shingles that match the texture and length of your originals. These should have a straight grain and no knots or other defects.
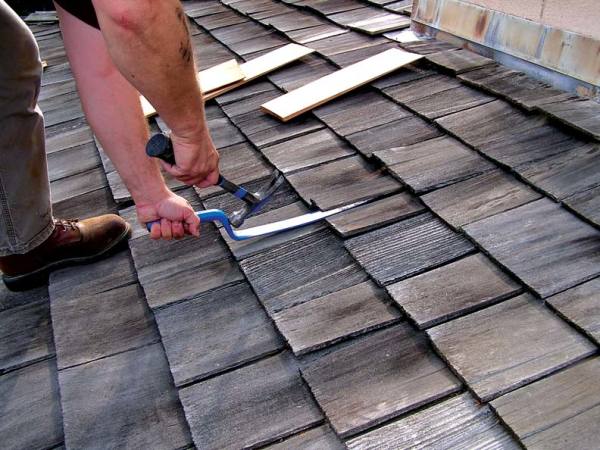
2. Remove the broken shingle by sliding the ripper beneath the center of the shingle until its blade (the flat part) is completely hidden. Angle it to one side, and tug on it until you feel the tool hook one of the nails holding the shingle in place. (Most shingles have up to four nails.) Next, hammer down on the handle where it turns to meet the blade, which will remove the fastener and any broken pieces of shingle. This will usually pull the nail out, and occasionally break it.
Use a shingle ripper to pull out the damaged shingle.
Repeat until all of the pieces and fasteners are removed, evidenced by the ripper moving freely beneath the shingle. If the nails are so tight that you can’t get the ripper beneath the shingle, you can try pulling on the shingle as you rock it from side to side. Often, this will cause it to split at the nail holes, allowing it to be dragged out. You’ll then need to remove the nails with a pry bar or pliers, or install the new shingle with them in place. (Soft cedar can accommodate a bit of old nail.) If a shingle seems particularly stubborn, you can grip the butt end with plumber’s slip joint pliers and repeatedly tap down on the pliers with a hammer to help wiggle it loose.
With the butt end in your hands, slide the shingle into position under the course above.
3. Once you’ve completely removed the shingle,measure the width of the gap. Subtract about 3⁄8″ to ½” from your measurement, which allows the shingle to expand and contract in response to the weather, and find a shingle about that size. A wider shingle also can be sawn to size, or scored deeply with a utility knife and the excess snapped off. If this scoring technique produces an irregular break, use a block plane or pare with the utility knife to smooth the edge.
4. Slide the new shingle into position beneath the course above, stopping when the butt end remains ½” to ¾” longer than the adjacent shingles. Then, position a shingle nail ¾” to 1″ from the side of the shingle, and just under the butt end of the course above. Drive the nails just to the surface of the replacement shingle, without sinking them below. (Angling the nails a little will help them to seat properly later.) Repeat this process with another nail positioned ¾” to 1″ from the other side of the shingle. Remember that all shingles—slate and tile included—are hung, not fastened, so you don’t want to hammer them too tightly. If necessary, use a nail set to avoid damaging the edges of the upper course.
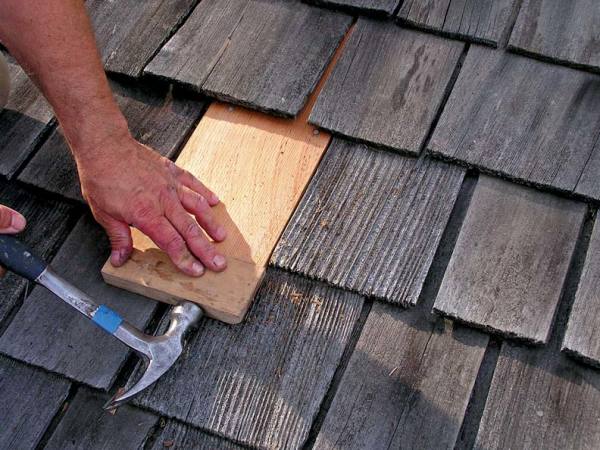
Buffering the hammer from the shingle with a block of wood prevents damage to the new shingle.
5. Finally, place a block of wood against the butt end of the replacement shingle—this spreads the impact so you don’t leave hammer marks—and hammer the block into position until it sits even with the adjacent shingles. This action effectively hides the new nails beneath the upper course. Now you’ve successfully patched a single shingle into an existing roof—a process that works on sidewalls and gables as well, and can be repeated as necessary to keep the ensemble of shingles in excellent shape.
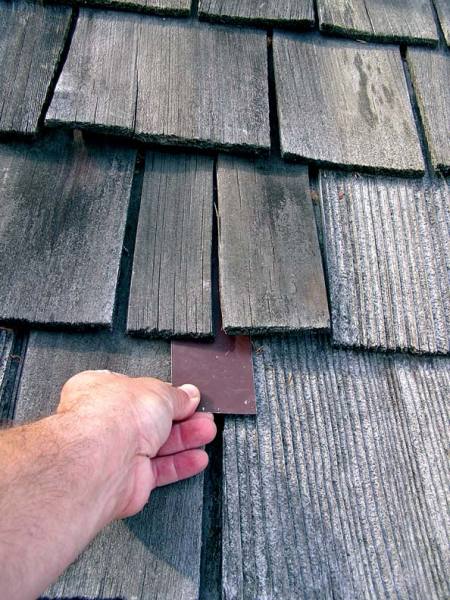
Temporary Fix
When shingles fail, they commonly split along their length. If the split aligns with the seam between the two shingles beneath it, this is a problem of immediate concern, as water can flow through the break and possibly enter the house. You’ll want make a temporary repair right away to prevent water damage while you track down replacement shingles and other materials.
To do this, take aluminum flashing and cut a strip about 2″ wide and a little longer than the exposed area of the shingle. Slide the aluminum strip under the break, making sure that its top end slides beneath the shingle above. I like to slightly bend the strip of metal lengthwise so it resembles a very shallow rain gutter—this increases the friction and helps to keep it from sliding out.