

You obviously can’t retrofit a smaller sink without changing the counter; a bigger sink might work if the countertop material is easily cut. Check the clearance under the sink before you buy a deeper basin. (You may be able to adjust the drainage plumbing.)
Step 1
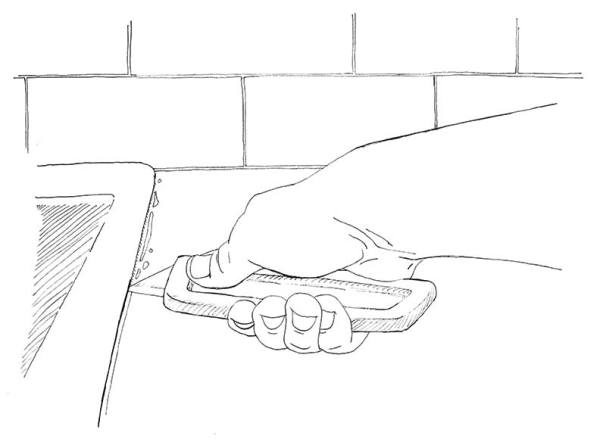
Shut off the water at the shutoff valve under the sink; open the faucet to drain any water. Disconnect the water supply lines and remove the faucet. Loosen the slip nuts and gasket on the drain and detach it from the floor pipe. Turn the mounting clips sideways. Gently slide a utility knife under the rim of the sink to loosen the seal; take care not to gouge or scratch the countertop. Lift out the old sink. Clean off any old sealant on the countertops.
Step 2
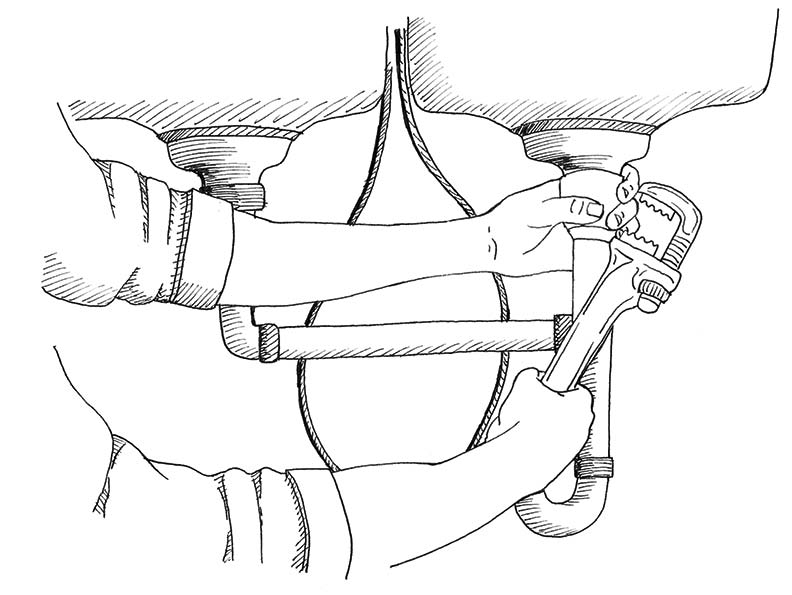
Run a bead of new silicone sealant along the rim of the sink and position the sink. Remove excess sealant. Run plumber’s putty around the edges of the drain and install. Attach the faucet and apply silicone sealant around the openings. Tighten the mounting clips underneath the sink, then connect the drainpipe. Now connect the water supply lines to the faucet, hot on the left and cold on the right. Check for any leaks. Allow the silicone sealant to cure for a day before using the sink.


