

This is the second article in a 2-part series. Click here to read A Short Course on Cladding: Part 1.
Replacing a few damaged shingles or even a section of them is a one-person job.
For one or two shingles:
Removing Broken Shingles
- To replace a bad shingle, split it out with a hammer and chisel.
- To remove the nails underneath the overlapping shingle, use a shingle puller, a tool that hooks onto the nail. Strike the handle with repeated taps to pull the nail.
Replace Shingles
- Trim the new shingle to match existing ones with a jigsaw and small plane.
- Working with the rough side out, gently tap the new shingle into the empty space from the bottom.
- Push the shingle to within 1″ or so of the correct placement. Then take two hot-dipped galvanized stainless-steel shingling nails, one for each side, and nail them carefully just below the butt of the overlapping shingle. Angle the nails slightly upward.
- Using a block of wood below, gently drive the shingle into place with a hammer. With luck, the nails will bend without splitting the shingle and disappear under the butt of the overlapping shingle.
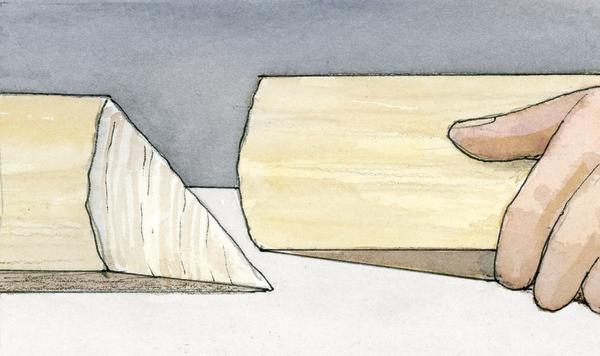
Scarf It Up
On a historic house, joining clapboards (along a row) is usually done with a scarf or bevel to make a fit that’s both smoother and more water resistant than butt joining. Use a miter saw set to cut mating pieces at a 20-degree angle. The angle is sharp enough and provides enough overlap that each scarf joint can be fastened with a single nail.
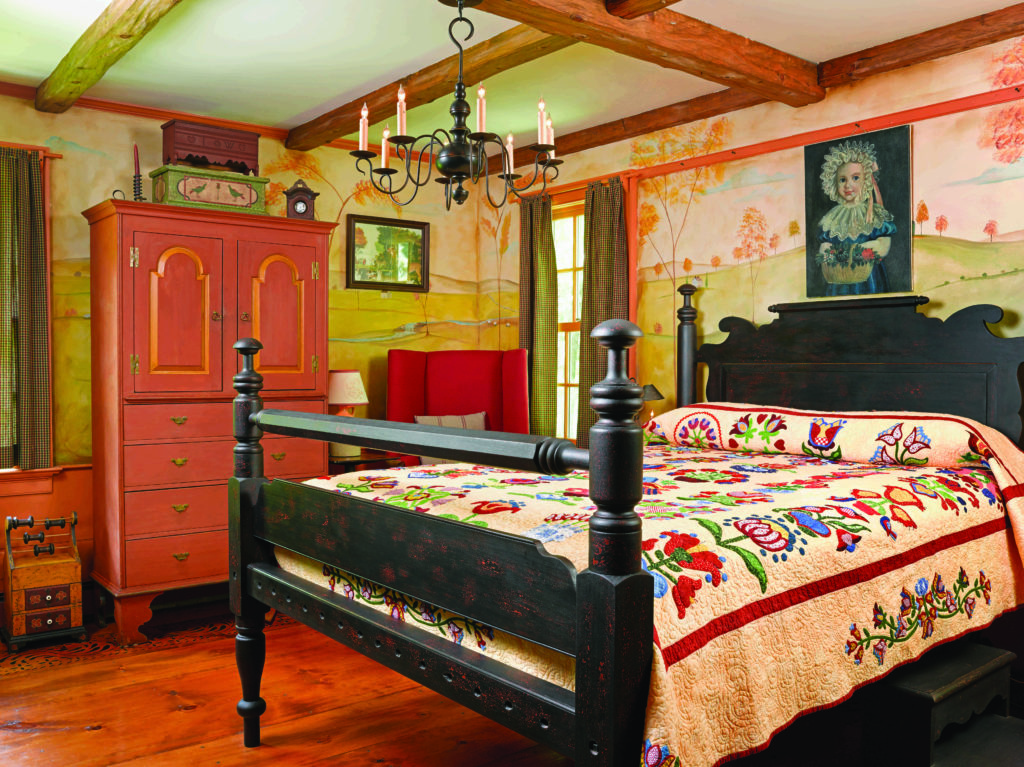
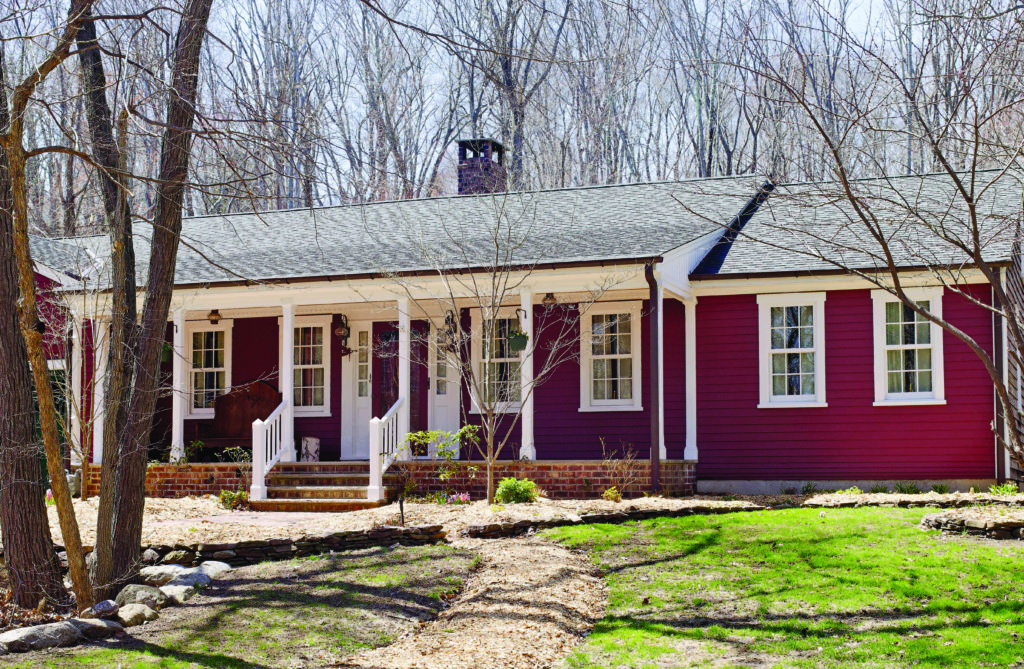
Shingle Siding
A refinement of the hand-split shake, the shingle is probably the most versatile historical siding. Cut from long-lived vertical grain cedar, shingles may be installed in a multitude of patterns, from ribbon coursing (where the exposed depth of the shingles alternates between wide and narrow, creating a ribbon-like effect on the house) to geometrically complex patterns created by combining fancy fish-scale, diamond, sawtooth, and other butt cuts. Shingles are now often sold in “systems” of rows or sections that install much more quickly than conventional (single) shingles, with no sacrifice in terms of wood or quality.

To replace shingles in a larger area, remove shingles and any underlayment papers and nails. Check the sheathing for damage and install a new layer of house-wrap.
Begin at the lowest point and work up. Install shingles with the rough side out: the raised grain will more closely match existing shingles. The new courses should have the same exposure (amount of the shingle that shows) as any visibly adjacent ones. Flash behind corners with felt paper.
To fasten, use two hot-dipped galvanized stainless-steel shingling nails long enough to firmly grip the sheathing. Space each shingle 1⁄8″ to ¼” apart. Position each nail about ¾” to 1″ from each side of the shingle, and make sure they land 1″ to 2″ up from the exposure line of the next course.
Drive the nails flush with the face of the shingle without crushing the wood.


