If you have an hour…
Add a door knocker!
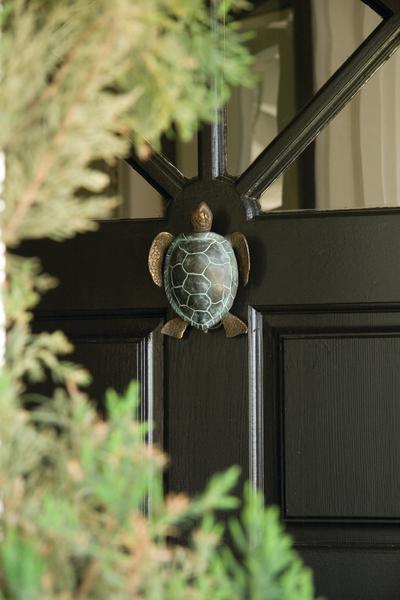
Door knockers may be serious or whimsical; styles range from the traditional fleur-de-lys, lion’s head, and pineapple to charming whale’s tails and insects, in finishes from shiny brass to dark oiled bronze. To hang a door knocker, determine its height on the door: ideally, it should be at eye or shoulder level. With a measuring tape, measure horizontally across the door at the height you choose, find the center of the door, and mark it with a pencil. Position the door knocker over the center point and mark the two screw holes. Check that the marks are level; adjust as needed. Using a small bit, drill ½”-deep pilot holes. Then turn the screws in the holes two or three times by hand, and remove them. Now position the door knocker over the screw holes. Put one of the screws in a hole and turn it twice. Repeat with the second screw. Check that the door knocker is level. Then continue tightening the screws in alternating turns until the door knocker is secured.
If you have a day…
Fix a door that sticks!
So annoying! Follow these easy steps to get a door that sticks to swing freely.
Step 1 Check the hinges for loose screws and tighten them by hand—not with a power drill, because it could strip the screw hole. If needed, prop the door in the correct position with a shim before working on the screws. If the door still sticks, the mortises for the hinges may need to be made deeper. Remove the hinges and, using a ¾” chisel, make multiple vertical 1/8″ cuts across the width of the mortise. Also make a cut along the inside edge. Repeat for the other mortise and rehang the door.

Step 2 If the problem isn’t with the hinges, the door may have warped over the years or may have too many layers of paint. Close the door and look for spots where the door is rubbing against the frame. Mark the spots lightly with a pencil and take the door off of its hinges. Using a fine-grit sanding block, carefully sand the problem areas, making sure not to take off too much. If sanding isn’t enough, use a hand plane or belt sander. Again, take care not to remove too much. If needed, prime and paint the exposed wood and allow it to dry. Then rehang the door.
OR
Refresh your trim!
Trim near the entry gets nicked and chipped over time and starts to look shabby. With a little prep work, you can renew the finish. Make sure to match the paint type (latex or oil/alkyd) that’s there, so you don’t have any adhesion problems.
Step 1
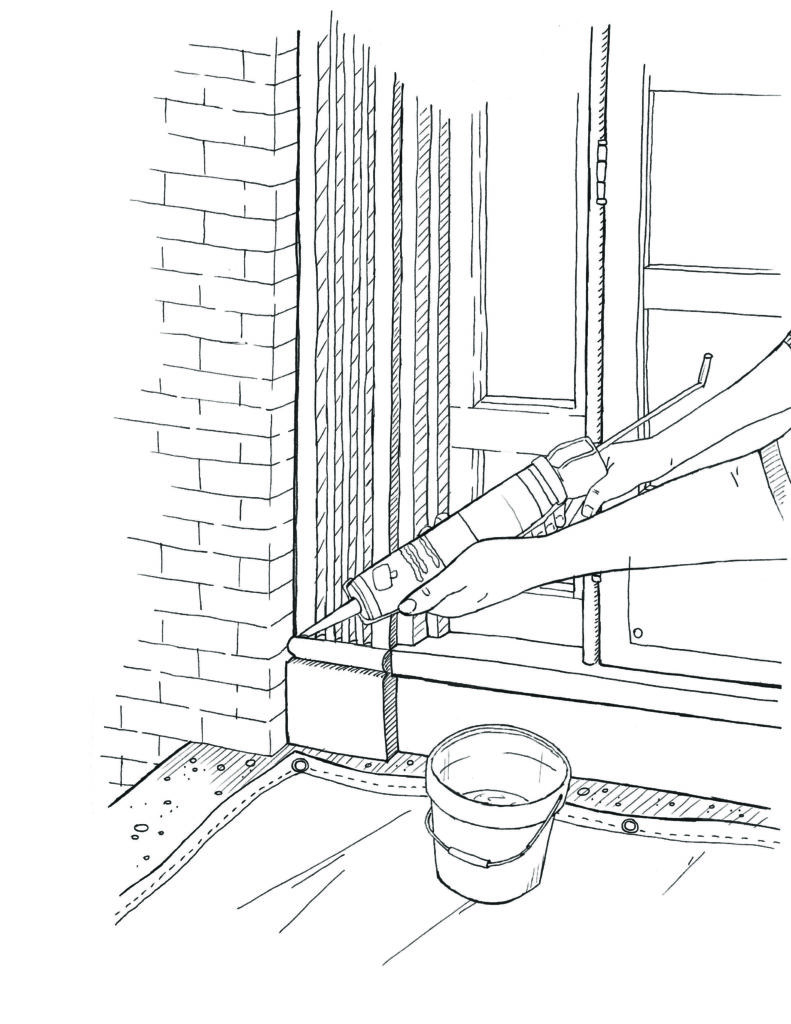
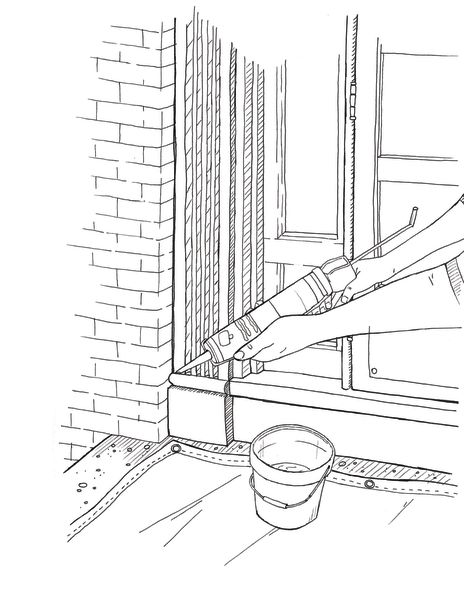
Check along the trim for cracks or other flaws. Use a flashlight or a hand-held bulb to see the trim clearly in dark corners, and mark the damaged spots. Fill in dents and cracks with wood filler or Spackle, and allow to dry. With a fine-grit sanding block, sand the trim to feather out not only the patched areas, but also any rough spots and to improve adhesion. (A sanding pad conforms better to the shape of curved trim.) Scrape off loose paint with a 1½” putty knife; go under the paint as you scrape so there is a bevel between the chipped and intact paint. Using a caulking gun, fill gaps between trim and wall or ceiling. Smooth the caulk by running a damp finger along the joint. Vacuum any dust and wipe the trim with a damp cloth.
Step 2
Apply 2″ painter’s tape on the wall right next to the trim. Run your finger or a putty knife along the tape to ensure a tight seal. Put down dropcloths on the floor. Prime any patched areas so that dark spots won’t show through the paint. Lightly sand the primed areas, vacuum, and wipe with a damp cloth.
Step 3
Apply the first coat of paint with a 2″ brush. Cut in the edges first and then fill in the center. Let dry for 24 hours. Sand, vacuum, and wipe with a damp cloth between coats so that you get a smooth finish. Apply another coat. To remove the painter’s tape, run a utility knife gently along the seam and then tear the tape off at 180 degrees for a crisp line.