

A narrow crown stapler is a must-have for trim projects. (Photo: Theresa Coleman)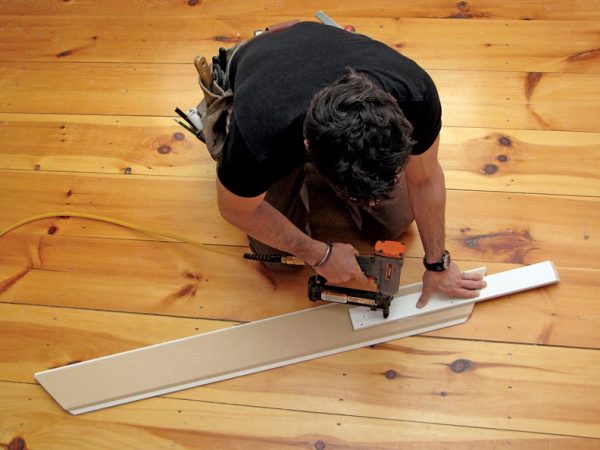
When I first read about narrow crown staplers, I thought they were designed for fastening crown molding only. It wasn’t my finest moment as a tool expert, and I soon learned that the word “crown,” in this case, refers not to molding, but rather to the staple’s width.
I now rely heavily on this stapler (sometimes called a “finish stapler”) to create assemblies for trim projects, where staples offer a distinct advantage over nails. Since a staple’s crown has more surface area than a nail head, they sink solidly but resist shoot-through. Their two legs provide excellent holding power. And, because I can use shorter fasteners (usually 1¼”), there’s way less risk of blowout from the fastener changing direction inside the work.
There are a few trade-offs: A staple’s initial impact is harder than a nail, so you have to make sure the work is stable. The hole they make requires more attention with wood filler, and sometimes before filling, you have to remove a bit of the residual glue that held the staples together in a rack. But in my mind, these small inconveniences hardly outweigh the stapler’s advantages.
Where to Use It
When building knee walls with access doors in my attic, I used my stapler to fasten rails to the back of the tongue-and-groove panel doors. I regularly employ it when trimming doors and windows, assembling my casing on a table so I can keep the miters tight during installation—I’ve found that two staples hold tighter than nails.
I also used it to trim out several square columns with molding. Instead of installing each piece individually, I joined three pieces, slid the U-shaped assembly around the column, then attached the fourth piece in place. To prevent blowout and to make an excellent connection, I used staples.
And it turns out my initial misconception was at least partially true—narrow crown staplers are useful for assembling crown molding. When splicing two pieces of crown, I staple a cleat to the back of the first piece and use that as a nailing surface for the second piece.
What to Look For
Size: I like a stapler that’s small, easy to handle, and has good sight lines to the nose of the tool (which helps me verify that I’m shooting in a straight line). I look for tools that can drive ½” to 1½” 18-gauge staples.
Exhaust: Some staplers have a feature I wish all my pneumatic tools had: The exhaust air is diverted through the bottom of the handle, so it never blows up dust, and I never get a puff in the face.
Depth of Drive: Because oak has a different density than PVC, an adjustable depth of drive is nice.
Belt Hook: Since I staple both at the bench and on top of a ladder, I need a tool that’s easy to access from a tool belt, so a belt hook is ideal. My stapler even has a clever addition—a schoolboy-type pencil sharpener built into the hook.
Other Features: Oil-free designs are nice because you’ll never have to worry about oil possibly blowing through the tool and onto your work. While not all tools come with them, a swivel adapter is particularly handy—it minimizes twists in the connecting hose and allows you to get the tool to the work much easier.
The Bottom Line
In the realm of fastening tools, staplers often get overlooked, but in a lot of cases, they’re the best fit for the task at hand. Both in the shop and on the job site, they’ve become a…ahem…staple for me.


