

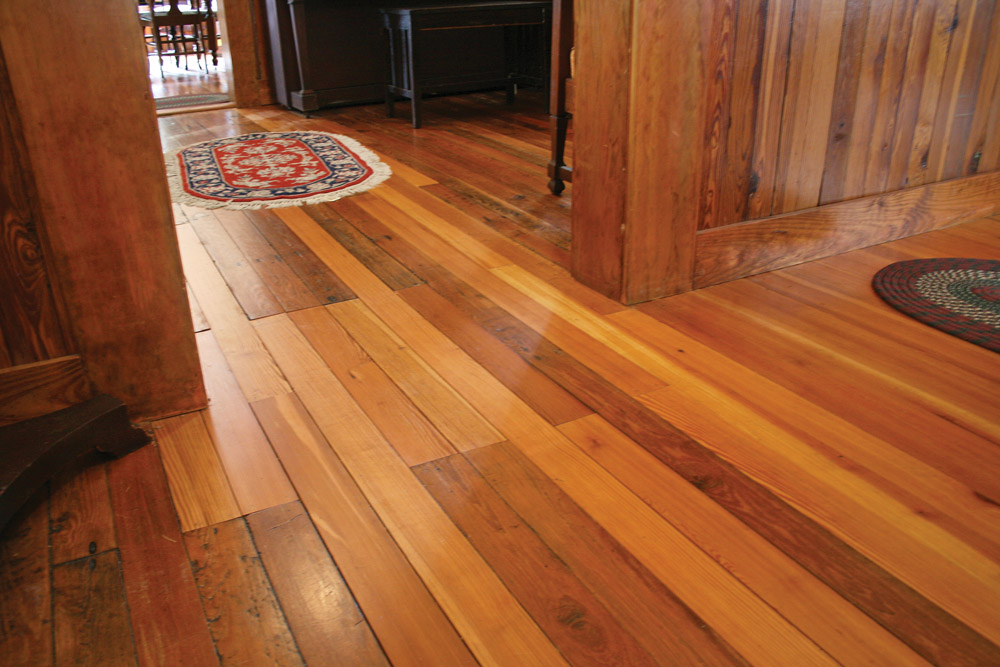
Flooring made of old-growth wood is beautiful, but sometimes the floor comes with an undesirable history. Termite damage, burn marks, pet stains, and signs of other mistreatment can so disfigure sections of wood that the only alternative is replacement.
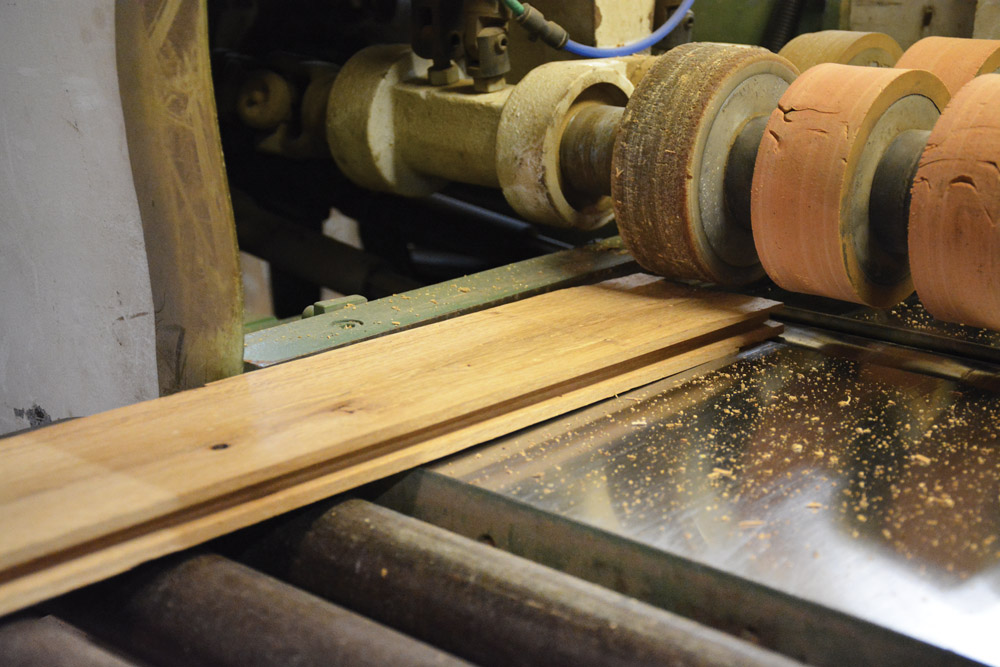
Courtesy Goodwin Heart Pine Co.
Fortunately, ripping out the entire floor isn’t necessary. A bit of skillful patching can heal ancient wounds. There are two main challenges: matching the wood in all of its specifics, and “lacing in” or staggering the repair so that the patch blends with the rest of the floor.
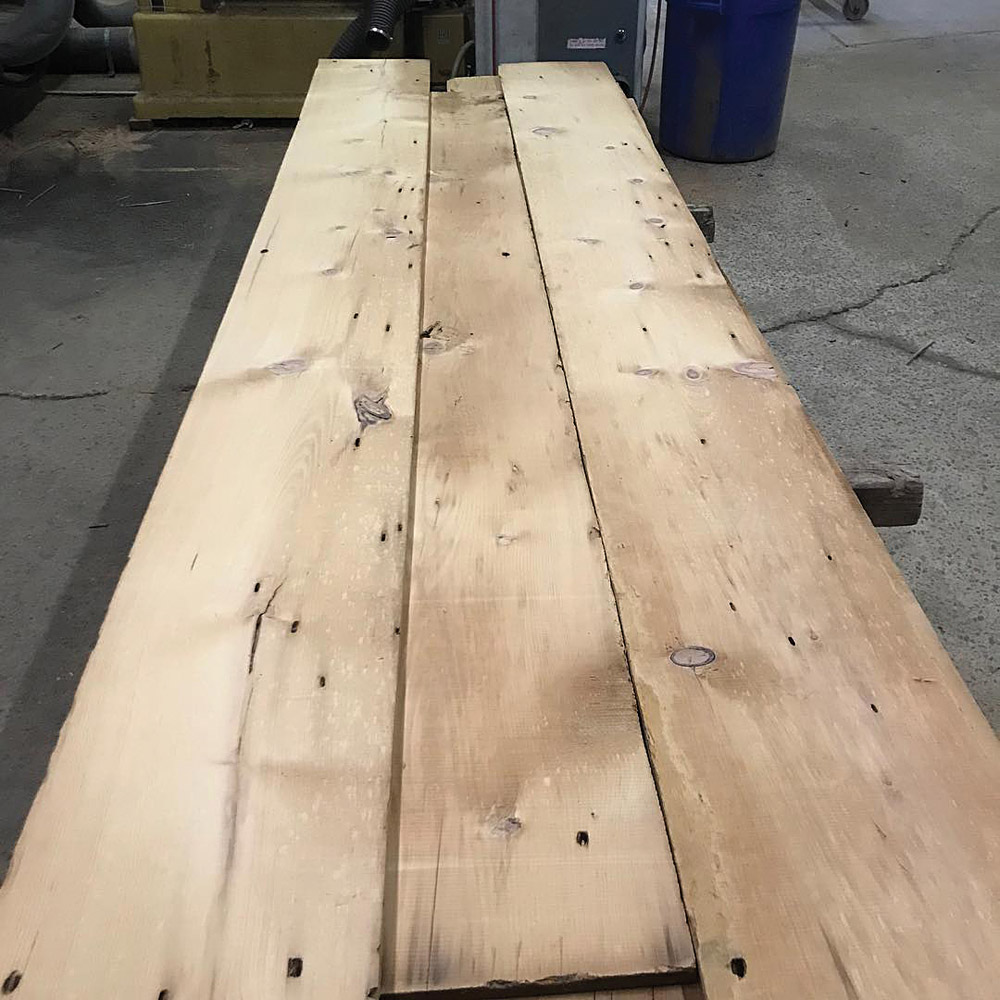
Finding a source of replacement wood may be as simple as salvaging a few boards from the attic floor—or as time consuming as seeking out the right stock from reclaimed-lumber dealers scattered across the country. Obviously, the wood should be of the same species, be it heart pine, oak, or chestnut, and milled the same way (i.e., tongue-and-groove strip vs. shiplapped wide plank), and to the same dimensions. The cut is important too: for example, flat-sawn oak can look remarkably different from quarter-sawn oak once the floor is laid.
The growth rings on flat-sawn boards appear as a tangential grain—curved lines running up and down the boards, a pattern some call “cathedral arches.” Quarter-sawn wood produces boards with a vertical grain like pinstriping. The denser the original wood, the tighter the pinstriping. Less obvious but just as essential is the age of the wood. If your house was built in 1910, you want wood milled from roughly the same era.
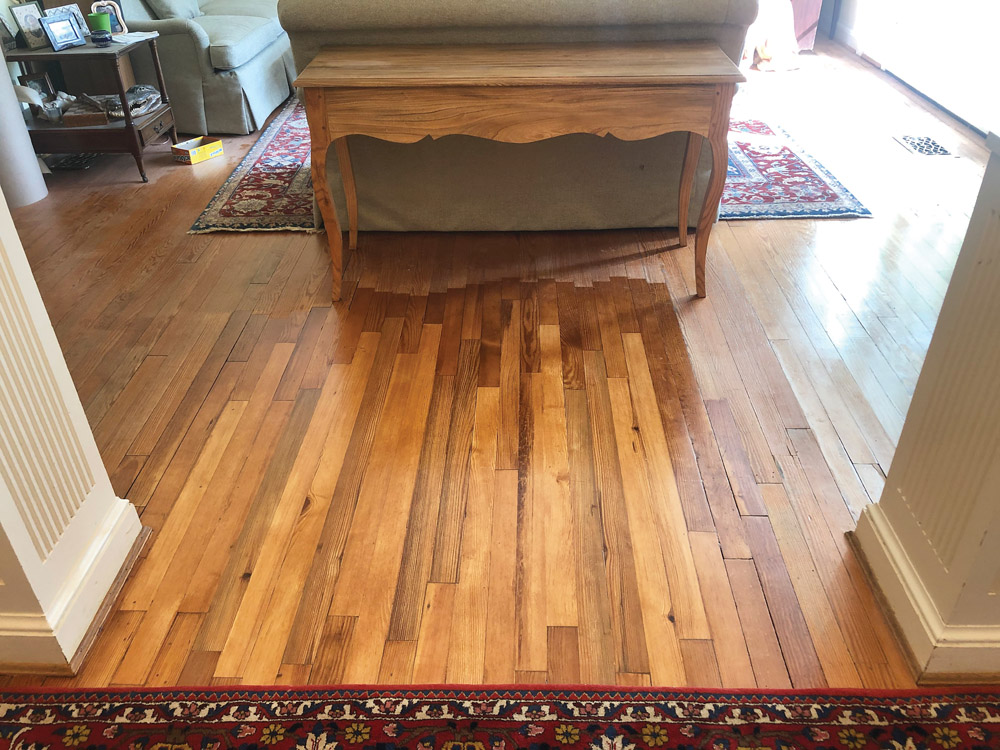
That’s because the wood in the existing floor already has a patina from 110 years of exposure to the air, explains Jeffrey Forbes of the Goodwin Heart Pine Company. As wood oxidizes, the resins in it crystallize and darken. In the case of heart pine, color highlights shift from red to yellow. That’s what Forbes told client Bill Conway, who wanted to patch damaged areas in a house with century-old, tongue-and-groove floors. “It was to his benefit to use reclaimed wood, because it’s already the color he was looking for.”
The replacement wood should be installed in the same way as the original, and boards should be of similar lengths. The earliest flooring was random-width planks up to 16′ long, laid tightly against one another (butted) with square edges, then either face- or blind-nailed. Flooring laid since the second half of the 19th century is usually tongue-and-groove in 8′ to 10′ lengths.
Today, a lot of newly milled stock comes in lengths that are much shorter, varying between 5′ and 7′, or even less. Look for wood in lengths that are similar to those in your floor. Boards are milled with projecting tongues on one side and mating grooves on the other. As each board is laid, the tongue slides into the groove on the board already on the floor to create a tight joint that can be blind-nailed in place.
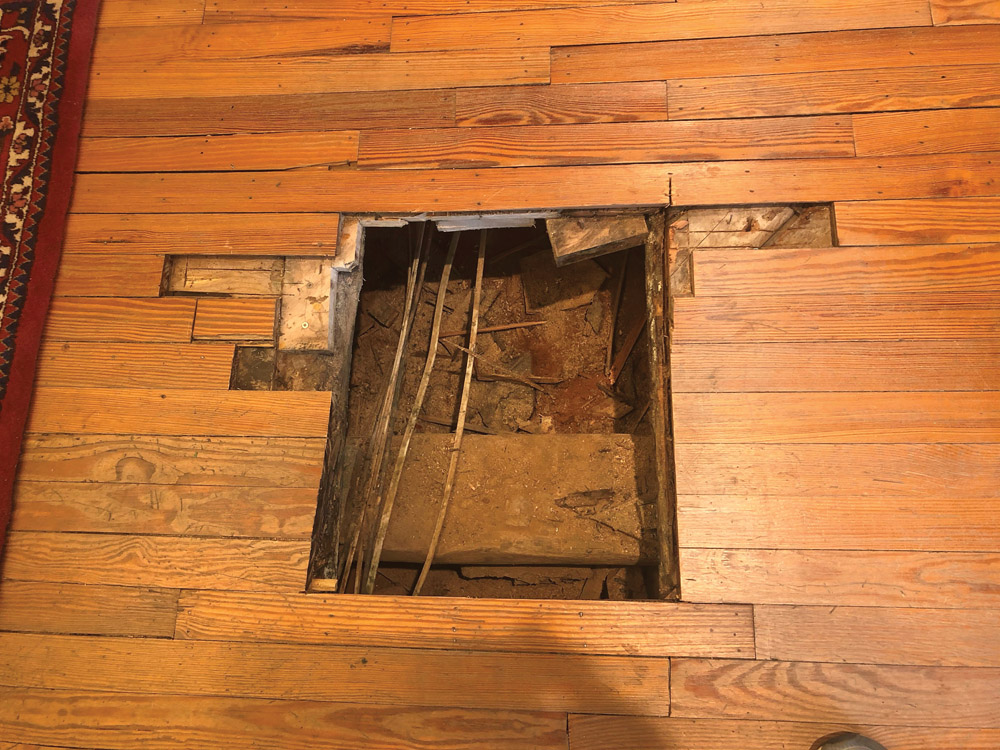
Making the repair requires basic carpentry skills and finesse. The most important rule to follow, however, is to stagger the board ends. No two boards should end within 4″ of each other. You also want to avoid the deadly rhythmic pattern known as H joints—where every other board is staggered exactly the same amount. You may have to remove portions of boards that aren’t damaged, but the results are well worth it.
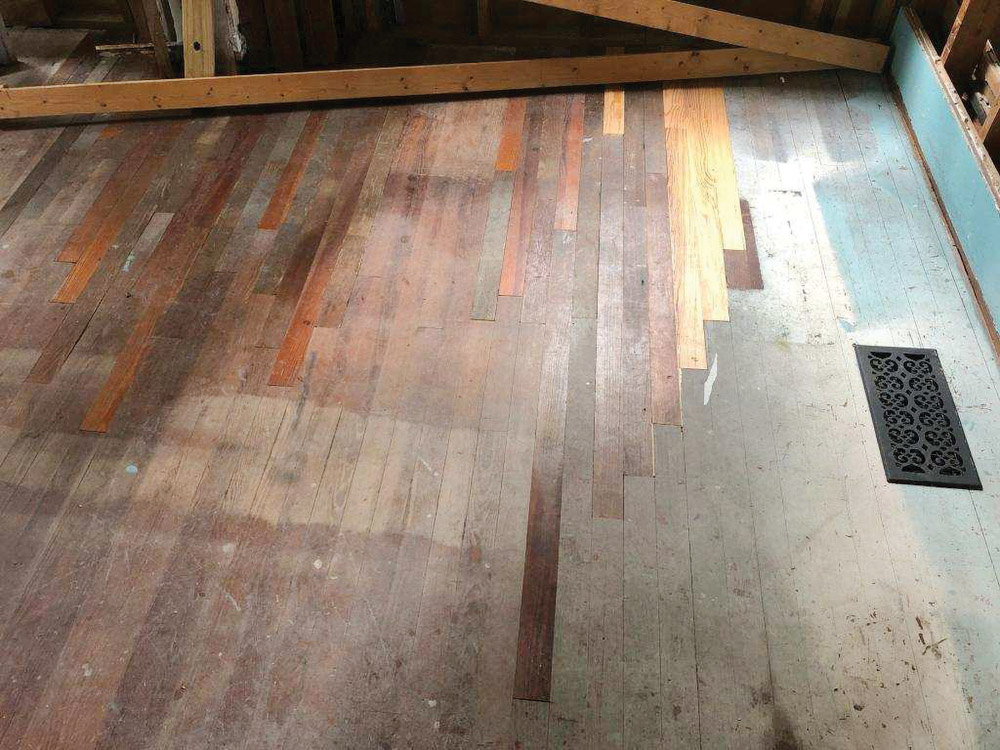
If you’ve done your homework, you should barely be able to tell the new boards from the old, after the floor is sanded and finished.
If the floor had been stained, you may have to experiment to come up with a stain formula to match. If you’re concerned the finish on new boards may come out irregular, apply a pre-stain wood conditioner.
Weaving in a Staggered Patch
Tongue-and-Groove Repairs
To replace damaged strip flooring, begin by marking the boards you plan to remove. Check under a radiator pipe or the edge of a door sill to determine the depth of the flooring, then set a circular saw to that thickness. Taking care not to cut into the joists or subfloor, make two parallel cuts into the board along its entire length, starting and finishing as close as possible to the ends. This will produce three narrow boards; the middle one will come out easily with a prybar. The groove side will need a bit of coaxing, and you may have to remove the nails from the tongue side to free it.
Cut the new boards to exactly fit each row of your opening, staggering lengths so that the new pattern
won’t be obvious. To lace in the new boards, first try using a mallet to persuade the boards to fit into place. Cut away the bottom shoulder of the groove on the side of the board receiving the new strip. Then slide the tongue on the opposite side of the board into the exposed groove on the mating floorboard.
If the tongue still won’t go in, choose a new board and cut the shoulder off the tongue side at a 45-degree angle, including the tongue. Fit the detached shoulder with its tongue into the groove on the adjacent board. Then nose the rest of the patch board into the mating tongue on the opposite side. Make adjustments as needed to get the board to lie flat. Then either face-nail the board in place with finishing nails or glue the new board to the detached shoulder.
Resources
for patching floors
• Chestnut Specialists Reclaimed antique solid plank flooring in chestnut, oak, heart pine & pine
• Goodwin Heart Pine Co. River-recovered heart pine & cypress; sustainable & engineered flooring
• Old Wood Workshop Salvaged antique flooring
• Olde Wood Reclaimed & wide plank flooring; barn beams & siding
• Sylvan Brandt Antique & resawn pine, chestnut, oak
more flooring
• A.E. Sampson & Son Natural wood planks renewably harvested in Maine & North America, plus vintage wood (many species)
• Authentic Pine Floors Wide-plank heart pine, yellow pine, reclaimed wood, etc.
• Carlisle Wide Plank Floors Wood floors for historical projects
• Carlson’s Barnwood Co. Antique wood flooring & barn wood
• Conklin’s Barnwood & Beams Eco-friendly remilled flooring in vintage oak, pine, hemlock, chestnut
• Country Road Associates Reclaimed wide-board flooring
• Craftsman Lumber Co. Wide-board pine, oak, heart pine
• Granville Manufacturing Co. Traditional strip & plank
• Hull Forest Products Sawmill-direct wide-plank flooring
• Pete’s Hardwood Floors Floor refinishing (local) and DIY tips & videos
• Pioneer Millworks Reclaimed wood products for flooring, paneling, etc.
• Vintage Wood and Forged Iron Reclaimed barn wood & vintage hardware


