How to Make an Epoxy Resin Mold
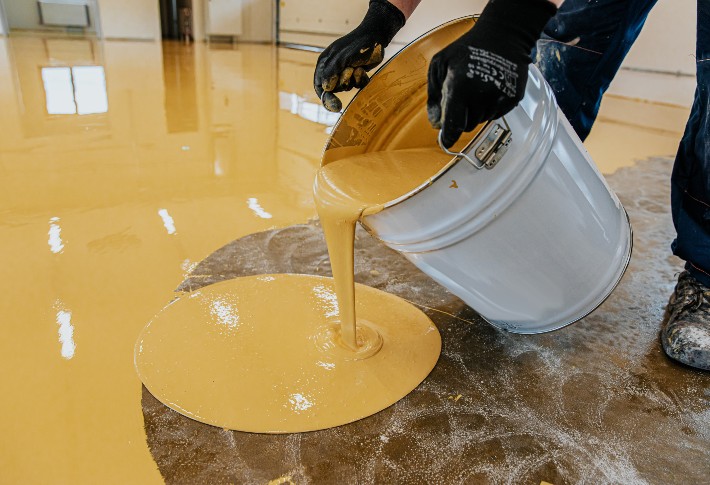
Casting a mold is an essential step for any project that uses epoxy resin – big or small. There are a few steps involved in creating an epoxy resin mold, along with some extra materials to gather for your mold. Note that epoxy resin is used to make paints, coatings, primers, flooring, and more. To add colors or designs to your epoxy resin mold, you must buy an epoxy resin kit.
Materials You Need
- Melamine
- Fast Dry Caulk
- Tape Measure
- Brad Nail Gun
- Construction Screws
- Circular Saw or table saw
Steps for Making Epoxy Resin Mold
Now, let’s look at the following steps for making the epoxy resin mold:
Preparing Your Workspace
First, you need to set up your work table to build and utilize your mold. You have to cover all the parts of the inner mold cavity properly.
A sheet of polyethylene should be placed over the worktable to make cleaning up quick and convenient. Don’t forget to tape the polyethylene sheet edges properly to secure the table.
Selection of Material
It is best to use smooth plywood, medium-density fiberboard, or melamine for the walls and base. Note that epoxy sticks well on surfaces like glass, aluminum, and wood.
In addition, it does not stick to high-density polyethylene (HDPE), nylon, Teflon, polyethylene, polypropylene, sheathing tape/tuck tape, silicone, and mylar.
Designing of Mold
When planning your mold, keep the wall thickness in your mind while cutting the piece for the desired size. Ensure that walls have to be taller than the embedded item or wood slab.
It is recommended to go for a ½ on the top of the pour. When you extend the surface, you can see your seams if you need to patch a leak during your pour.
Avoid Adhesion to Mold
Cover the entire mold cavity surface using tuck tape or sheathing tape. This prevents the epoxy from sticking to the mold.
Moreover, it enables you to easily remove all of your casted items once the resin has cured. Ensure that the tape is lying flat and is sealed to the mold surface.
Assembling Mold
After covering the surface with sheathing tape, you have to drill pilot holes that will help in assembling the base and walls. Next, on the wall’s bottom, you have to apply a silicone bead to create a butt joint, which is where the walls will meet the base. Assemble the base and walls with the help of pilot holes and screws. It is best to use screws for easily disassembling and to use them for future projects again.
Sealing Mold
Ensure that there are no contaminants and dust on your mold cavity before you seal the edges. For the removal of dirt or debris, you can use a lint-free cloth paired with denatured alcohol for a proper clean. To ensure that epoxy doesn’t leak, you have to apply a fillet of silicon on the inner joints. Ensure that silicone is properly spread for filling all the seams. Once it is set, clean your mold cavity using the lint-free cloth with denatured alcohol again.
Be Ready to Pour
Let your mold rest on a worktable. If needed, you can adjust the level with washers, wood shims, and other items present in your shop. After that, add your wood slab or other embedded items inside the mold cavity. Ensure to clamp down the object(s) to avoid floating during the casting process. Between the clamp and wood, you have to use a block of wood wrapped in sheathing tape so the clamp doesn’t stick to your project.
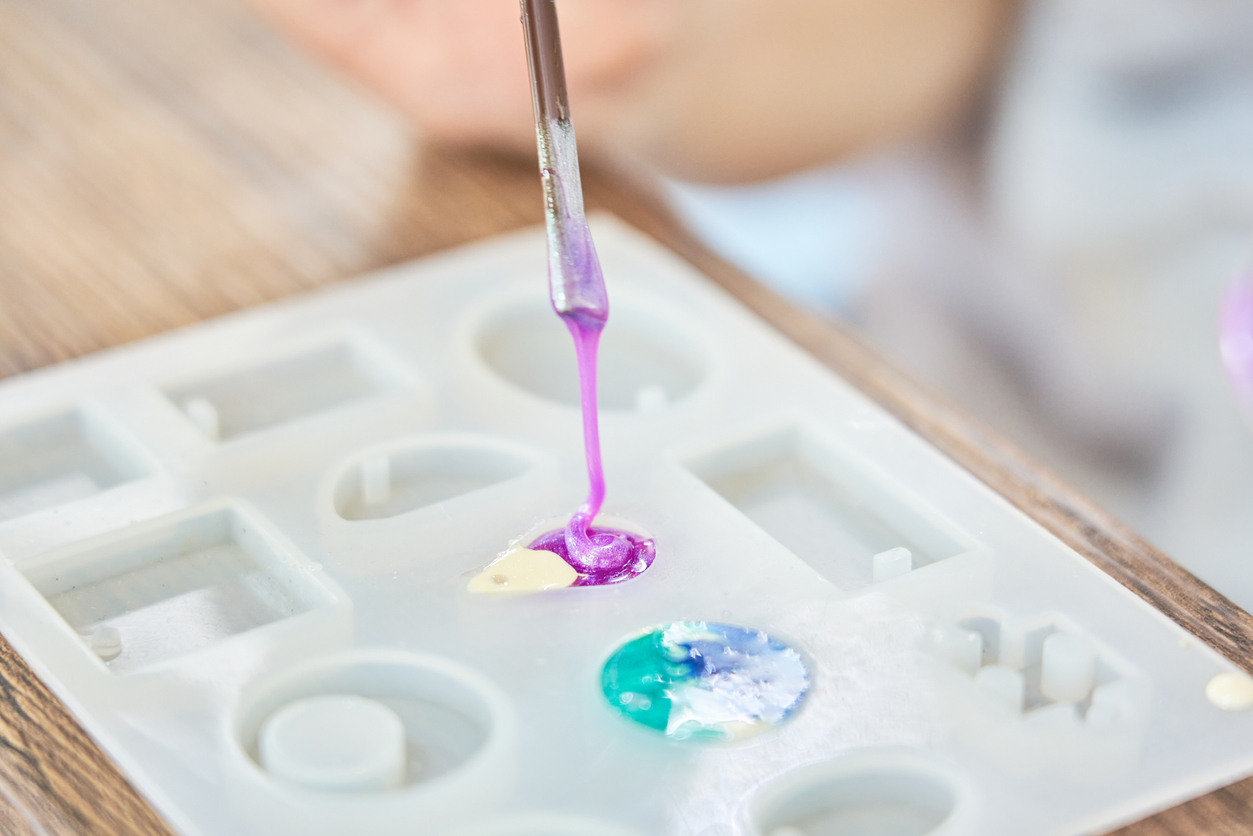
Mix and Pour Epoxy
Preparation is done; now you are good to pour. Be aware of the casting direction and information related to pouring depth, mix ratio, cure time, and multi-layer pours.
Demolding Project
Once the project is fully cured, carefully remove the casting from the mold with a crowbar or putty knife. You also have to remove the walls of the mold. For demolding, the added-based materials are beneficial.
Conclusion
Hopefully, now you are aware of all the steps and the materials needed to make an epoxy resin mold. Follow the above steps for better results. Select the right material and carefully read the manufacturer’s instructions on the epoxy resin product you plan to choose.