

To hide the refrigerator in their small New York City kitchen, Jim Hoffman and Doron Sabag made use of newly painted vintage tin ceiling panels.
Dan Mayers
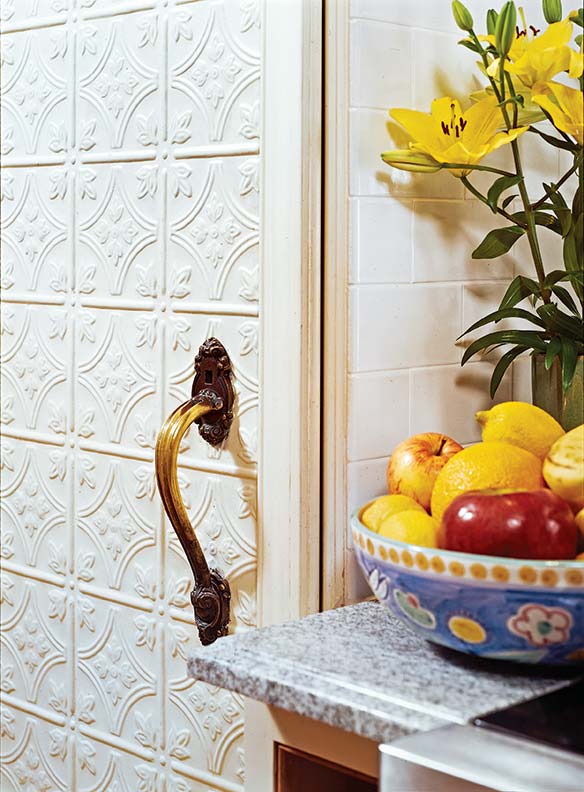
Stylish and fire-resistant, so-called “tin ceilings” were long used in kitchens—but the decorative cladding material doesn’t have to stay on the ceiling. Here is an especially handsome example: a traditional embossed design used to cover a refrigerator. The metal panels were used in conjunction with a readily available trim kit.
Some high-end “built in” refrigerators are made with edging trim that accepts panels (typically of wood, but embossed metal works as well). You can, however, apply panels to virtually any fridge with a kit like Frigo Design’s trim sets. You buy a customized kit for your very model. Choose either overlaid (which allows the panel to run to the edge of the fridge door), or recessed (fitting within the trim’s framework). For flat-faced doors, the trim set is attached with heavy-duty tape; for rounded doors, the trim set is screwed into the sides. The typical fridge door takes about five 2×4-foot panels, depending on the design and panel size. Allow for centering, cutting, and waste.
Most salvaged metal ceiling material (it may be tin-plated steel, stainless steel, aluminum, or brass- or copper-plate) is still quite sturdy, easy to clean up and repaint. Some of the traditional designs are still made today, often using the original dies—but others are uniquely historic, so using salvaged tin adds special vintage appeal.
For similar projects, of course, you can use leftovers from a ceiling job, or new panels purchased for your small project. A modern option: faux-tin panels made of durable thermoplastics.
Salvaged tin ceiling panels are also well suited for re-use as a fireplace surround, in the area under a breakfast bar, and as a mirror frame. And you can usually find enough of a pattern to decorate the ceiling of a small space, like a vestibule or powder room.
Installation

How to add tin ceiling panels to a refrigerator.
Illustrator: Emily Levine
Step 1
If the salvaged metal is rusty or has flaking paint, seal it with a coat of acrylic varnish or lead-encapsulating paint to help prevent future paint flakes (and keep them out of food), and to make it easier to remove fingerprints and smudges. Otherwise wire-brush, prime, and paint the metal. Clear finishes are best reserved for new metal.
Step 2
Clean the refrigerator door well with mineral spirits or a 50/50 solution of rubbing alcohol and water to ensure a good bond for the trim set’s tape.
Step 3
Panels may be secured onto the refrigerator with double-sided adhesive tape if they aren’t fitting tight within the edging.


