

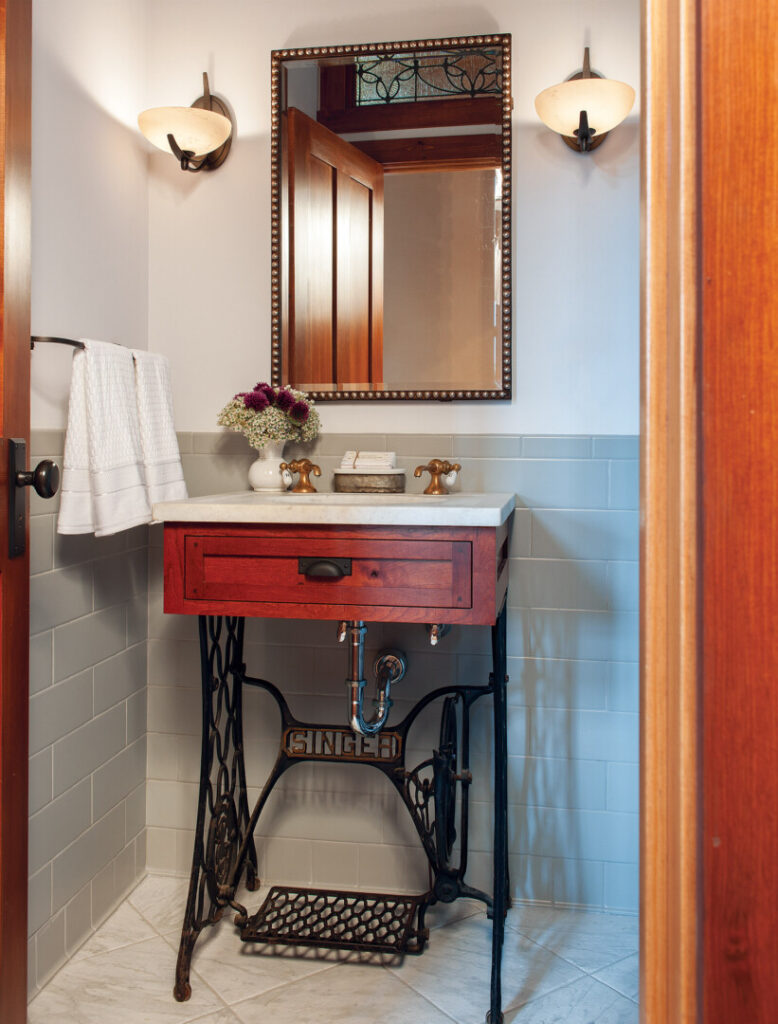
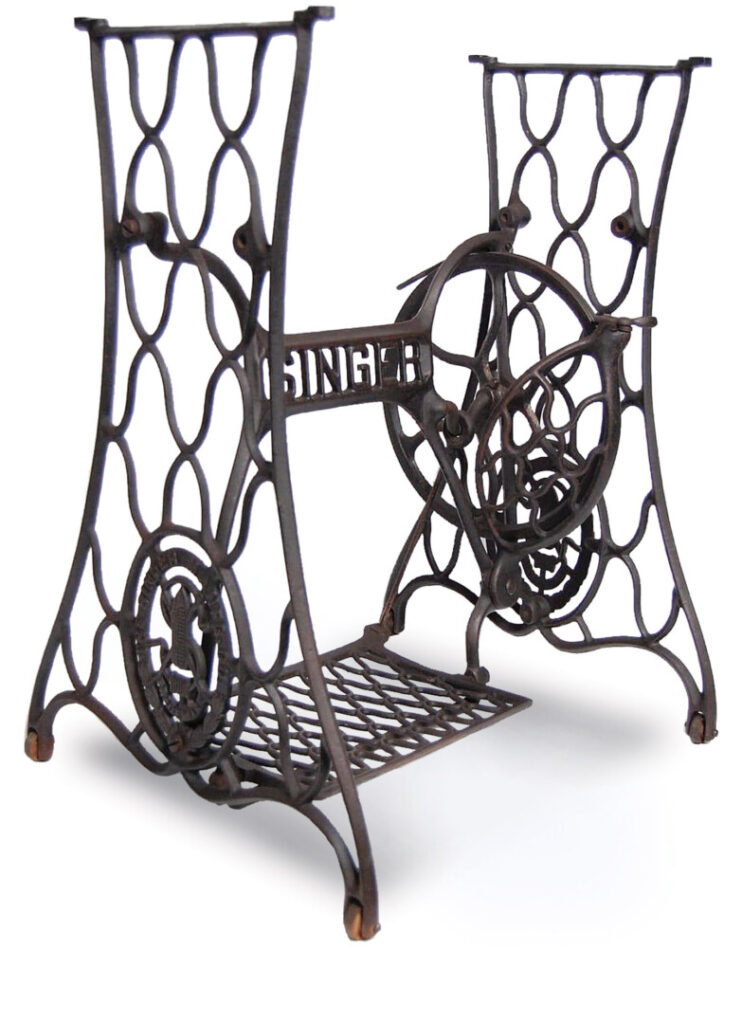
In New Hampshire, the frames of two vintage barns have been made over into a home by Thad and Joselle Presby, who used antique and repurposed materials wherever they could. Finding an abandoned sewing machine at the local recycling center, Joselle knew it would make a perfect pedestal for the sink in their tiny guest-room bath.
Courtesy Crown Point Cabinetry
Putting it together
First, a countertop: Joselle found an antique marble sink counter that fit the sewing-machine base; at 24″ wide and 22″ deep, it had its original brass hot and cold water spigots attached. The countertop came from the historic Mt. Washington Hotel. For the sink cabinet, the owners asked Crown Point Cabinetry to create a cabinet that would attach to the metal base and conceal a 15″ by 12″ undermount porcelain sink bowl.
The construction
Joselle unscrewed the original wooden cabinet from the metal base. The cast-ironbase needed only a good cleaning with a damp cloth. Rust would have required chemical removal or sandblasting, then a coat or two of enamel spray paint.
The old marble counter was lightly sanded with 120- through 600-grit sandpaper. Then Joselle applied a poultice made from six parts hydrogen peroxide, one part ammonia, and enough baking soda to make a paste. Joselle left the poultice on the marble for about four hours; when she wiped it off, most of the stains had come out: “Later I found I should have covered the poultice in plastic wrap and left it overnight, but I was impatient!”
The brass fixtures were in perfect working order. Joselle taped plastic over the marble for protection, then polished the brass with lemon juice and baking soda until they shined.
Crown Point’s knotty-cherry cabinet has a faux drawer in the apron, hiding the sink basin. The new cabinet was attached with through bolts, nuts, and washers to the iron base, using existing top plates on each leg that had originally bolted the sewing machine to the base. The sink was secured with marble epoxy; after the epoxy set, the sink and marble were placed onto the cabinet and secured with silicone caulk. Chrome-plated plumbing was used for the supplies and trap drain.


