

The French polishing process is worth the effort spent.
David A. Reeves
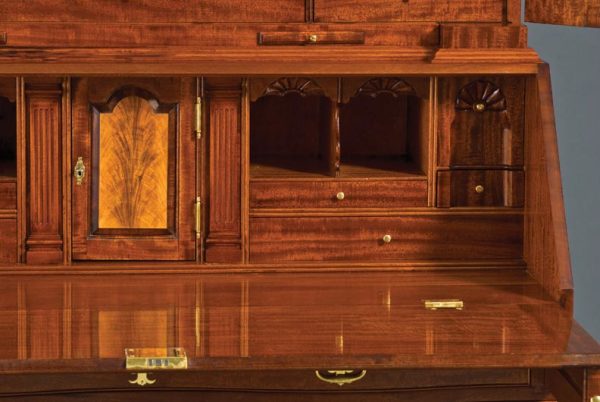
Before the advent of clear spray finishes that impart a mirror-like gloss on fine furniture and musical instruments, the preferred method to achieve similar results was a technique known as French polishing. Originating in the 18th century, French polishing is the process of quickly wiping on multiple thin layers of shellac with a pad. The resulting finish yields a lustrous shine that accentuates the beauty of the grain. This technique also is used to rejuvenate original finishes on antiques and in some cases built-in furniture, too, building on top of the existing varnish or shellac without compromising the patina.
Before You Start
Shellac’s solvent and carrier is denatured alcohol, so work in a well-ventilated area and wear a respirator for extra protection. Disposable gloves are a good idea for newbies who might be a little messier in their technique. The piece you’re polishing should be clean, dry, and finely sanded with 320-grit emery paper and, if desired, stained. When sprucing up an existing antique finish, make sure that all wax, polish, and dirt have been removed by wiping down the surface with mineral spirits, letting this dry thoroughly, and then removing any subsequent residue.
Tools & Supplies
- Extra-virgin olive oil
- Denatured alcohol
- Orange shellac flakes
- Squirt bottles to mix the shellac
- Eye-dropper or condiment bottle for the olive oil
- FFFF pumice in a salt shaker
- Several 6″ x 6″ squares of clean cotton, such as cut from a T-shirt
- Cotton balls, wool, or gauze to form a compact sphere about the size of a golf ball
- Hard paste wax (like carnauba)
- Respirator
- Disposable gloves
Step 1
Make your pad by placing the golf-ball-sized wad of gauze, wool, or cotton balls in the center of a cotton square (left). Squirt a small shot of very thin shellac (either 1-pound-cut shellac or fresh pre-mixed shellac diluted with alcohol) onto the wad—don’t drench it!—and gather the corners up to surround the wet ball (right). Hold the corners the same way when completing the subsequent steps. Next, place a drop or two of olive oil on the surface of the pad where it will come in contact with the furniture.
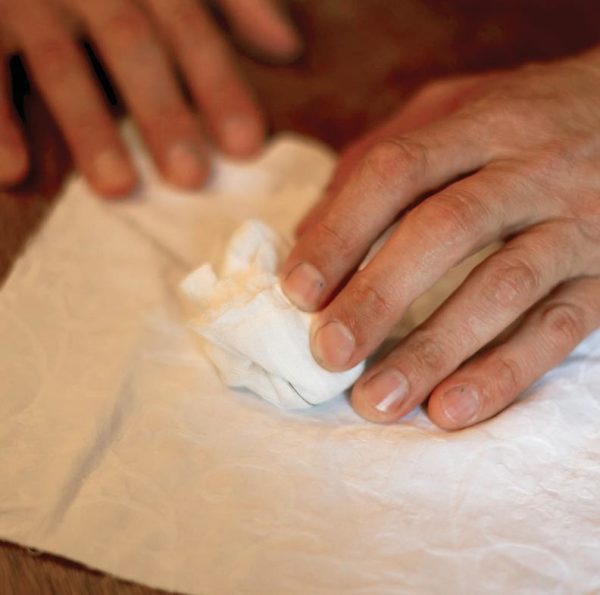
Step 1a: Making the pad
Huong Phan
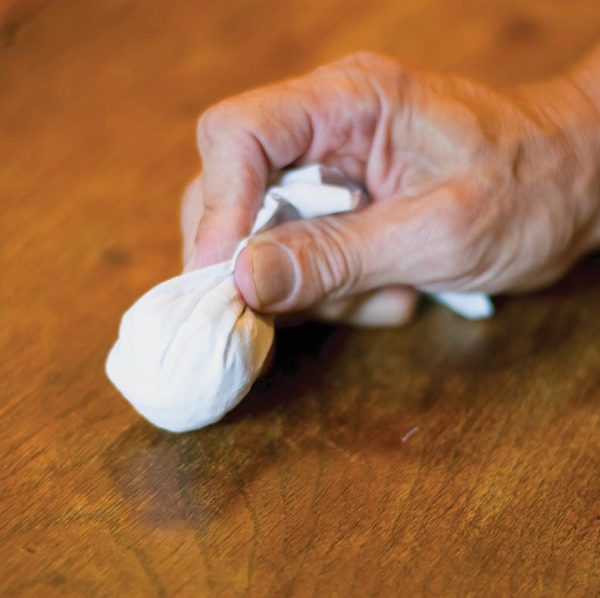
Step 1b: The finished pad.
Huong Phan
Step 2
Use the pad to apply the previously mentioned 1-pound-cut shellac in a sealer coat. Keep the pad moving in a circular or figure-eight motion. When you approach the outer edge of a surface, lift the pad off as you’re moving it—don’t stop abruptly on the surface, as this can cause shellac build-up and blotching. Wait a couple of minutes for this coat to dry, and repeat. Do this step over the entire surface a total of three times.
Step 2: Applying shellac with the pad.
Huong Phan
Step 3
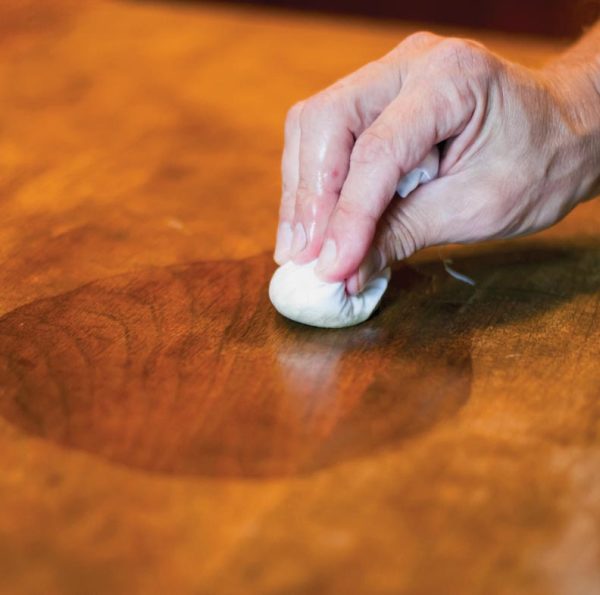
On new finishes only, fill the pores. Open-pored woods such as mahogany and walnut need their pores filled with super-fine pumice after the sealer coats have been applied. Oak, which has extremely deep pores, should be filled prior to the sealer coat with a commercial pore filler available at specialty stores. Make a new pad and lightly dampen it with alcohol, then sprinkle some fine pumice on the surface. Buff this into the pores of the wood in a circular motion, trying not to move parallel to the grain, which will drag the pumice out of the pores.
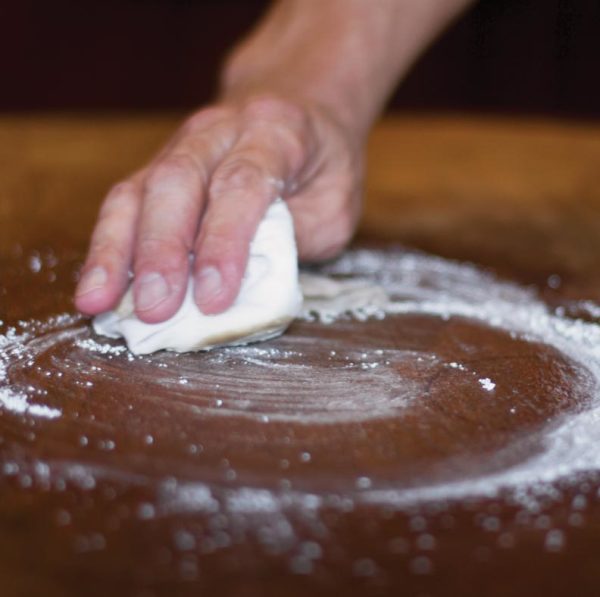
Step 3: Filling the wood pores with pumice.
Huong Phan
Step 4
Apply multiple coats of 2-pound-cut shellac over six to eight sessions using the technique outlined in Step 2. If you feel the pad start to “grab” on the surface, add a drop of olive oil. If you notice you’ve missed a spot more than 30 seconds after you’ve applied the finish, fix it on the next coat. At the end of each session, put a small amount of pure alcohol on the wad and lightly buff off any oil streaks. Wait at least an hour between each session. When the finish is finally built up, sand with 1200-grit emery paper and wipe off any residue, then rub in a hard paste wax.
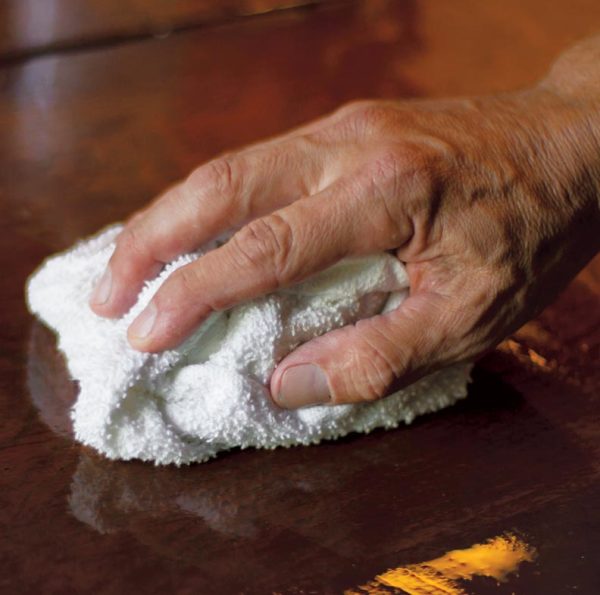
Step 4: Applying wax.
Huong Phan


