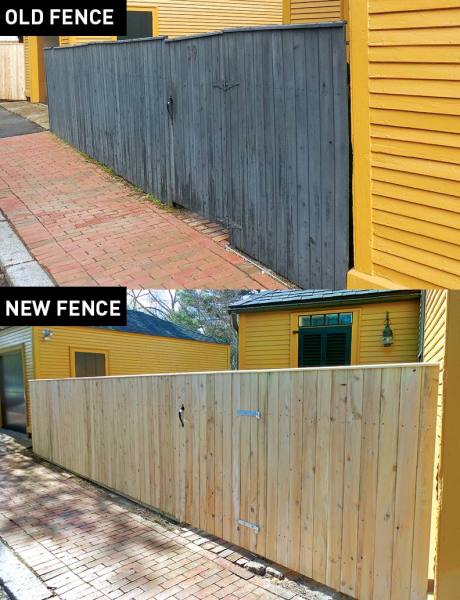
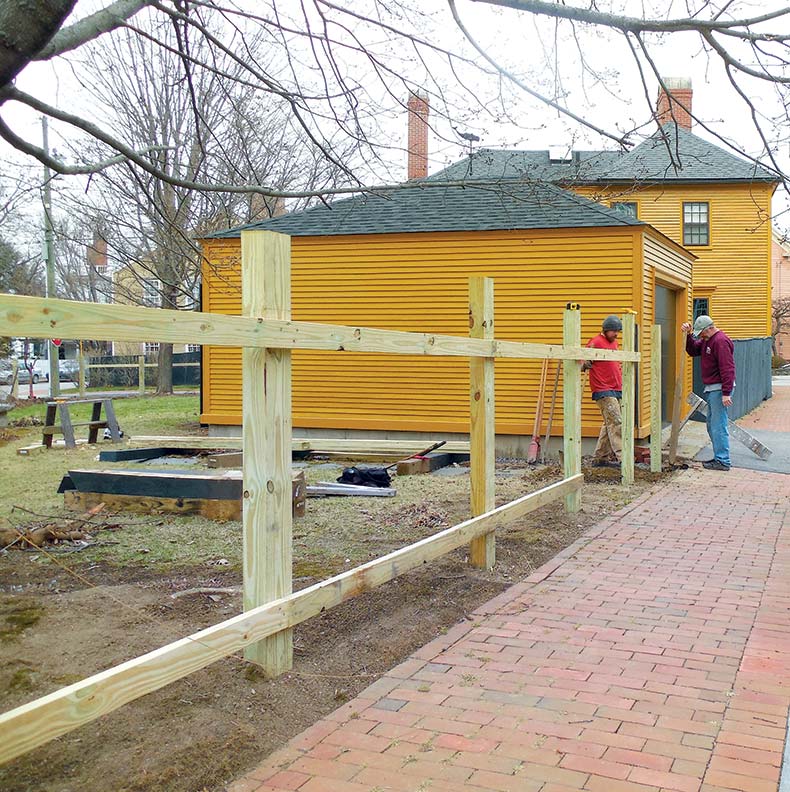
A carefully restored old house, like this 18th-century one, looks best with a fence that matches its era. Even though the average lifespan of a wood fence is just 25 to 30 years, meaning the fence has been replaced many times along the way, a period design is superior to the cookie-cutter fencing available at stores today. In addition, pre-assembled fencing may be difficult to install for pleasing results. Note that this one is a side-yard fence. Front-yard fences typically feature molded column boxes along with spindles or pickets.
Choosing Materials
New England’s early fences were usually built of pine—with structural posts in white cedar, locust, or oak. You can still find and use these woods, or substitute with another rot-resistant species. For posts and rails, consider cedar, white oak, or pressure-treated wood. For boarding, pickets, or spindles, use high-quality white pine or cedar lumber.
Fence Supplies
Protective Gear
- Leather gloves
- Sturdy boots
Tools & Materials
- Long-handle shovel
- Straight bar
- Post-hole digger
- 4′ level
- Hammer
- Circular saw
- Nylon string
- Chalk line
- Galvanized 6d and 16d nails
- 4′ x 6′ x 8′ pressure-treated poles
- 2′ x 4′ x 16′ pressure-treated yellow pine rails
- 1″ x 5″ x 5′ white cedar pickets
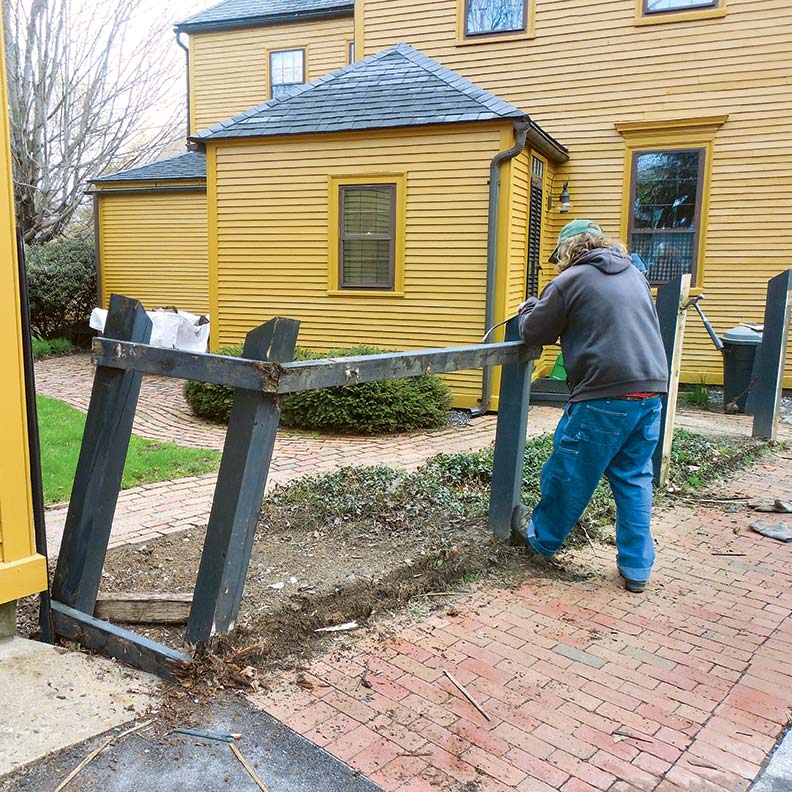
Step 1
To dismantle the old fence, cut rails off at posts and remove by sections. Remove posts with a shovel, one at a time. Re-set a pole every 8′. It’s best to reuse existing pole holes for new posts, as the soil has been disturbed already and tends to be clear of debris and rocks. Poles that are cemented in require that you break up the cement and shovel it out.
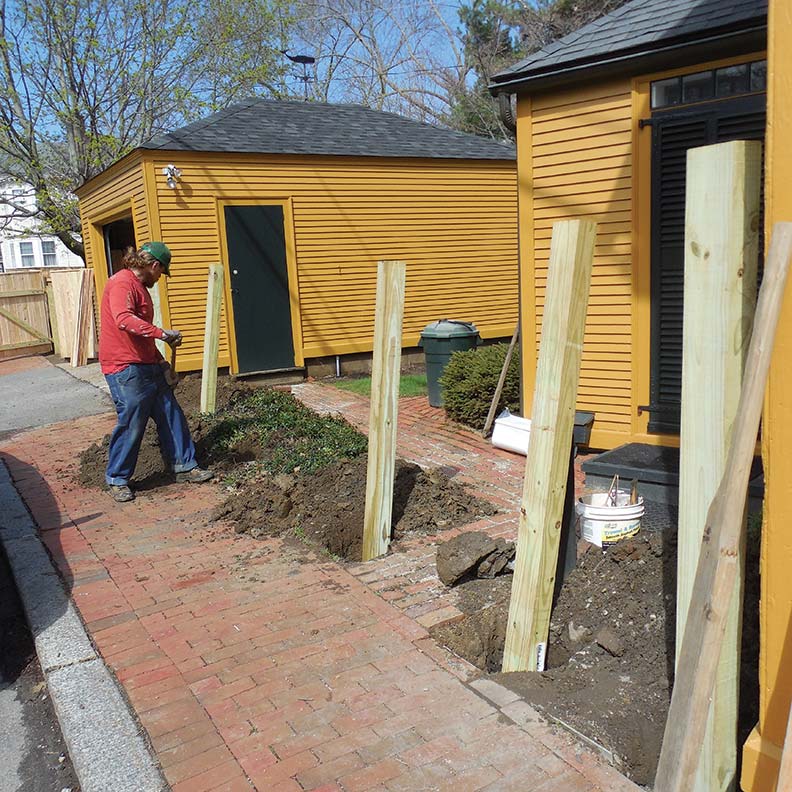
Step 2
To install new poles, set corner posts first. Dig each hole a minimum of 3′ deep—this depth will securely hold the post while avoiding frost and wind shear. Set the pole in the hole and plumb it on two sides, then slowly backfill 6″ at a time and tamp down well. Repeat until each post hole is completely backfilled. Once corner posts are in, run string/chalk line from post to post to make your straight fence line, marking every 8′ for new posts.
Step 3
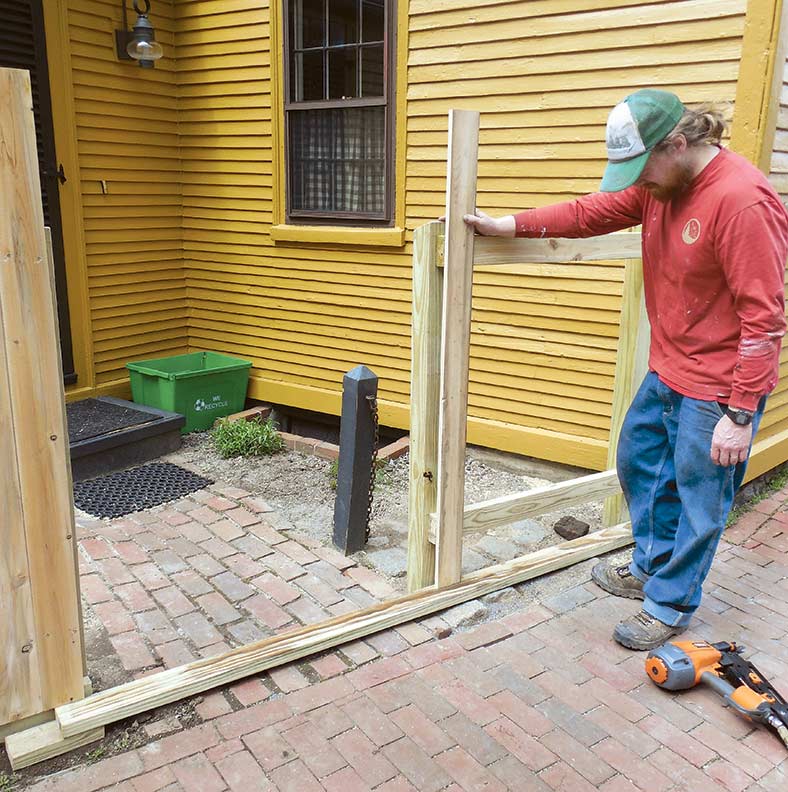
Now that the posts are in, you must mark out and fasten the horizontal cross-rails. For a 5′-high fence, use two horizontal rails; a taller fence will need three cross rails. With string held between two corner posts, set rails a foot above grade, and place your top rail 8″ below the top height of the fence. Go down the line and mark the posts. Attach rails with 16d galvanized common nails, alternating joints so no two are on one pole. Cut fence-post tops at a slight angle to shed water.
Step 4
To install boards, lay 2x4s on the ground, just under where the bottom of the rails will be. This provides a guide board that gives you an even, horizontal line. Starting at the corner, place your picket on the guide board, level it and nail it, and proceed down the length of the fence, moving the guide board as you go. Mark the designated height, and with a chalk line, from corner to corner, snap for a top-of-picket cut line. Cut with a circular saw. Stain, or prime and paint as desired.