

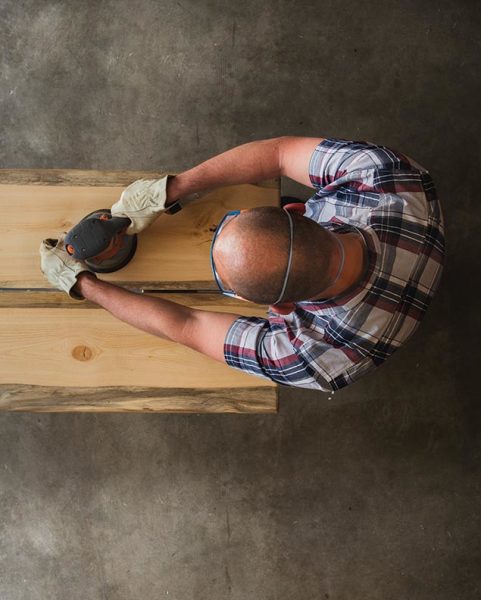
One thing that blurs the line between love and hate is a tool that delivers both a positive user experience and a super-smooth, swirl-free finish. Then there’s power: Precision is great when you’re using 120-grit paper to tune up a trim piece, but when you need to remove stock and existing finishes—say, for a wood floor repair—there’s no substitute for go-juice that propels 60-grit paper into raw wood. Of all the random orbit sanders I’ve used, I’m partial to the right-angle sander with a 6″ pad—I find it easier and more effective to move around and hold for longer periods of time.
Whenever you talk about sanders, there’s no avoiding dust—and the easier it is to collect, the better. While removing dust with a vacuum tends to be more effective, it presents its own challenge in trying to avoid being perpetually tangled up with the hose. So a canister that works—and is easy to remove—makes sense. The more you have to fight the canister, the better the chances are you’ll spill the dust you’ve just collected.
All told, for a sander that’s going to get heavy-duty DIY use, low noise, high power, and uncompromising finish are key components.
Pro Tip
For knocking down finishes or evening up a work surface (what we call “stock removal”), you’ll need to make multiple passes with ever finer grits of sandpaper. Start with a lower grit to break up the finish or smooth uneven material, then feather it in with finer and finer grits. To open up the grain of a piece of wood and better enable it to accept a finish, 100-grit paper or finer is typically effective. You might not feel like you’re making progress, but you are.
–Mark Clement, Host, MyFixItUpLife


