

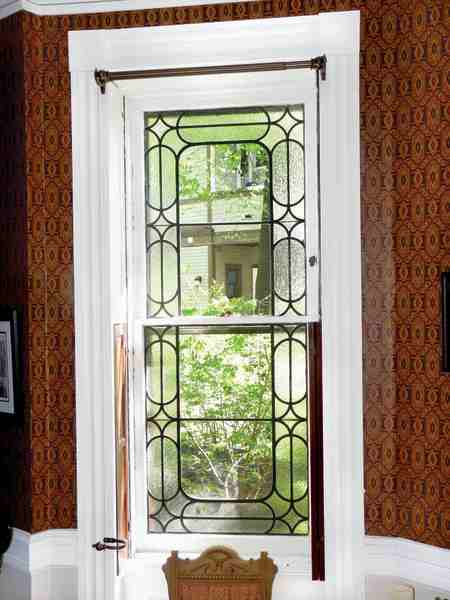
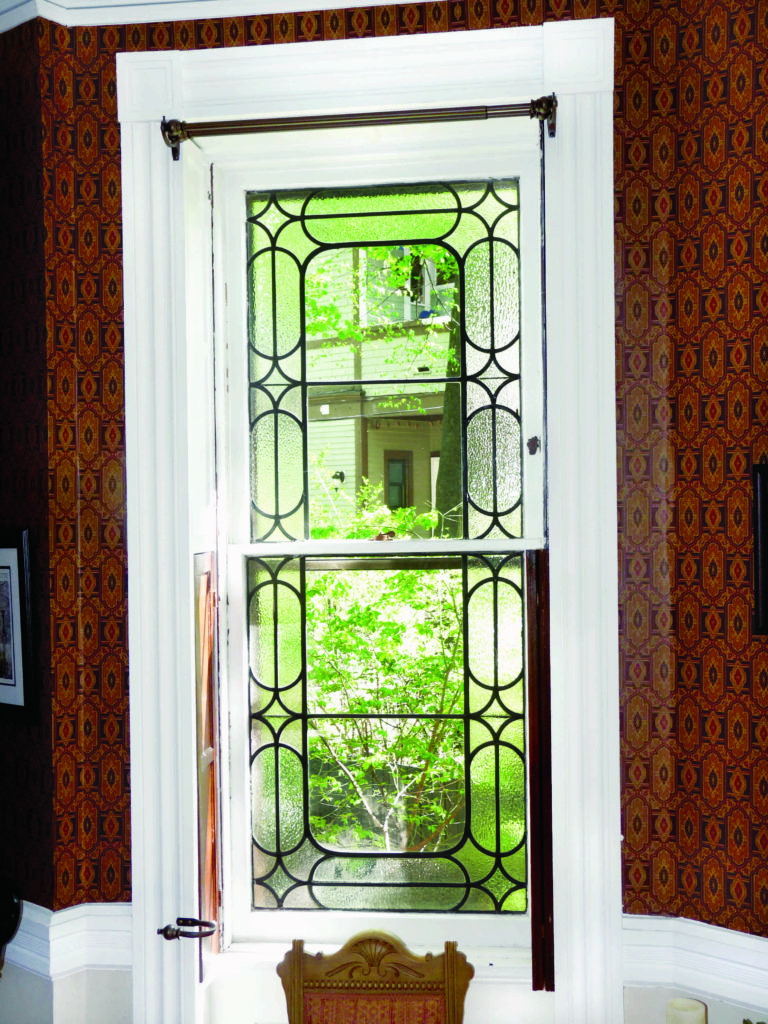
Unfortunately, old wood windows may become sacrificial victims. Despite claims to the contrary, an old window in good condition can perform as efficiently as a replacement window, meeting standards set by the building code. Weatherstripping often does more good than adding double glazing or storm sash.
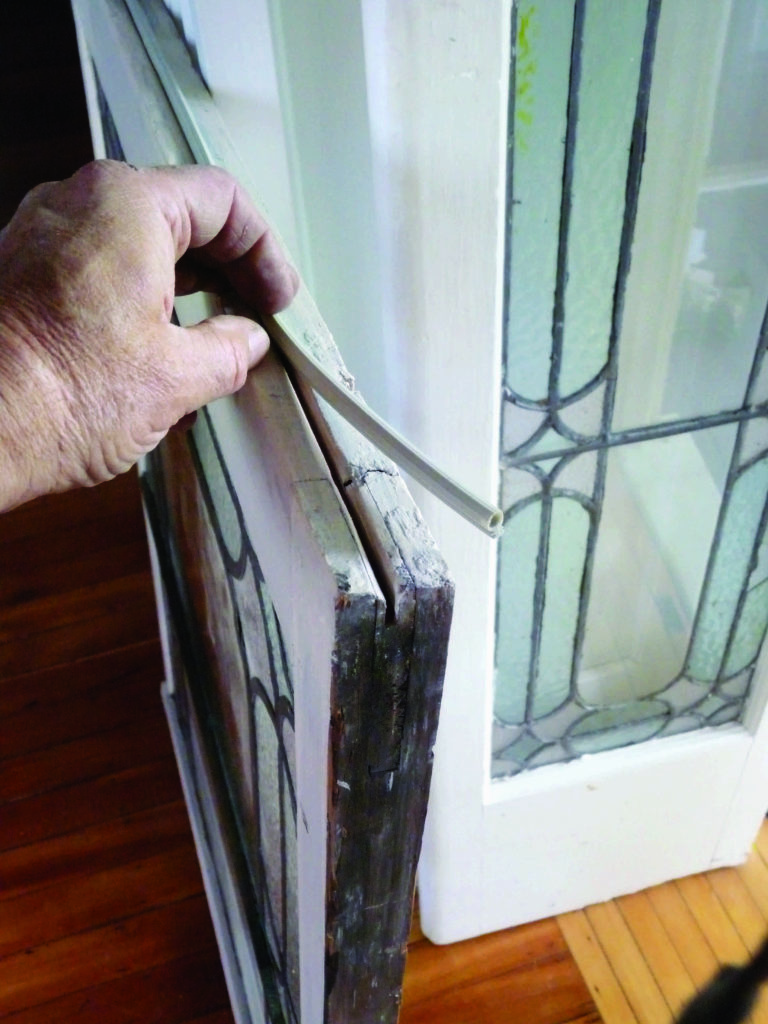
A silicone tube seal fills the gap between the bottom sash rail and the sill. It’s effective because, unlike vinyl, silicone does not stiffen in the cold; the tube seal conforms to an uneven sill. For most 13/8″ sashes, a 5/8″ bronze V weatherstrip is adequate; you may need wider strips for thicker sashes or when the space between the stile and jamb is excessively wide. Spring bronze creates a good weather-seal for a meeting rail at least 11/8″ deep, If your rail is thinner, alternative methods include using 1/8″ tube seal or brush seal set in a groove, or wool felt set in a shallow rabbet.
A Simple Method
Carpenters and homeowners have successfully weather-sealed double-hung windows for over a hundred years, using various materials and techniques tailored to the demands of the window. Here, I offer a method for sealing bottom sash that is simple and durable, and that works on most double-hung windows. The method you choose will depend on your skill level, budget, window design, and patience.
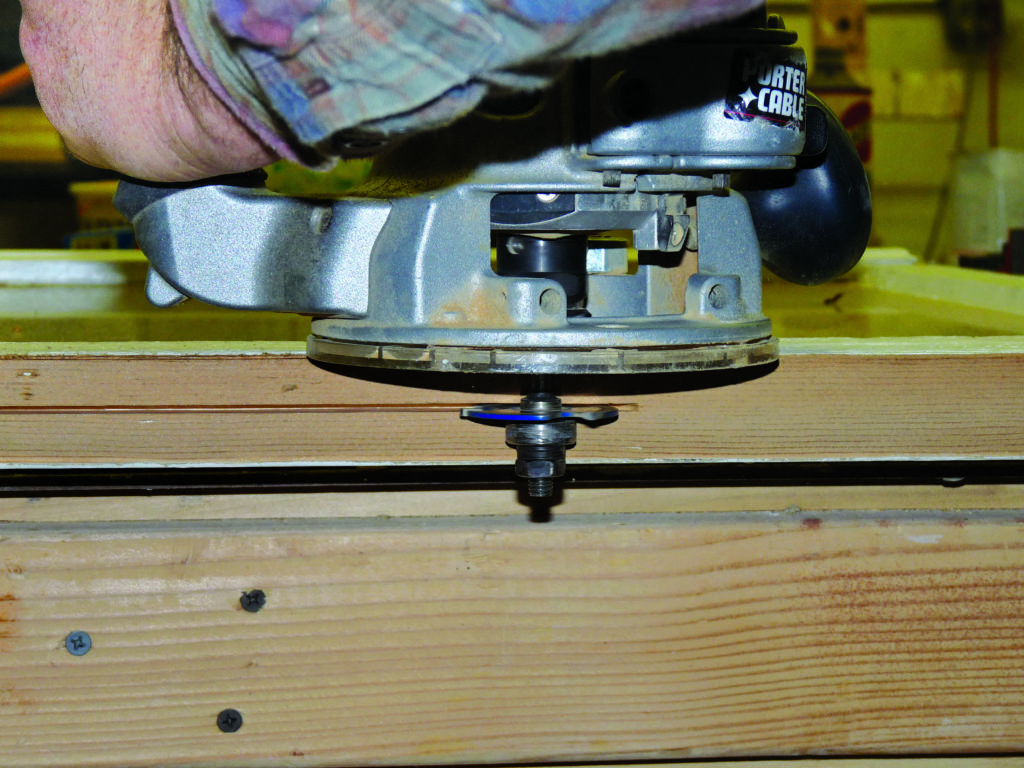
Step 1: To begin installing a silicone tube seal, rout a centered groove at least ¼” deep in the underside of the rail. Before moving the router across the rail, make sure all lumps or old joinery pegs are sanded or stripped to create a smooth path. Next, using a rabbet plane or painter’s grinder, chamfer the outer edges of the groove to accept a portion of the bulb, thus preventing over-compression.
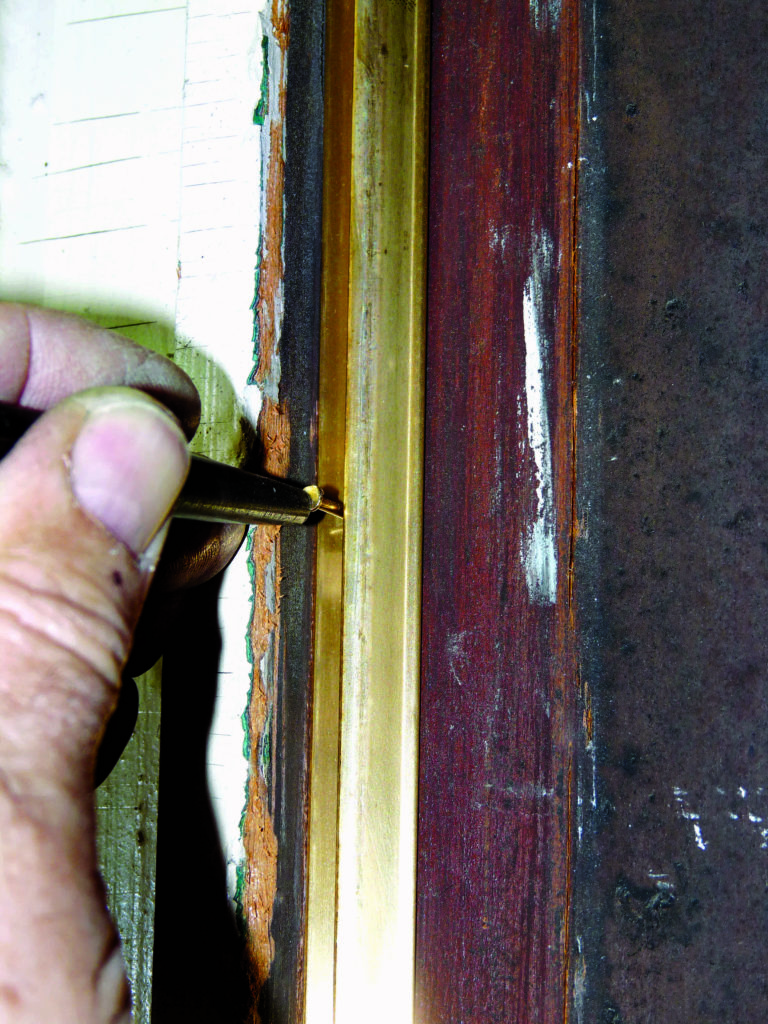
Step 2: Using tin snips, cut the V bronze strip to extend from the sill to about ¾” above the meeting rail. This ensures a good seal. Holding the strip with the apex of V facing inside, tack the strip through the nail flange adjacent to the parting stop, beginning at the bottom. Typically you’ll tack near the sill, just below the access panel, just above it, and through both flanges at the top. Avoid tacking into the weight pocket.
Step 3: Without attaching cords or balances, test the window between the new weather-strips to see if it moves freely. There will be more resistance than without the strips, but it shouldn’t require excessive pressure to move the sash. If it’s acceptable, stand back and make sure you cannot see light around the weather-strips (light coming through means the fit is too loose). If the window is too tight, as it often is, plane about 1/16″ from the exterior edge of each stile to relieve the tension.
Step 4: For spring bronze, measure the distance between the parting stops and cut the bronze strip slightly longer. Position the strip along the rail for final cuts. If upper sash is in working condition, cut the strip 1/32″ short on each end. If upper sash is sealed, cut it to abut the parting stops. Holding the nailing flange level with the top of the rail, drive a tack in the middle. Straighten the strip side to side (last chance to adjust). Drive tacks midway between stops and center, and then tack every inch.
Tools & Supplies
- Tack hammer
- Aviator tin snips
- Router and 8″ slot cutter
- Electric plane
- Thin pry bar
- Rabbet plane or painter’s grinder
- Nail set or punch
- 5/8″ V bronze weatherstrips
- 1/8″ Spring bronze weatherstrips
- Silicone tube seals (bulbs)
- Tacks for weather- strips
- 1¼” 4d finish nails for sash stops


