

Linoleum is homey and durable, as well as hypo-allergenic, antimicrobial, and biodegradable. Neither as hard as commercial tile nor as soft as vinyl, it is easy underfoot. The color goes all the way through so it doesn’t wear off. You can buy it in sheets or as tiles. A checkerboard is a time-honored choice. Black and white is classic, but many other combinations have been used.
Your color choice will complement the rest of the kitchen and perhaps conjure up a certain decade from the past. These illustrations suggest Forbo Marmoleum Solid in Rosemary Green 3355 and Black 3323. Although manufacturers suggest that linoleum be installed professionally, many people familiar with old-house repairs and projects find the job manageable. These illustrations are based on an actual DIY job in the kitchen of a ca. 1930 house.
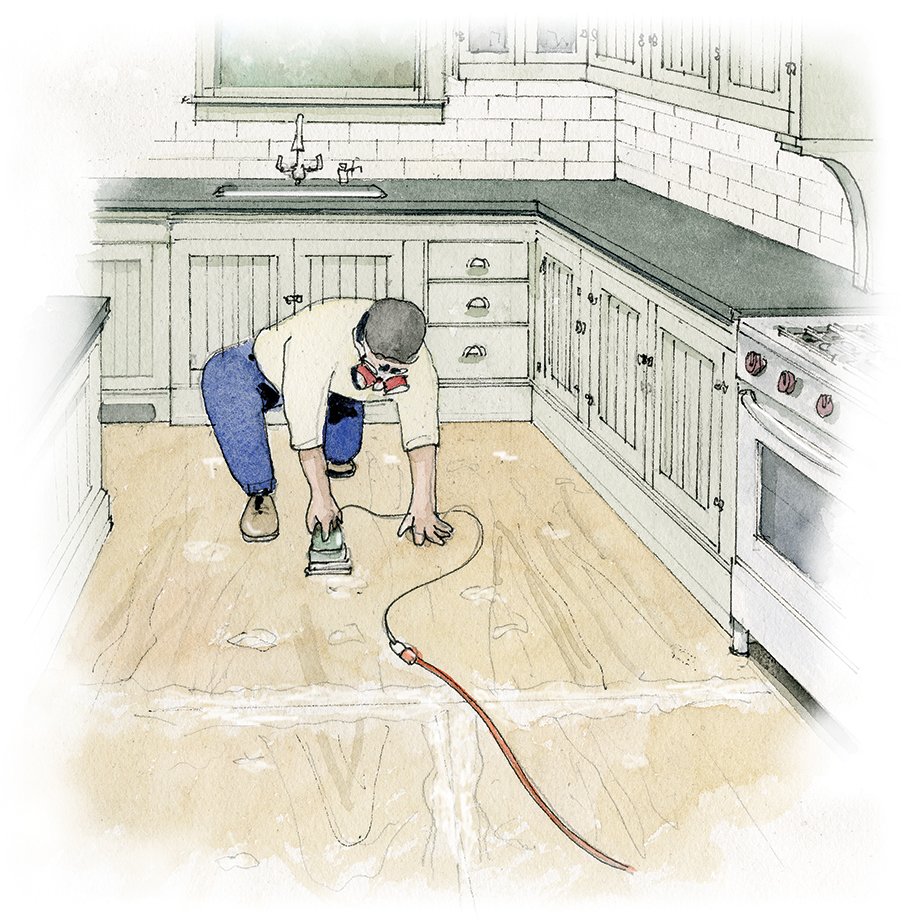
THE SUBSTRATE
Lino tiles today generally come in 12″ and 20″ squares, whereas historic linoleum tiles were 6″ or 9″. You can have the supplier cut 20″ tiles into four 10″ squares to approximate the older look. In a large room, 12″ may be fine. Under any kind of resilient flooring, the substrate must be secure, seamless, and smooth, as joints and movement will show up in the relatively pliant linoleum. Standard practice is to lay smooth-faced ¼” Lauan plywood over the subfloor, fastening the sheets every 6″ or so with ring-shank nails, joints staggered. In this job, the subfloor was already new tongue-and-groove plywood glued and screwed to the old floor. So the owners elected to use polyester filler in blemishes, then gave the surface a thorough sanding.
Some tips: Leave kick boards off the cabinets for now, so that the lino can be laid to extend slightly under cabinets. Undercut door casings at the floor to slip tiles beneath the trim. A shoe moulding will cover less-than-perfect measuring or cutting.
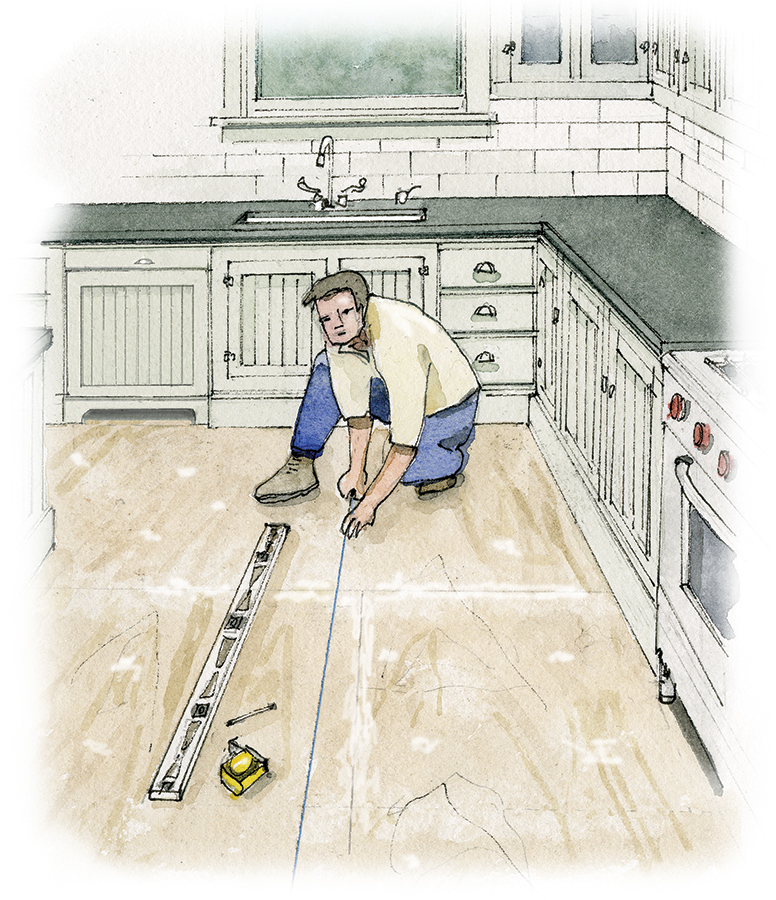
DESIGN & LAYOUT
A checkerboard can run square to the walls or on the diagonal. Use actual tiles or colored paper to test it out on the floor. Diagonal placement “moves the eye” and often makes the room feel bigger. Look at your pattern layout from other rooms to check for calm sightlines. For a very subtle checkerboard, consider two similar colors, or two different colors of the same saturation (dark or light). You can even alternate the “marble grain” from tile to tile for a slight basketweave effect. Instead of a checkerboard, you can create a zigzag or plaid-like pattern. Also consider a border.
Once you have a design, find the center of the room, then use a level and a carpenter’s chalk line to mark it: you’ll follow this mark to align the pattern. Check that tiles will fit across the room from this start line, with only small pieces remaining at the walls. If walls bisect large pieces of tile on just one side of the room, adjust the starting point until edge pieces are even on both sides.
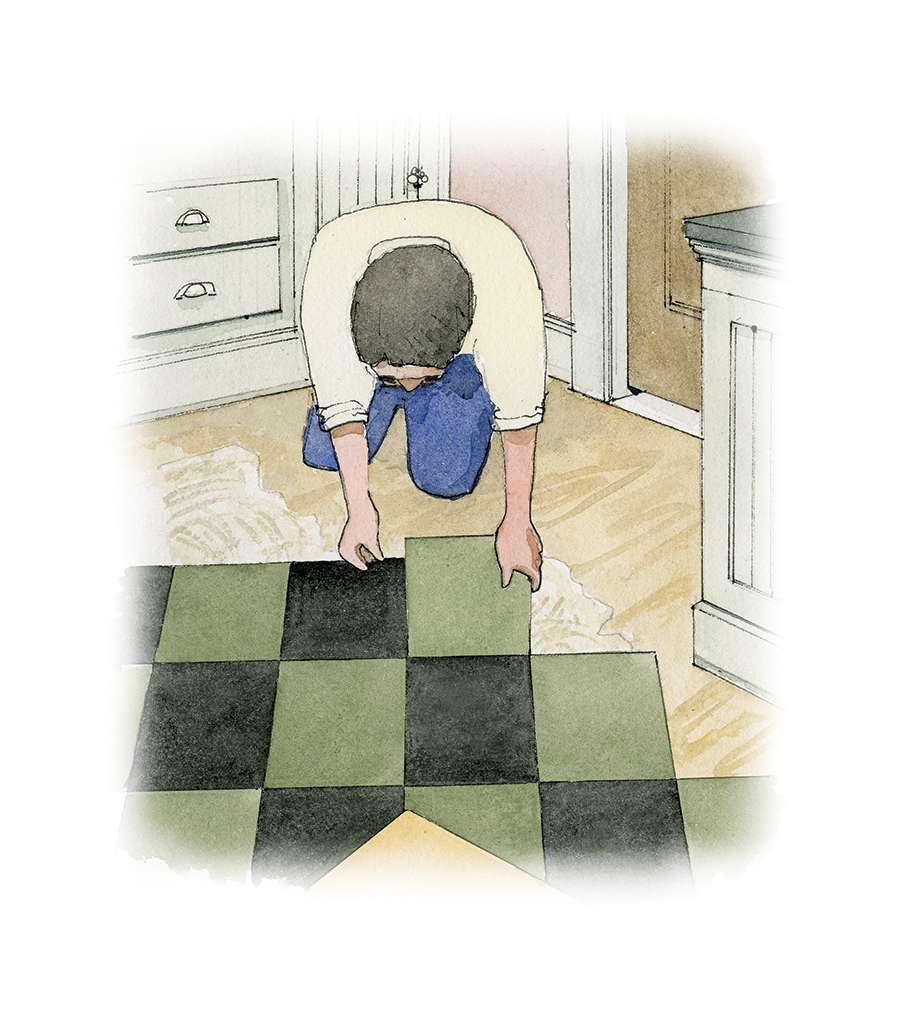
LAYING TILES
Have supplies at hand: the recommended adhesive, notched trowels, straightedge, razor knife, rubber hammer, dust brush, and rags. Knee pads are recommended. Be sure the substrate is very clean and dry. Lay out the installation with a few more chalk lines. Begin at your predetermined start point, usually the center point of the pattern in the room. For a diagonal pattern, align the tiles’ corners with the start line. Apply linoleum adhesive with a notched trowel, per the linoleum manufacturer’s instructions, over a small area—aim to cover an area of at least two, but no more than four, tiles. Line up two or four tiles as straight as possible while keeping the mastic off the surface. (If you get adhesive on the top of a tile, immediately wipe it off with a slightly damp cloth. Too late? Once it’s dry, it will come off with mineral spirits.
SETTING TILES
When those tiles are in place, pound them down soundly with a rubber hammer. Keep checking your pattern and tile orientation so you can move a tile before it sets. Slowly and methodically work your way out to the sides, and then across the room. Plan your exit.
Measure and cut carefully so you don’t run out of tiles from discarding your mistakes. A checkerboard installation means buying a minimum quantity of two different colors—you don’t want to have to re-order two boxes.

EDGES & CORNERS
A few tools are all you need to cut the edges of linoleum tile. To trim the tile, the homeowner is using a razor knife, a straightedge, and a board as a work surface.
If you have an out-of-square wall, use a carpenter’s bevel gauge to copy the angles. (A bevel gauge is useful
for all cuts if the room is significantly out of square.)
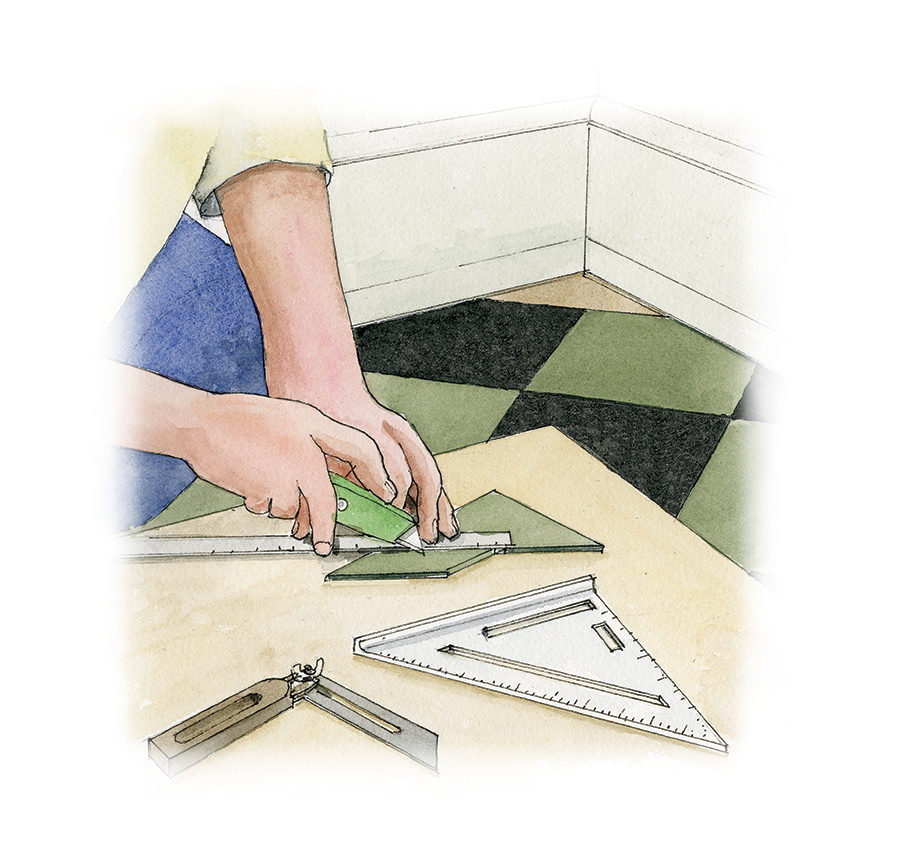
Once you’ve fitted in all full-size tiles, cut edge and corner pieces using a sharp razor utility knife. At pipes, measure, cut the hole, then make a straight cut from the hole to the least visible edge of the tile, so you can maneuver it around the pipe. Cut tiles, supported on a board, with a very sharp razor knife, using a speed square or framing square as a straightedge. Use a carpenter’s profile gauge to measure unusually shaped areas. A sharp rasp will clean up minor imperfections on tile edges; use it, too, for minor adjustments.
Don’t walk on the floor for three days. If you must, lay plywood over the linoleum and walk gingerly.
Thanks to Steve and Lisa Jordan for sharing their DIY techniques.


