

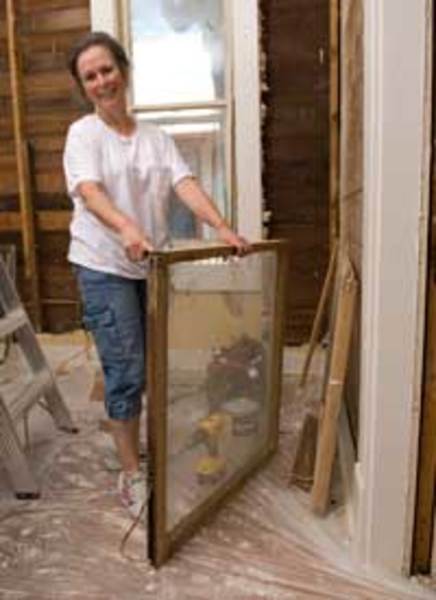
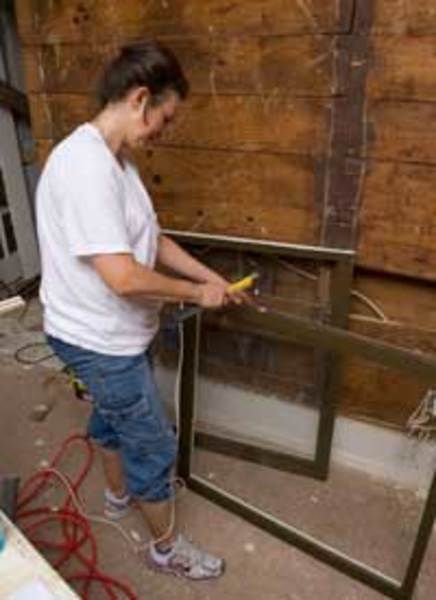
Self-taught window restorer Pam Rodriguez works on a home in Fort Worth’s Fairmont Southside Historic District.
Van Ditthavong
Pam Rodriguez didn’t set out to restore old-house windows for a living. While residing in Massachusetts, Pam learned restoration techniques on the fly, first in an 1875 church she volunteered to help revive, and then in her own home, a 1930s Dutch Colonial in Boston with 22 windows in dire need of repair. A confident do-it-yourselfer, Pam figured out techniques as she went, taking apart sash and frames, making the necessary repairs, then putting it all back together again. “I’m a restorationist at heart,” she says, so she learned to preserve original materials whenever possible.
In 2005, she returned to her native Texas to be closer to family. Not long thereafter, an acquaintance in Fort Worth’s historic Fairmount neighborhood faced a quandary when she discovered she would need to restore the crumbling old windows in her 1920s Colonial Revival. That turned into a job for Pam, and soon word of her skills got around. Today, she’s Fairmount’s go-to guru of window restoration.
In the process, she’s run into “all kinds of weirdness,” like a window someone had taken out and reinstalled upside-down. She finds she can fix just about anything, though, if she takes a window all the way down to its frame. “These are old windows that have been here for 70, 80 years,” she says, “and it’s just a matter of a little bit—well, sometimes a lot—of maintenance to make them perfectly good again. If a window has hung in here that long and it hasn’t been totally abused, it’ll be here another 50, 100 years.”
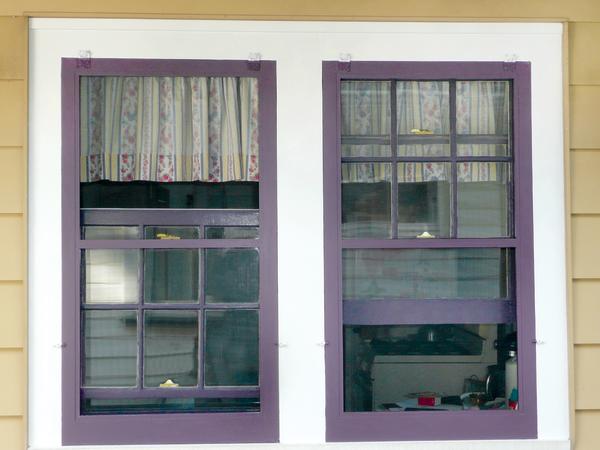
There’s nothing quite like a well-maintained old-house window.
8 Steps for Restoring Sash Windows
1. Look for a knockout panel.
If a window is basically in good shape, needing only to have weights re-hung, Pam looks for a knockout panel (also called a pocket cover), a rectangle scored in the side of the frame that’s typically around 2″ wide and 6″ to 8″ tall—just big enough to pass a weight through. Generally, only higher-end windows have these (many in Fairmount do not). If one exists, though, it’s a handy way to access a sash window’s ropes and weights without removing the trim. Look for a horizontal line between stops in a frame to determine if you’ve got a knockout panel to work through. Especially if it’s been painted, you may have to apply a bit of force along the scored lines with a narrow implement (such as the skinny edge of a 5-in-1 painter’s tool or a box cutter) to open it up, but rest assured that it was, indeed, made for this purpose. (Note: On some windows, knockout panels are held in place by small screws.) If there’s no knockout panel, you may be able to saw one out using an oscillating multi-tool fitted with a wood-cutting blade. If you need to access more than just the weights and ropes, removing any trim around the window is your first step.
2. Remove trim, stops, and sash.
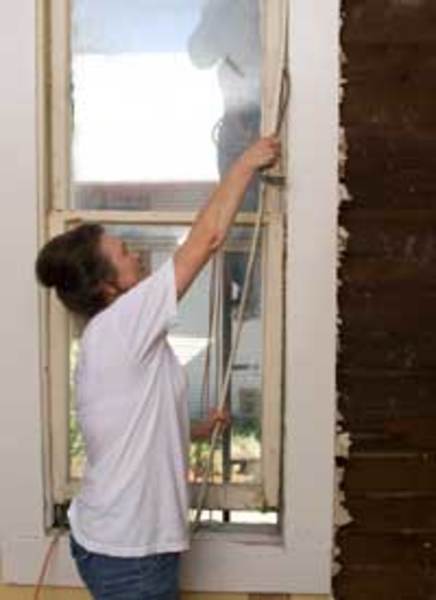
Pam begins the window restoration by removing nails and screws and carefully prying off trim and stops.
Van Ditthavong
The trim and interior stops come off first—hopefully intact. Pam uses a box cutter to cut through any paint and caulk, then begins prying trim from the frame using a 5-in-1 painter’s tool, which she likes because of its narrow dimensions. “I start by breaking the seal with the small pointed tip and turning it, eventually getting the whole narrow edge in so I can gently pry that trim apart,” she says. Do this carefully, easing nails out and removing screws if you find any. Gently apply pressure to pry trim away from the wall. After you’ve created some space, switch to a flat crowbar, again applying gentle force. The bottom sash comes off next. (It’s a good idea to mark this—and all other components—so you can be sure to put the window back together correctly. Pam recommends a fine-tip magic marker used in a spot that’s not going to be sanded or painted.) After that, the parting stops can be removed. Usually these split when Pam takes them out, but she tries to keep them intact if they’re otherwise in perfect condition by using pliers to ease them out once they’re loose. She replaces damaged stops with standard 1/2 ” by 3⁄4″ window trim from the local lumberyard. The top sash comes out last.
3. Assess the frame.
Old houses (especially those built on pier-and-beam foundations) have often spent years shifting and settling, so frames are rarely square and snugly fit when Pam exposes them. Moisture also can penetrate the frame’s lower joints, rusting the nails that hold the joints together or rotting the wood, causing the side jambs to drift apart. “Typically the frame is too big,” says Pam. “I’ve almost never found one too small.” Square frames are essential to good window function, so Pam uses a level and a square to correct any twisting, nailing in shims as necessary to create a solidly square frame, but being careful not to place shims near the window-weight well. If shims aren’t enough, she’ll add lattice strips where they won’t show. In the event of a window that’s expanded at the bottom, she finds she can often hide a board on the inside of the bottom of the frame.
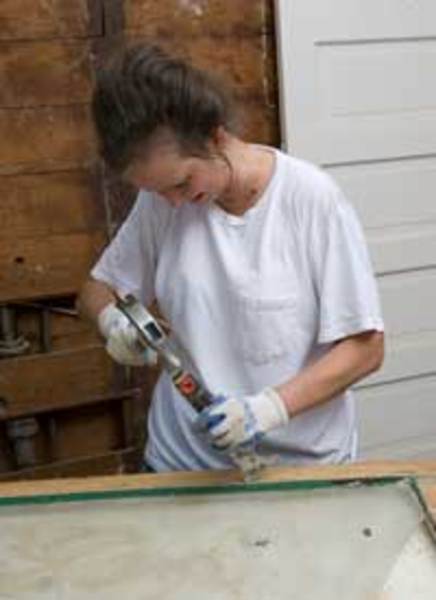
Pam carefully removes glazing compound (which had been painted green along with the window frame) from the sash.
Van Ditthavong
4. Clean up.
Pam uses her trusty 5-in-1 painter’s tool to remove debris like old glazing compound, caulk, nails, screws, and broken glass. (A pull-type scraper with a rectangular blade also will work.) Paint, which is often layered so thickly in old houses that it can prevent windows from operating, needs to be sanded or removed at this point, too. (For safety tips on removing lead paint, see “Setting Up for Lead Safety” below.) Paint that’s thin and in good shape often can be left alone. Pam uses a rough sander to cut through thick paint, and in some cases employs a chemical stripper to soften the paint so it’s easier to scrape away. For a fine finish, she uses an orbital sander where possible, but in areas where a more delicate touch is required, such as interior trim with intricate carving work or a sash with routed areas, she relies on hand-applied sandpaper. On those delicate parts, she’ll sometimes use a chemical stripper as well. Once the paint is removed, you can scrape away any rot and fill holes with putty or make repairs with wood epoxy.
5. Replace damaged or missing glass and glazing compound.
Original panes that are in good condition can stay intact. “If it’s in good shape, leave it alone!” Pam says. “I’ve broken many windows learning that lesson.” Where replacements are needed, Pam keeps an eye out for discarded wavy glass, since buying reproduction glass can get expensive. If salvaged glass isn’t the exact size she needs, she takes it to the hardware store to have it cut to size. To secure the glass in the sash, Pam loads a caulk-style gun with glazing compound. First, she runs a small bead in the channel, using that to secure the glass without pins or glazier’s points. Then she applies external glazing with the gun, running it along the edge where wood and glass meet. If the product-container tip and the wood edge are both clean, often she can achieve a neat, uniform line that way. Pam advises smoothing down any imperfections with your finger. Then come back the next day, after it’s had plenty of time to harden up, and trim away any excess with a razor blade.
6. Stain or paint.
Interior sash can be painted or stained. For the latter, Pam prefers standard oil-based stains like those made by Minwax, and she always tests them on an old or hidden piece of wood to make sure the color is right before applying it to the sash and trim. Getting the right match can be tricky, so sometimes she’ll add a touch of paint with the same type of base as the stain to attain the correct color. A final coat of polyurethane follows the stain to protect the wood. (If the sash and trim are painted, though, no topcoat is necessary.) Exterior sash faces should always be painted for the best weather protection.
7. Address pulleys and ropes.
Pam nestles sash rope into an existing hole, then hammers it in place. The length of the rope fits into a routed channel along the sash.
Van Ditthavong
Weights are often missing from old sash-window frames—some were salvaged for early 20th-century war efforts, while others simply may have slid down inside the wall. Pam likens her pursuit of replacement weights to horse trading—eventually, she finds combinations that work, adding washers or nuts to get the balance right. She typically re-shapes old pulleys with pliers, though if she finds one with a point sharp enough to cut a rope, she will replace it entirely. New or old, pulleys need a regular application of spray lubricant to keep them running smoothly. As a general rule, she says, you should grease a pulley when it squeaks. Any lubricant will work, though one that comes with a skinny spray nozzle is easier to apply. If ropes need replacing, Pam prefers cotton over nylon, because it’s more authentic and tends to stretch less over time. (Plus, nylon has a greater risk of catching on an old pulley.) Purpose-made products labeled as “sash cord” are available, and, as a rule, lighter-weight cord can be used for smaller windows.
Once both sashes are in place, Pam checks the rope again and adjusts as necessary before replacing the interior stops and trim.
Van Ditthavong
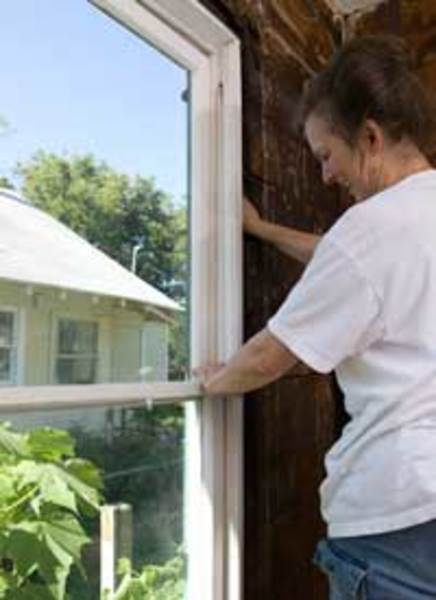
8. Put it all back together.
“You’re basically starting over,” says Pam. “You have this wonderful wood sash. You have this wonderful wood frame. And then you put back as much of it as you can.” To reattach stops, Pam chooses nails that are small in diameter (typically 16- or 18-gauge) and just long enough (1/2″ to 3/4 “) to do the job so the nails don’t go through to the weight well. She uses longer finish nails for trim. And unlike many homes’ original builders, she uses as few nails as possible. A sash window goes together in the reverse order it came apart. This means the top sash with its ropes attached goes in first, then weights are tied on. At this point, Pam does an inital check to verify that everything is working properly. “Is something out of place?” she asks herself. “Does something need shimming?” Once confident that everything is in good working order, she replaces the parting stops, the bottom sash, then the interior stops. Finally, she mounts the trim.
Setting Up for Lead Safety
If your house was built before 1980, there’s a good chance your windows could contain lead-based paint. Always take the following safety precautions when working with painted windows:
- Isolate the work area from the rest of the building, and set up a containment area on the floor that extends at least 5′ beyond the work surfaces in every direction. Create the containment, which will help collect and contain dust and debris, by wrapping the edges of 6-mil poly sheeting around 1″ x 2″ wood furring strips.
- Work “wet” whenever possible. Mist a surface with water before cutting, scraping, or prying lead-painted surfaces. Mist down surfaces where dust and debris fall, and wipe up frequently with paper towels.
- Wear Tyvek slippers in the containment area, and remove them when stepping out of the containment. Change work clothes before leaving the work area. Always wash work clothes separately from your regular laundry, and double-rinse the machine before starting another load.
- Wipe the sash and your tools with a damp cloth before you take them out of the containment area.
- Wear a hat, goggles, and a respirator (N95-rated for wet work, N100-rated for dry work) to keep your hair, eyes, and lungs free of dust. The respirator should fit tightly around your face and completely cover your mouth and nose.
- Don’t eat, drink, or smoke while you’re working. Thoroughly wash your hands and face each time you leave the containment or work area.
- For more detailed lead-safe work practices, download “Lead Paint Safety: A Field Guide for Painting, Home Maintenance, and Renovation Work” at hud.gov/offices/lead/training/LBPguide.pdf.
Adapted from Save America’s Windows by John Leeke.
Online exclusive: Get more tips, tricks, and advice in our Q&A with another window expert.


