Step 1
If you have an existing threshold, remove it and use it as a guide for cutting the new one. If you don’t have a threshold, first clean the area well, then carefully measure the width of the bottom door casing at its narrowest point. Subtract this measurement from that of the threshold and divide the difference by two, then measure and mark in from the threshold’s sides—this will keep the pre-drilled screw holes centered. Repeat on each of the separate pieces. Then, using a hacksaw or power saw, cut off the ends along your marks.
Measure the existing threshold.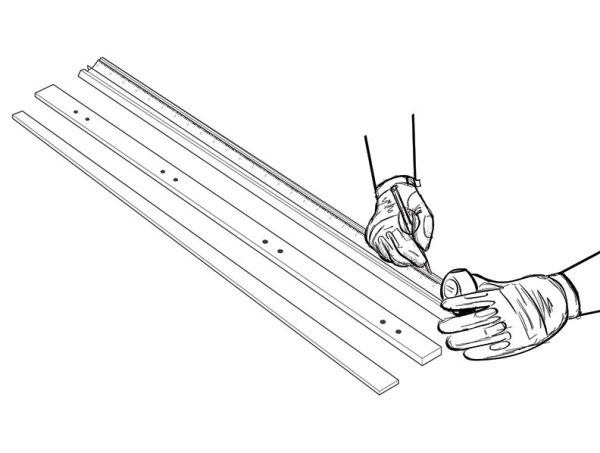
Step 2
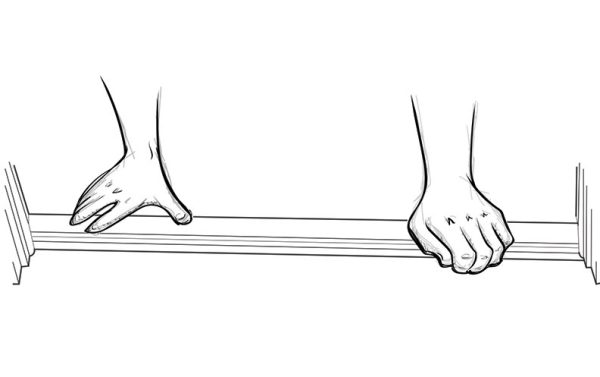
Place the threshold one piece at a time (bottom, middle, top). The middle is generally where the adjustable screws sit—start with all of them at the same depth (same number of turns), place the top piece, and then close the door to check the tightness of the fit. (It helps to look from behind the closed door with a flashlight shining from the front.) If noticeable gaps of light are penetrating, remove the top piece and adjust the screws up or down for a better seal.
Install the threshold.